Can a gluten free dessert actually taste better than the original?
I made these lemon bars for a family lunch without telling anyone they were gluten free, and not a single person noticed until I brought it up myself.
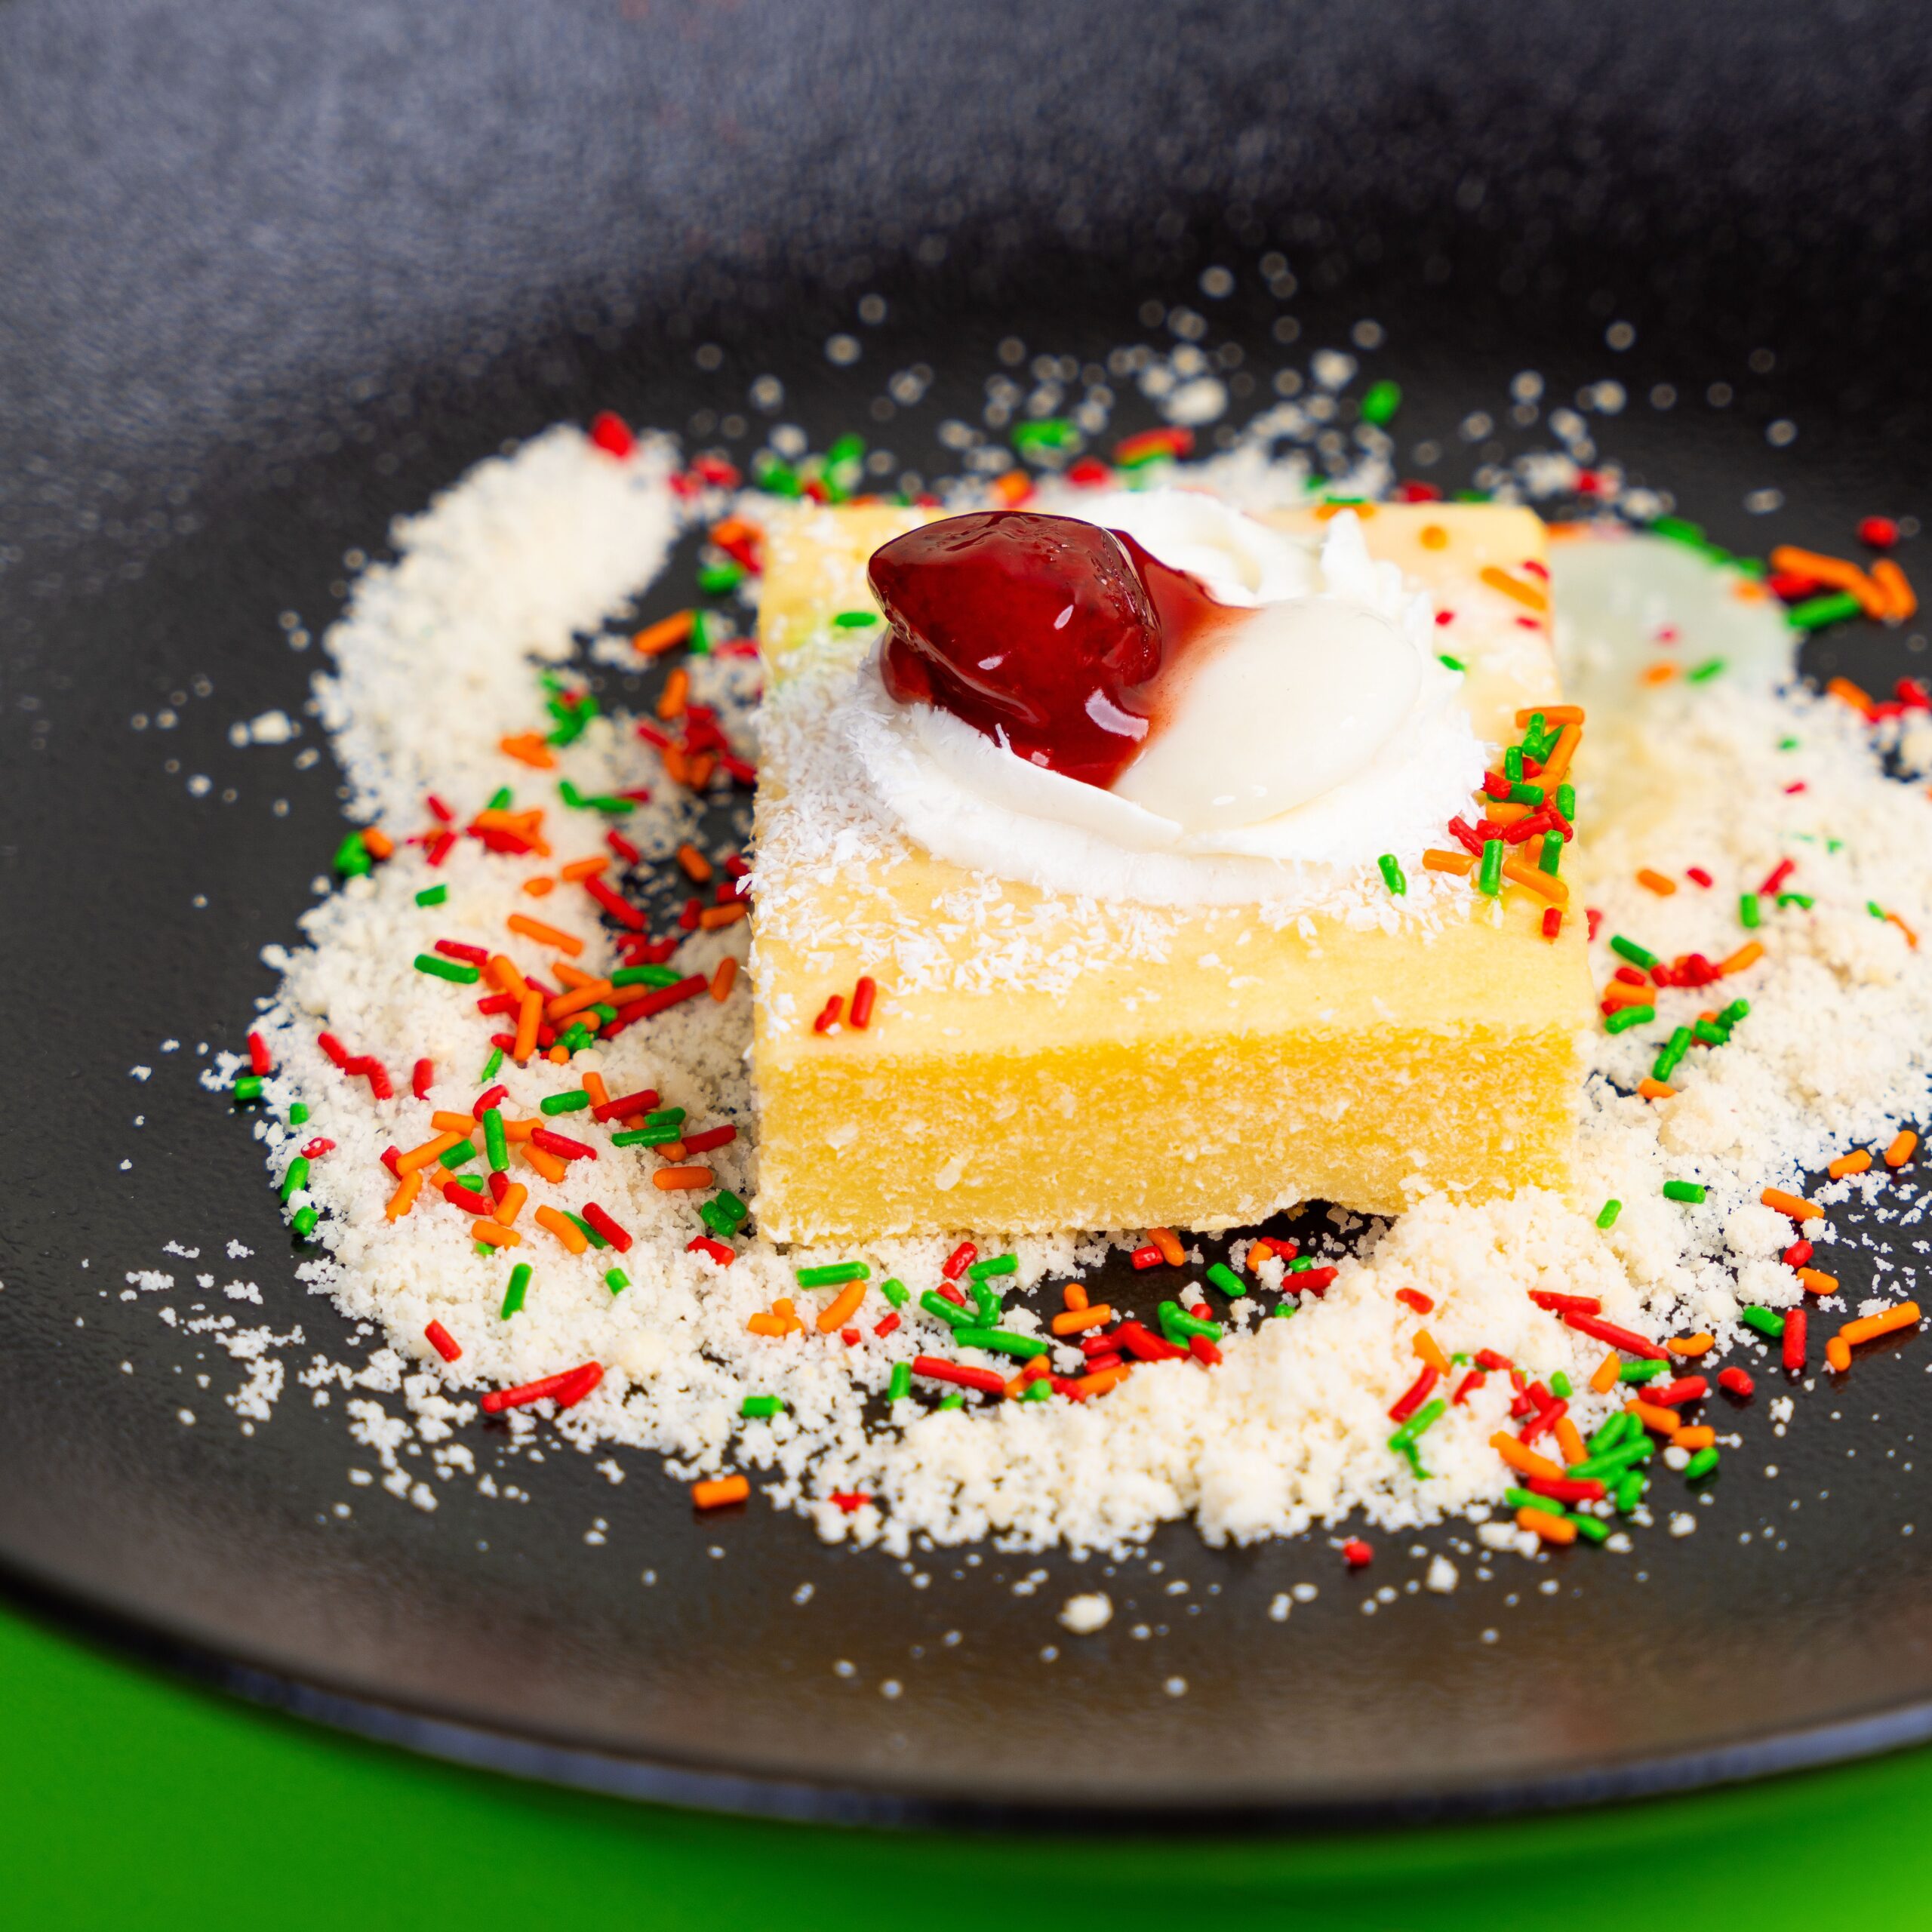
Bright lemon curd sitting on a buttery almond flour crust, with a soft layer of sweetened cream cheese in between. Every bite is tangy, sweet, and just a little rich. 🍋
This is the kind of dessert that disappears fast, gluten free or not.
What You’ll Need
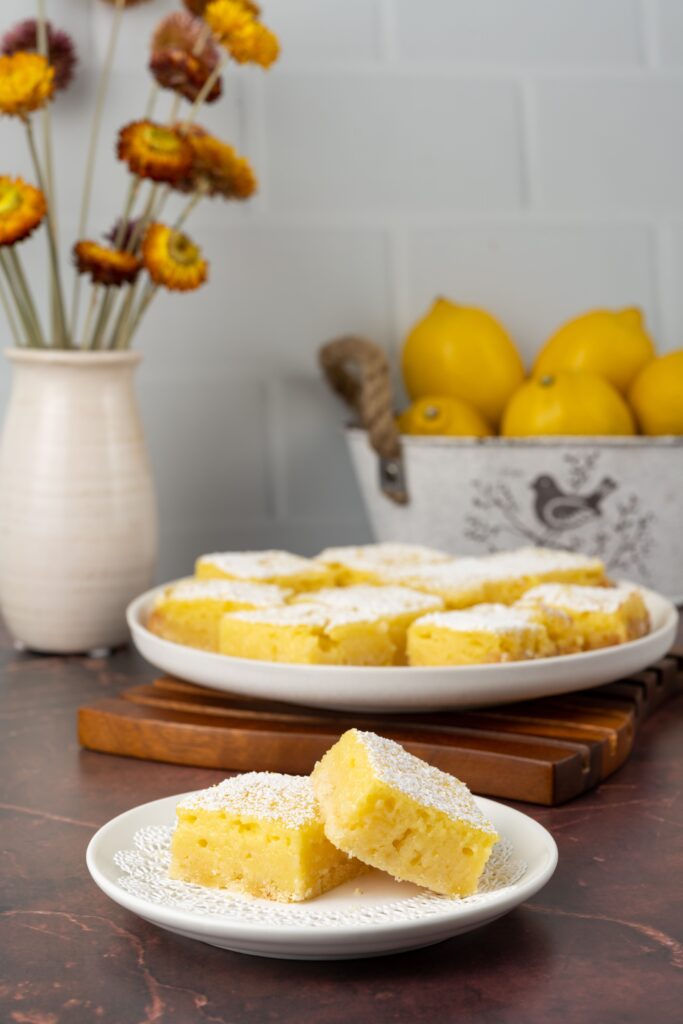
Here’s everything going into these bars:
For the crust:
- 2 cups almond flour
- 1/4 cup granulated sugar
- 1/4 tsp salt
- 6 tbsp unsalted butter, melted
For the cream cheese layer:
- 8 oz cream cheese, softened
- 1/4 cup granulated sugar
- 1 large egg
- 1 tsp vanilla extract
For the lemon layer:
- 4 large eggs
- 1 cup granulated sugar
- 2/3 cup fresh lemon juice
- 1 tbsp lemon zest
- 1/4 cup gluten free all-purpose flour
For topping:
- Powdered sugar
- Fresh blueberries
- Lemon slices
- Fresh mint leaves
That’s the full ingredient list. Simple pantry staples with a lot of bright, fresh flavor.
Tools You’ll Need
- A 9×9 baking pan
- Parchment paper
- Two mixing bowls
- An electric mixer or whisk
- A zester
- A sharp knife (for slicing)
How to Make It
Step 1: Preheat and prep.
Preheat your oven to 350°F. Line your baking pan with parchment paper, leaving some overhang on the sides for easy removal later.
Step 2: Make the crust.
Mix the almond flour, sugar, salt, and melted butter together until it looks like wet sand.
Press the mixture firmly into the bottom of your prepared pan.
Step 3: Bake the crust.
Bake for 12-15 minutes, until lightly golden. Let it cool slightly while you make the next layer.
Step 4: Make the cream cheese layer.
Beat the cream cheese and sugar together until smooth. Add the egg and vanilla, mixing until fully combined.
Step 5: Spread the cream cheese layer.
Pour the cream cheese mixture over the warm crust and spread it into an even layer.
Step 6: Make the lemon layer.
In a separate bowl, whisk the eggs, sugar, lemon juice, and lemon zest until smooth. Whisk in the gluten free flour until no lumps remain.
Step 7: Add the lemon layer.
Slowly pour the lemon mixture over the cream cheese layer. Try to pour gently so the layers stay distinct instead of mixing together.
Step 8: Bake again.
Bake for 25-30 minutes, until the center is just set and no longer jiggly.
Step 9: Cool completely.
Let the bars cool at room temperature, then refrigerate for at least 2 hours before slicing. This step matters more than people expect.
Step 10: Slice and garnish.
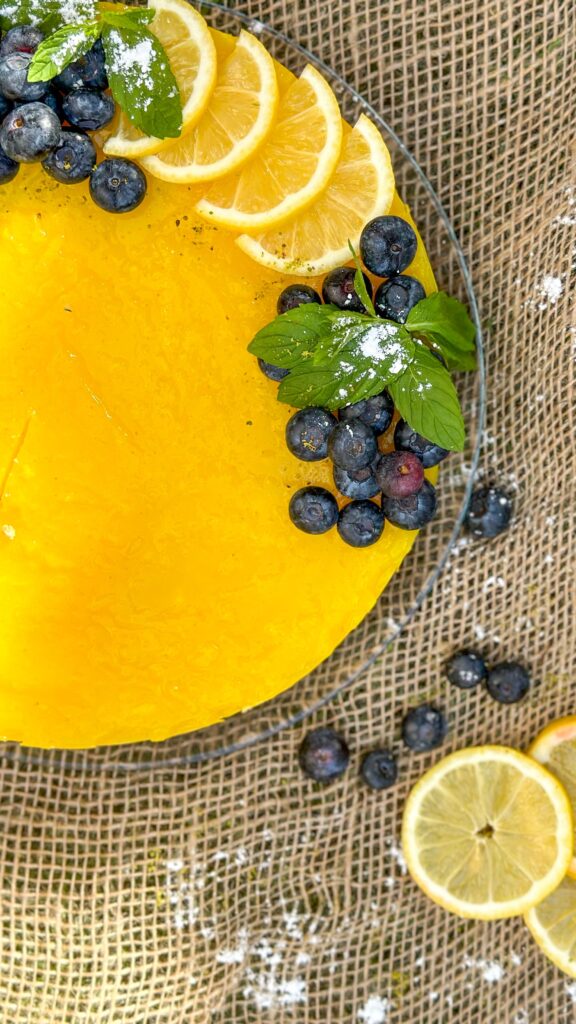
Lift the bars out using the parchment overhang. Dust with powdered sugar and top with fresh blueberries, lemon slices, and mint before serving.
Pro Tips
- Don’t skip chilling the bars. Cutting them warm means a soft, messy slice instead of that clean, sharp edge you want.
- Use fresh lemon juice, not bottled. The flavor difference is significant, and fresh zest adds even more brightness.
- Pour the lemon layer slowly. This keeps a cleaner line between the cream cheese and lemon layers once sliced.
- Let the crust cool slightly before adding the cream cheese layer. Pouring onto a piping hot crust can thin out the cream cheese mixture too much.
- Use a hot, clean knife for slicing. Wipe it between cuts for the cleanest bars possible.
Substitutions and Variations
- Dairy-free version: Use a dairy-free cream cheese alternative and plant-based butter for the crust.
- Lower sugar option: Reduce the sugar in the lemon layer slightly, though it may affect how firmly the bars set.
- Different citrus: Lime or a mix of lemon and orange both work well in place of straight lemon.
- Nut-free crust: A gluten free graham cracker crust works as a swap if you need to avoid almond flour.
- Extra tangy version: Add an extra tablespoon of lemon zest for a sharper citrus punch.
Make Ahead Tips
These bars actually taste better the next day, once the flavors have had time to settle.
You can make them up to 3 days ahead and store them covered in the fridge until you’re ready to serve.
The crust can also be baked a day in advance if you want to break the process into smaller steps.
Additional Details
Nutritional Breakdown (Per Bar)
| Nutrient | Amount |
|---|---|
| Calories | ~240 |
| Protein | 5g |
| Carbs | 22g |
| Fat | 16g |
| Sugar | 17g |
Note: Values are estimates based on a 12-bar batch and will vary depending on exact ingredients used.
Meal Pairing Ideas
- Serve with a cup of black tea or coffee for an afternoon treat.
- Pair with fresh berries on the side for extra brightness.
- Add a scoop of vanilla ice cream for a more indulgent dessert.
Cooking Time Efficiency Tips
- Bake the crust while zesting and juicing your lemons to save time.
- Make the cream cheese and lemon layers back to back so you’re not waiting between steps.
- Chill the bars overnight if you’re prepping for a next-day event.
Leftovers and Storage
Store bars in an airtight container in the fridge for up to 5 days.
These bars also freeze well for up to 2 months. Wrap individual pieces in plastic wrap, then place in a freezer bag.
Thaw in the fridge overnight before serving for the best texture.
FAQ
Can I use bottled lemon juice instead of fresh? Fresh is strongly recommended here, since bottled juice tends to taste flatter and less bright in a dessert like this.
Why did my bars come out soggy on the bottom? This usually happens if the crust wasn’t baked long enough before adding the cream cheese layer, or if the bars weren’t chilled fully before slicing.
Is almond flour the same as almond meal? Not quite. Almond flour is finer and works better here for a smoother, more even crust texture.
Can I make this recipe dairy-free too? Yes. Swap the butter and cream cheese for dairy-free alternatives, and the rest of the recipe stays the same.
How do I get clean slices? Chill the bars fully, then use a sharp knife wiped clean between each cut.
Wrapping Up
These lemon bars prove that gluten free desserts can be just as rich and satisfying as anything else on the table.
Bright, buttery, tangy, and just sweet enough, they’re the kind of treat that gets requested again and again.
Bake a batch this week and let me know how they turned out in the comments below. And if you tried a different citrus or added your own twist, I’d love to hear what you made.