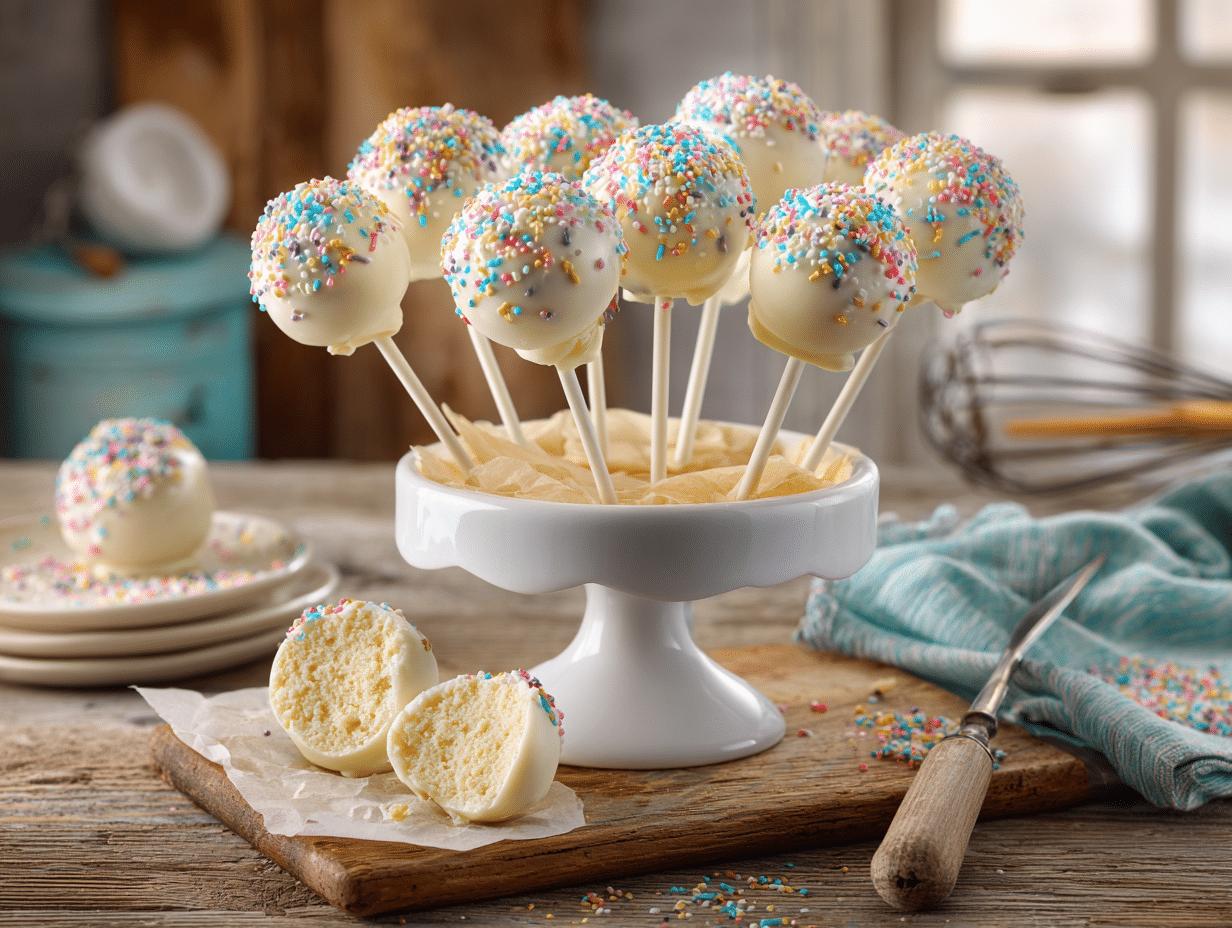
There’s something about a cake pop that just makes people happy the second they see it.
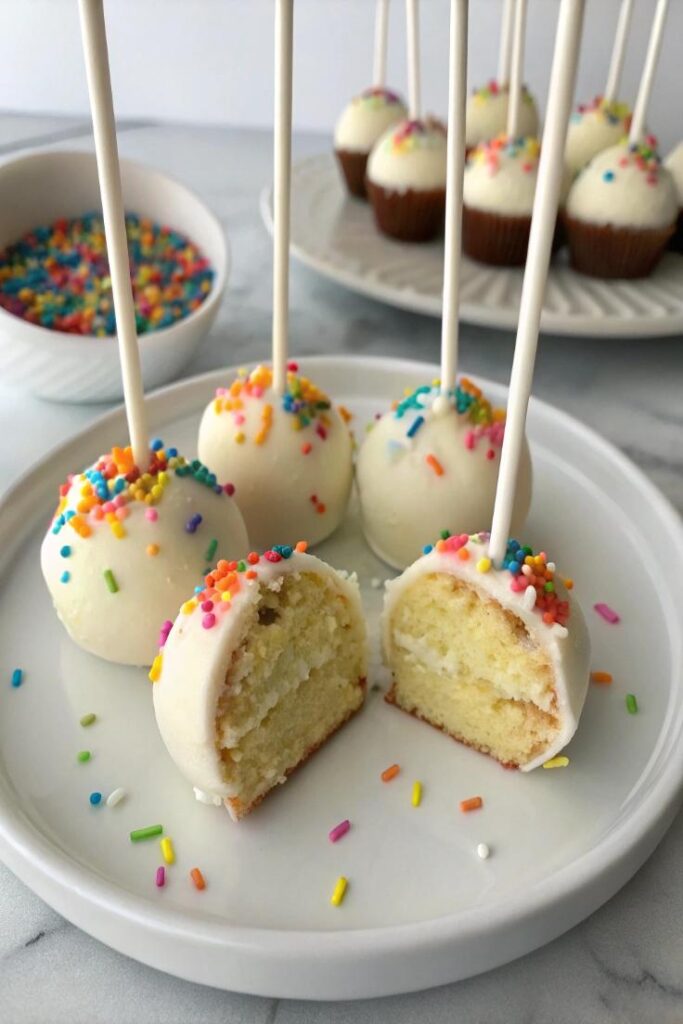
Maybe it’s the little stick. Maybe it’s the sprinkles. Either way, these bite-sized balls of cake and frosting, dipped in a colorful chocolate shell, always end up being the first thing to disappear from any dessert table.
They look like they take serious skill to pull off, but the actual process is pretty forgiving, even if your first few aren’t perfectly round.
If you’ve been wanting to try making these at home, this is the recipe that walks you through it start to finish. 🎂
Why This Recipe Works So Well
Using leftover or freshly baked cake crumbs mixed with frosting creates a moldable dough that holds its shape once formed into balls and chilled.
Chilling the cake balls before dipping is what keeps them from falling apart in the melted chocolate, so that step really does matter even though it feels like it’s just adding time.
And dipping in melted candy melts or chocolate gives you that clean, glossy shell that holds all the sprinkles and decorations in place once it sets.
What You’ll Need
- 1 baked 9×13 cake (any flavor), cooled
- 3/4 to 1 cup frosting (store-bought or homemade)
- 2 bags candy melts (in your choice of colors)
- Sprinkles, for decorating
- Cake pop sticks
Five main ingredients, and the flavor combinations are basically endless from here.
Tools You’ll Need
- A large mixing bowl
- A baking sheet
- Parchment paper
- A microwave-safe bowl (for melting candy melts)
- A styrofoam block or cake pop stand (for drying)
How to Make Cake Pops
- Crumble the baked cake into fine crumbs in a large mixing bowl, breaking up any large chunks.
- Add the frosting a little at a time, mixing until the mixture holds together when pressed, similar to a soft dough.
- Roll the mixture into balls, about 1 to 1.5 inches wide, and place them on a parchment-lined baking sheet.
- Chill the cake balls in the fridge for at least 1 hour, or the freezer for 20 to 30 minutes.
- Melt the candy melts according to the package instructions, stirring until smooth.
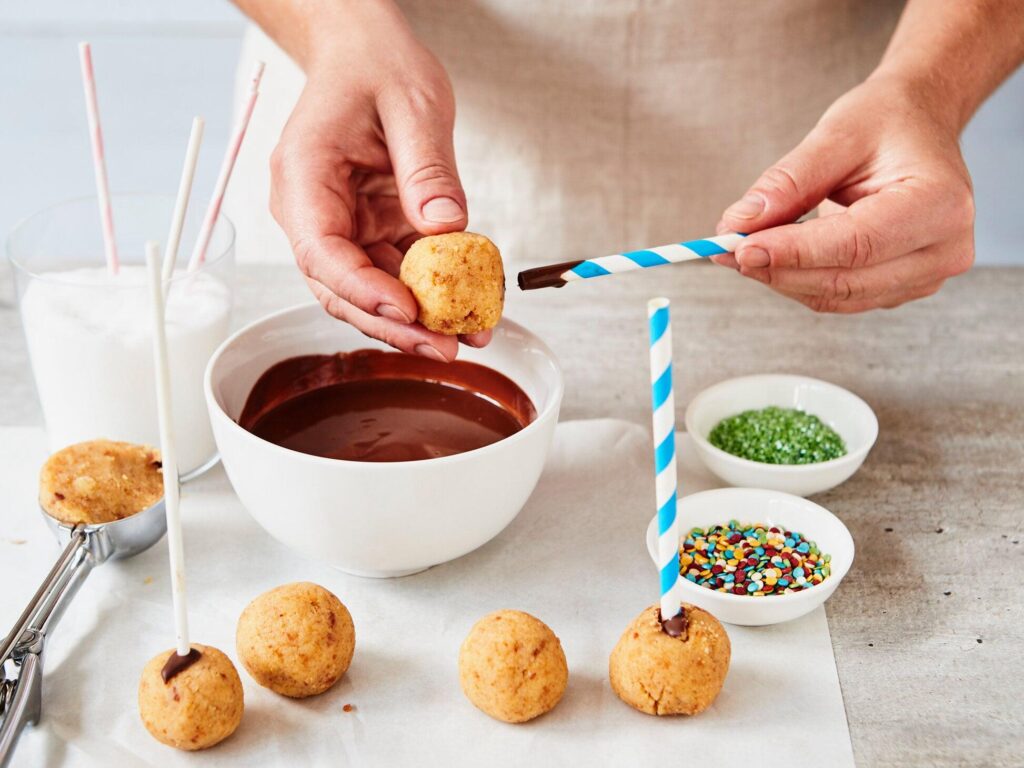
- Dip the tip of a cake pop stick into the melted candy melts, then insert it partway into a chilled cake ball.
- Dip the entire cake ball into the melted candy melts, tapping off any excess.
- Add sprinkles or decorations immediately, before the coating sets.
- Place the finished pops upright in a styrofoam block or cake pop stand to dry completely.
Nine steps, and once you get into a rhythm, it moves pretty quickly.
Pro Tips From Making Way Too Many of These
Don’t add too much frosting. Start with less than you think you need. Adding too much makes the mixture too soft to hold its shape once rolled.
Chill thoroughly before dipping. Cake balls that are still warm or soft tend to fall apart or slide off the stick once dipped into the candy melts.
Dip the stick before inserting it, not after. A small dab of melted candy melt on the stick before pushing it into the cake ball acts as glue, helping it stay attached.
Work with one cake ball at a time. Trying to dip multiple pops at once often leads to a messier process and a higher chance of them falling apart.
Add sprinkles immediately after dipping. The candy coating sets fast, so sprinkles need to go on right away or they won’t stick.
Substitutions and Variations
| Swap this | For this |
|---|---|
| Store-bought frosting | Homemade buttercream |
| Candy melts | Melted chocolate chips with a bit of shortening for a smoother melt |
| Vanilla cake | Chocolate, red velvet, or funfetti cake |
| Sprinkles | Crushed cookies, mini chocolate chips, or edible glitter |
| Plain pops | A drizzle of contrasting colored candy melts on top for a decorative finish |
You can also mix in a bit of extract, like almond or orange, into the cake and frosting mixture for a subtle flavor twist.
Make Ahead Tips
The cake balls can be rolled and chilled up to 2 days ahead, stored covered in the fridge until you’re ready to dip and decorate.
Finished, decorated cake pops also keep well for a few days, making this a great dessert to prep ahead of a party or event.
A Few Extra Details Worth Knowing
Nutrition-wise, a single cake pop lands around 150 to 200 calories, depending on the size and amount of coating used.
For different diets:
- Gluten-free: use a gluten-free cake mix or homemade gluten-free cake as the base
- Dairy-free: use a dairy-free cake, frosting, and candy melts
- Lower sugar: use a reduced-sugar cake and frosting, though the candy coating will still contribute a good amount of sweetness
Pairing suggestions: these work well alongside a dessert table at parties, paired with other bite-sized treats like mini cupcakes or cookies.
Time-saving tip: use a store-bought cake and frosting instead of baking from scratch, cutting your prep time down significantly.
Leftovers and Storage
Store in an airtight container at room temperature for up to 3 days, or in the fridge for up to a week.
These also freeze well. Store in a freezer-safe container for up to 2 months, thawing at room temperature before serving.
FAQ
Why do my cake pops fall off the stick?
This usually happens if the cake ball wasn’t chilled enough, or if the stick wasn’t dipped in melted coating first to act as glue before inserting it.
Can I use a box cake mix instead of baking from scratch?
Yes, a box cake mix works perfectly well and is actually the most common way to make cake pops.
Why did my candy melt coating crack?
This can happen if the cake balls are too cold when dipped, causing the coating to set unevenly. Letting them sit at room temperature for a few minutes before dipping can help.
How far in advance can I make these for a party?
The cake balls can be prepped up to 2 days ahead, and fully finished cake pops keep well for several days stored properly.
Can I make these without a cake pop stand?
Yes, a block of styrofoam wrapped in parchment paper, or a cardboard box with holes poked in it, works just as well for holding the pops upright while they dry.
Wrapping Up
These little treats manage to turn a simple cake into something that feels like a genuine celebration.
A bit of rolling, a bit of dipping, and a tray of colorful pops that always end up being the first thing people reach for.
Make a batch for your next occasion and let me know how it turns out in the comments. I’d love to hear what flavor and color combinations you tried, and if you have any questions along the way, just ask. I read every comment.