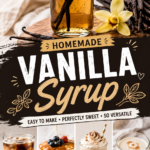
You know that golden bottle of vanilla syrup you keep grabbing at the store, the one that’s mostly corn syrup and artificial flavoring? Yeah, this homemade version is nothing like that.
It takes about 15 minutes, uses three real ingredients, and tastes so much better you’ll genuinely wonder why you waited this long.
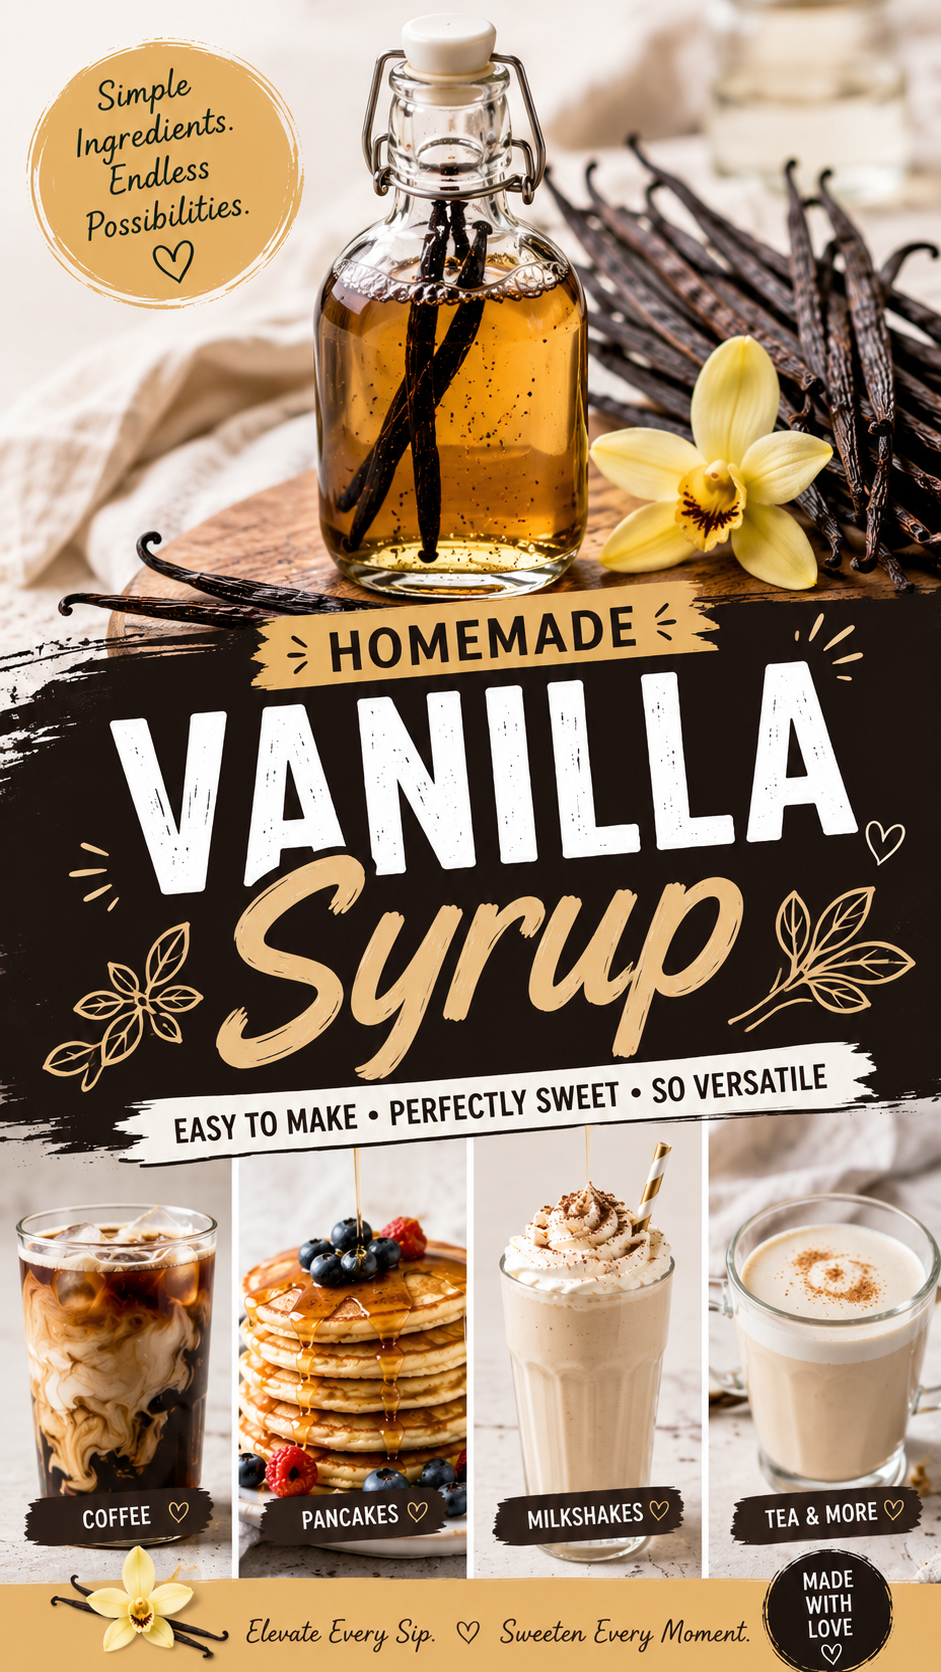
And here’s the thing — once you make it, you’ll start putting it on everything. Coffee, pancakes, oatmeal, milkshakes, lemonade. The list gets longer by the week.
What You’ll Need
Ingredients
- 1 cup granulated white sugar
- 1 cup water
- 2 whole vanilla beans (or 2 teaspoons pure vanilla extract as a backup)
- Pinch of fine sea salt
Makes: About 1.5 cups of syrup Prep Time: 5 minutes | Cook Time: 10 minutes | Total: 15 minutes
Tools Required
- Small saucepan
- Wooden spoon or silicone spatula
- Sharp paring knife (for splitting the vanilla beans)
- Fine mesh strainer or cheesecloth
- Glass jar or airtight bottle for storage (a 16 oz mason jar works great)
- Measuring cups
How to Make It (Step-by-Step)
Step 1: Split the vanilla beans.
Using your paring knife, slice each vanilla bean lengthwise down the middle. Scrape out the seeds with the back of the knife — those little black specks are where all the flavor lives.
Step 2: Combine everything in the saucepan.
Add the water, sugar, vanilla bean pods, the scraped seeds, and the pinch of salt into your saucepan over medium heat.
Step 3: Stir until the sugar dissolves.
Stir continuously for about 3-4 minutes until every grain of sugar has dissolved. You’ll notice the liquid go from cloudy to clear.
Step 4: Simmer (don’t boil).
Reduce to medium-low heat and let it gently simmer for about 5 minutes. You want tiny bubbles, not a rolling boil. A hard boil will burn off the delicate vanilla flavor.
Step 5: Cool and strain.
Take it off the heat and let it cool for 10 minutes. Then strain out the vanilla bean pods through your fine mesh strainer into your glass jar.
Step 6: Store and enjoy.
Once fully cooled, seal the jar and refrigerate. That’s it. 🎉
Pro Tips
These are the things I wish someone had told me the first time:
- Don’t skip the simmer. That 5-minute simmer is what turns plain sugar water into a lightly syrupy, flavorful base. Pull it too early and it’ll taste thin.
- Save the pods. After straining, rinse the used vanilla bean pods and drop them into a jar of sugar. In two weeks you’ll have vanilla sugar. You can thank me later.
- Use Grade B vanilla beans if you can find them. They’re less expensive than Grade A and actually have a stronger, more concentrated flavor — perfect for syrups and extracts.
- Let it cool completely before bottling. Sealing while hot traps steam and can mess with the shelf life. Give it a full 30 minutes on the counter.
- Taste as you go. If you want it sweeter, add a touch more sugar and stir over low heat for another minute. If you want it less sweet, add a splash of water once it’s cooled.
Substitutions and Variations
No vanilla beans on hand? Use 2 teaspoons of pure vanilla extract. Add it after removing the pan from heat — high temperatures can dull the flavor of extract.
Want a richer syrup? Make a 2:1 simple syrup by using 2 cups of sugar to 1 cup of water. It’ll be thicker and sweeter, which is great for cocktails.
Brown sugar version: Swap white sugar for light brown sugar. It adds a subtle caramel note that pairs beautifully with coffee and fall drinks.
Honey vanilla syrup: Replace half the sugar with raw honey. It gives a slightly floral, complex sweetness.
Lavender vanilla: Add 1 teaspoon of dried culinary lavender to the pot while it simmers. Strain it out with the vanilla beans. Genuinely delicious in iced lattes.
Vegan? This recipe is already completely vegan as written.
Make Ahead Tips
This syrup is actually better after it sits for a day. The vanilla has more time to infuse into the sugar syrup, and the flavor deepens noticeably.
Make a double batch on Sunday and you’re covered for the whole week.
It stays fresh in the refrigerator for up to 4 weeks in a sealed glass jar.
Nutritional Breakdown
(Per 1 tablespoon serving)
| Nutrient | Amount |
|---|---|
| Calories | 48 kcal |
| Total Carbohydrates | 12g |
| Sugars | 12g |
| Fat | 0g |
| Protein | 0g |
| Sodium | 5mg |
Dietary notes:
- Gluten-free ✓
- Vegan ✓
- Dairy-free ✓
- For low-sugar diets: Use a monk fruit or erythritol sweetener in a 1:1 swap. The syrup will be thinner in consistency but still flavorful.
Meal Pairing Suggestions
Not sure where to use this? Here’s where it shines:
- Morning coffee or cold brew — 1-2 tablespoons per cup
- Iced lattes or oat milk lattes — a game changer
- Pancakes or waffles — drizzled on top or mixed into the batter
- Vanilla milkshakes — blend with vanilla ice cream and whole milk
- Overnight oats — stir in a tablespoon instead of honey or maple syrup
- Lemonade or iced tea — a flavored simple syrup takes both to another level
- Cocktails — pairs well with bourbon, gin, and rum-based drinks
Leftovers and Storage
Fridge: Keeps for 3-4 weeks in a sealed glass jar. Give it a quick shake before using since it can settle slightly.
Signs it’s gone off: If you notice any cloudiness (beyond the normal vanilla specks), off smell, or visible mold around the lid, it’s time to make a fresh batch.
Freezer: You can freeze it in an ice cube tray for up to 3 months. Pop a cube into your coffee and let it melt in — it works surprisingly well.
Tip: Store in glass, not plastic. Glass doesn’t hold onto odors and keeps the vanilla flavor clean.
FAQ
Can I use imitation vanilla instead of real vanilla beans or extract?
Technically yes, but the flavor difference is noticeable. Real vanilla has a warm, round complexity that imitation just doesn’t replicate. If you’re making this for your morning coffee, it’s worth splurging on the real thing.
How thick should the syrup be?
It’s a light syrup — thinner than maple syrup, slightly thicker than water. If you want it thicker, increase the sugar ratio or simmer it a few extra minutes to reduce it further.
Can I double or triple the recipe?
Absolutely. Just keep the 1:1 sugar-to-water ratio and scale up the vanilla beans proportionally (one bean per cup of liquid is a good rule of thumb).
My syrup crystallized in the fridge. What happened?
This sometimes happens if the syrup was cooked at too high a temperature or if any sugar crystals on the sides of the pot got stirred back in. To fix it, gently reheat it with a small splash of water over low heat and stir until smooth.
Can I use vanilla paste instead of beans?
Yes! Vanilla bean paste is a great middle-ground option. Use 1 teaspoon of paste per cup of liquid. You’ll still get the beautiful flecks of vanilla without splitting whole beans.
How do I know when the sugar is fully dissolved?
Run your spatula along the bottom of the pan — if you can feel any graininess, keep stirring. Once it’s smooth and the liquid is clear, you’re good.
Wrapping Up
Homemade vanilla syrup is one of those small things that sounds unnecessary until you actually try it.
Once you’ve had a coffee sweetened with this over the store-bought stuff, going back feels wrong. It’s that kind of small upgrade that quietly changes your whole morning routine.
Give it a try this week — it takes less time than a trip to the store, and the jar looks cute on your counter too 😄
Drop a comment below and tell me what you ended up using it in. I especially want to hear if you tried it in something unexpected. And if you have questions — flavor combos, troubleshooting, anything — ask away. I read every single one.