Most people think sponge cake is fussy. That one wrong move and you’ll end up with a flat, dense disaster.
It’s really not that dramatic.
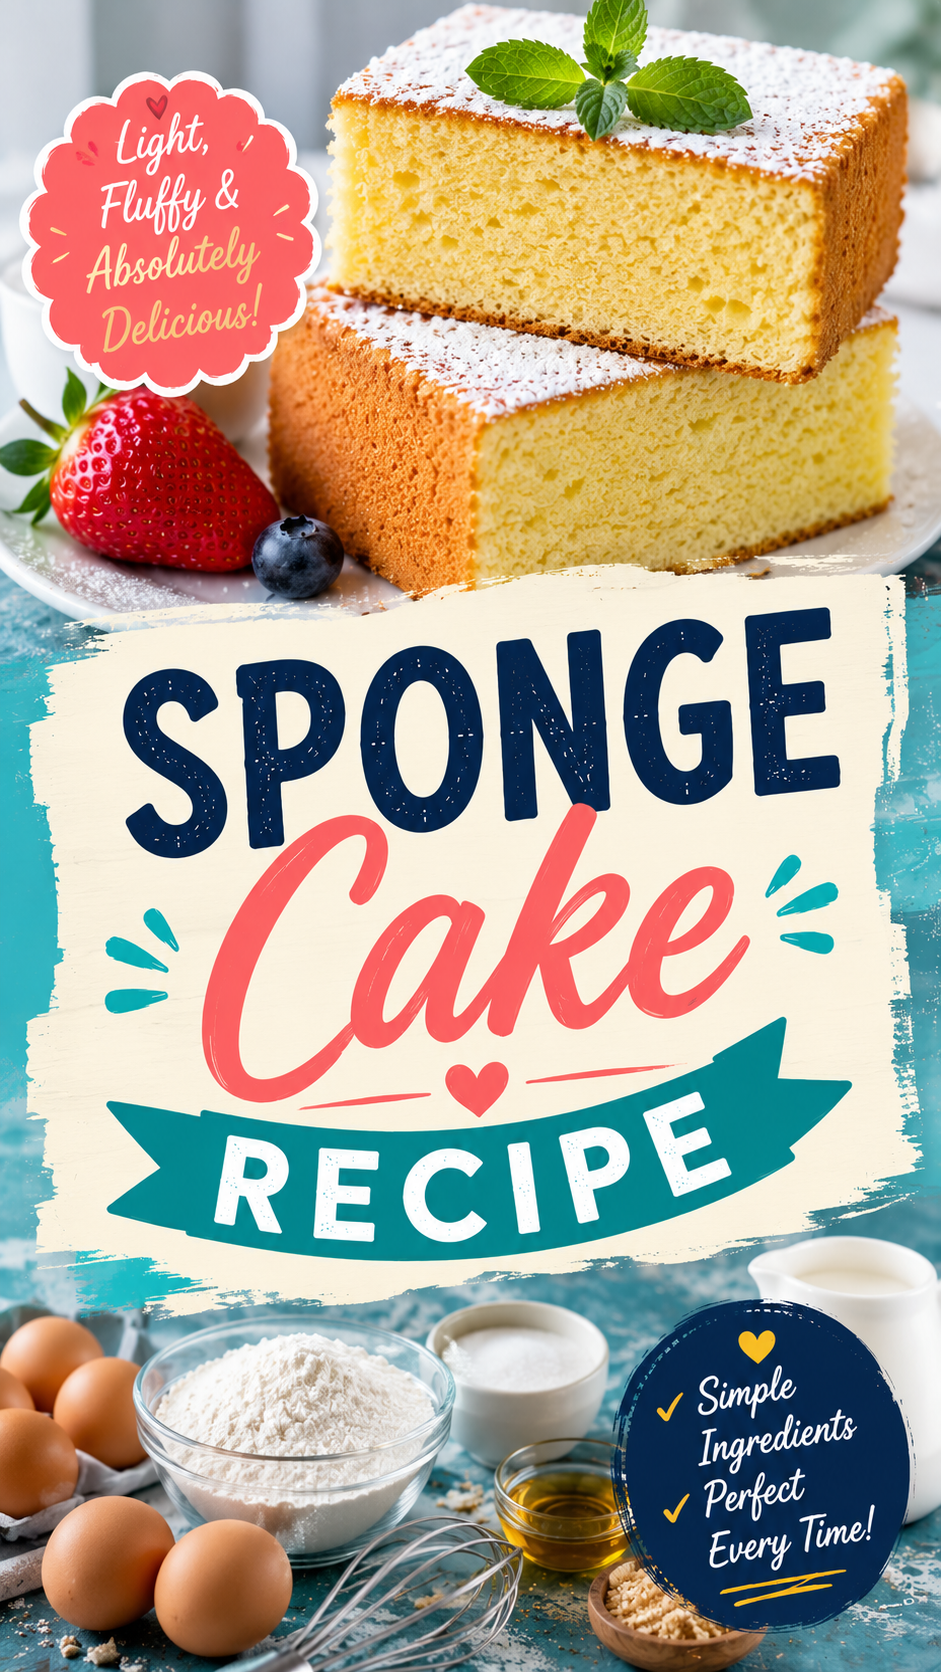
This classic sponge cake comes together with six simple pantry ingredients — eggs, flour, sugar, butter, milk, and vanilla. No fancy equipment, no complicated techniques. Just a light, airy cake with that signature golden crust and cloud-soft interior that looks like it took serious skill.
The secret that most recipes don’t tell you upfront? It’s all in how you treat the eggs. More on that in the Pro Tips section — don’t skip it.
What You’ll Need
For the Sponge Cake
- 4 large eggs, room temperature
- 1 cup (200g) granulated white sugar
- 1 cup (125g) all-purpose flour, sifted
- ¼ cup (60ml) whole milk, warm
- ¼ cup (60g) unsalted butter, melted and slightly cooled
- 1 teaspoon pure vanilla extract
- 1 teaspoon baking powder
- ¼ teaspoon salt
- Powdered sugar for dusting (optional)
Optional Toppings to Serve With
- Fresh strawberries and blueberries
- Whipped cream
- Lemon curd
- Jam of choice
Tools You’ll Need
- 9×9 inch (23x23cm) square baking pan, or 9-inch round cake pan
- Electric hand mixer or stand mixer
- Large mixing bowl
- Medium mixing bowl
- Fine mesh sieve or flour sifter
- Rubber spatula
- Measuring cups and spoons
- Parchment paper
- Cooling rack
- Toothpick (for testing doneness)
Pro Tips
These are the things that separate a flat sponge from a properly fluffy one.
- Room temperature eggs are non-negotiable. Cold eggs don’t whip up as well and won’t trap as much air. Pull them out of the fridge at least 30 minutes before you start. This single step makes a measurable difference in how much the cake rises.
- Whip the eggs and sugar longer than you think. You want the mixture to be pale, thick, and roughly triple in volume — this takes about 5–7 minutes with an electric mixer. That air you’re incorporating is what makes the sponge light. Rushing this step is the number one reason sponge cakes come out dense.
- Fold, don’t stir. Once you add the flour, switch to a rubber spatula and fold with slow, gentle strokes from the bottom of the bowl up and over. Stirring knocks out the air you just spent 7 minutes building. Take your time here.
- Add the butter and milk last, and gently. Warm (not hot) milk and slightly cooled melted butter both incorporate more easily. Pour them in slowly along the edge of the bowl and fold until just combined.
- Don’t open the oven door early. For the first 20 minutes, leave the oven closed. The sudden temperature drop from opening the door can cause the cake to sink in the middle before it has set.
How to Make It
Prep time: 20 minutes Cook time: 25–30 minutes Total time: ~50 minutes Serves: 9–12 slices
Step 1: Prep Your Pan and Oven
Preheat your oven to 350°F (175°C).
Grease your baking pan and line the bottom with parchment paper. Grease the parchment too. Set aside.
Step 2: Whip the Eggs and Sugar
Add the eggs and sugar to a large mixing bowl.
Using an electric hand mixer or stand mixer, beat on medium-high speed for 5–7 minutes until the mixture is pale, thick, and has tripled in volume. When you lift the beater and let the batter fall back in, it should hold a ribbon on the surface for a few seconds before dissolving. That’s your cue it’s ready.
Step 3: Sift and Fold in the Flour
Sift the flour, baking powder, and salt directly over the egg mixture in two or three additions.
After each addition, fold gently with a rubber spatula using slow, sweeping strokes from the bottom up. Stop as soon as you no longer see streaks of flour. Don’t overwork it.
Step 4: Add the Butter and Milk
Combine the warm milk, melted butter, and vanilla extract in a small bowl.
Pour it slowly along the side of the mixing bowl — not directly into the center — and fold in gently until just incorporated. The batter should be smooth and slightly glossy.
Step 5: Bake
Pour the batter into your prepared pan and smooth the top with a spatula.
Bake for 25–30 minutes until the top is golden and springs back when lightly pressed. Insert a toothpick into the center — it should come out clean.
Step 6: Cool and Serve
Let the cake cool in the pan for 10 minutes, then turn it out onto a cooling rack and remove the parchment.
Cool completely before dusting with powdered sugar or adding any toppings. Cutting into a warm sponge compresses the crumb — patience pays off here.
Substitutions and Variations
Dairy-free:
- Swap butter for melted coconut oil (refined, so it doesn’t taste like coconut)
- Use oat milk or almond milk instead of whole milk — warm it the same way
Gluten-free:
- Replace all-purpose flour with a 1:1 gluten-free baking flour blend. Results are slightly denser but still very good.
Lemon sponge:
- Add the zest of one lemon to the egg and sugar mixture before whipping
- Replace the vanilla with lemon extract
Orange sponge:
- Add the zest of one orange and replace half the vanilla with orange extract
Victoria sponge (a classic):
- Bake two thinner layers, sandwich them with strawberry jam and whipped cream
- Dust the top layer with powdered sugar
Chocolate sponge:
- Replace 3 tablespoons of flour with 3 tablespoons of unsweetened cocoa powder
Make-Ahead Tips
Sponge cake is a great make-ahead dessert.
- Bake the day before: Cool completely, wrap tightly in plastic wrap, and store at room temperature overnight. It stays moist and actually slices more cleanly the next day.
- Freeze unfrosted: Wrap cooled sponge layers tightly in plastic wrap and then foil. Freeze for up to 2 months. Thaw at room temperature for 2–3 hours before serving.
- Freeze individual slices: Cut, wrap each slice individually, and freeze. Pull out slices as needed — they thaw in about an hour on the counter.
Nutritional Breakdown (Per Slice, Approximate)
Based on 12 slices, plain sponge without toppings.
| Nutrient | Amount |
|---|---|
| Calories | ~175 kcal |
| Protein | ~4g |
| Carbohydrates | ~28g |
| Fat | ~6g |
| Sugar | ~17g |
| Sodium | ~85mg |
Serving Suggestions
The plain sponge is a blank canvas. Here’s how to dress it up depending on the occasion.
- Casual weeknight dessert: Dust with powdered sugar and serve with fresh berries
- Afternoon tea: Slice thin, serve with lemon curd and a cup of Earl Grey
- Dinner party: Layer with whipped mascarpone cream and macerated strawberries
- Kid-friendly version: Top with a light vanilla glaze and rainbow sprinkles
- Summer entertaining: Serve alongside a scoop of vanilla ice cream and fresh peach slices
Leftovers and Storage
Room temperature: Store wrapped in plastic wrap or in an airtight container for up to 3 days. Sponge dries out faster than denser cakes, so wrapping it well matters.
Refrigerator: If topped with cream or fresh fruit, refrigerate and consume within 2 days.
Freezer: Up to 2 months, wrapped well. Thaw at room temperature — don’t microwave a whole cake, it makes the texture rubbery.
Reviving a slightly dry sponge: Brush the cut surface lightly with simple syrup (equal parts sugar and water, heated until dissolved). It brings moisture back without changing the flavor.
FAQ
Why did my sponge cake sink in the middle?
A few possible reasons: the oven door was opened too early, the cake was underbaked, or the batter was overmixed after adding the flour. Make sure your oven is fully preheated and resist opening the door for at least the first 20 minutes.
Why is my sponge dense instead of airy?
The egg and sugar mixture wasn’t whipped long enough, or the flour was folded in too aggressively. Both knock out the air that gives sponge its lift. Re-read Step 2 and Step 3 carefully.
Can I use self-raising flour instead of all-purpose?
Yes — just omit the baking powder and salt from the recipe since they’re already in the self-raising flour.
Can I double the recipe?
Yes, but bake in two separate pans rather than one deeper pan. A thicker batter layer takes much longer to bake through and often ends up overbaked on the outside and raw in the middle.
Do I need to use a mixer, or can I whisk by hand?
You can whisk by hand — it just takes significantly longer (10–15 minutes of vigorous whisking) to get the eggs and sugar to the right volume. An electric mixer is faster and more consistent.
My cake is sticking to the pan even with parchment. What happened?
Make sure you grease both the pan and the parchment. Sponge cakes have a tendency to stick to ungreased parchment even more than a bare pan. Don’t skip greasing both surfaces.
Can I add frosting to a sponge cake?
You can, though the delicate crumb doesn’t hold up well to thick American buttercream. Whipped cream, lightly sweetened mascarpone, or a thin glaze all work beautifully without weighing it down.
Wrapping Up
Six ingredients. One bowl. A cake that looks like you spent the afternoon on it.
Sponge cake rewards patience more than skill — get the egg whipping right, fold gently, and trust your oven. Do those three things and it comes out perfectly every time.
Give it a go this weekend and come back and tell me how it turned out. Drop your questions below too — I want to hear everything, from first-time wins to “mine looks completely different” moments. All of it is welcome. 😄