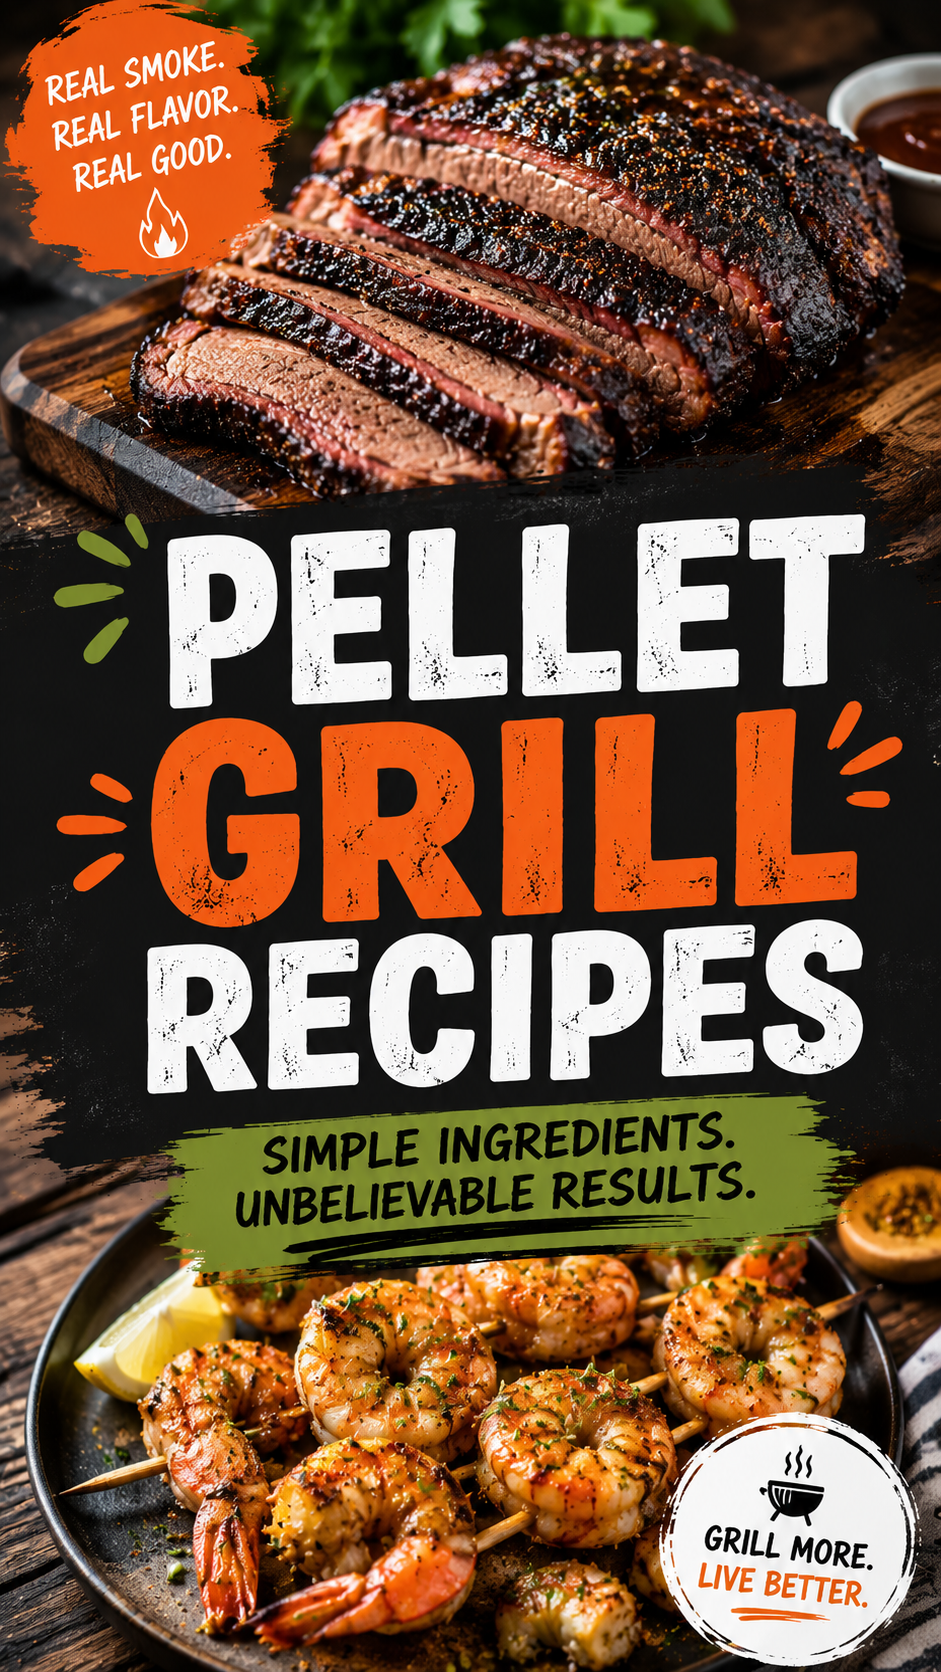
I used to think brisket was something only pitmasters with decades of experience could pull off. Then I got a pellet grill, and everything changed. 🔥
Set it, walk away, come back hours later to the most tender, smoky, melt-in-your-mouth beef you’ve ever had.
No constant babysitting. No flipping every 5 minutes. Just patience and a good thermometer.
This recipe has become my go-to for every gathering, and people genuinely think I’ve been smoking meat for years.
I haven’t. I just followed a few key steps that make all the difference.
Let’s fire up that grill.
What You’ll Need
For the Brisket:
- 1 whole brisket (10-12 lbs), trimmed
- 3 tablespoons coarse black pepper
- 3 tablespoons coarse salt
- 1 tablespoon garlic powder
- 1 tablespoon onion powder
- 1 teaspoon smoked paprika
- Yellow mustard (thin layer, as a binder)
For Wrapping (optional):
- Butcher paper or aluminum foil
- 1/4 cup beef broth or apple cider vinegar
Tools You’ll Need
- Pellet grill
- Wood pellets (oak or hickory work great)
- Meat thermometer (instant-read and/or leave-in probe)
- Sharp knife for trimming
- Cutting board
- Aluminum foil or butcher paper
- Insulated cooler (for resting)
Pro Tips
Trim the fat cap to about 1/4 inch. Too much fat and the rub won’t penetrate or render properly. Too little and the meat can dry out. A quarter inch is the sweet spot.
Use a leave-in probe thermometer. This is the single best upgrade you can make. It lets you monitor the internal temperature without opening the lid constantly, which keeps the cooking environment stable.
Cook to temperature, not time. Every brisket is different. Some take 10 hours, some take 14. Pull it when the internal temp hits 203°F, not when a clock says so.
The stall is normal, don’t panic. Around 150-165°F, the temperature will plateau for a while as moisture evaporates and cools the meat. This can last hours. It’s completely normal, just keep going.
Rest it longer than you think you need to. A minimum of 1 hour, ideally 2, wrapped in a towel inside a cooler. This redistributes the juices and makes a massive difference in tenderness.
Instructions
- Trim the brisket, leaving about 1/4 inch of fat cap.
- Apply a thin layer of yellow mustard all over the brisket as a binder (you won’t taste it, it just helps the rub stick).
- In a small bowl, mix the black pepper, salt, garlic powder, onion powder, and smoked paprika. Generously coat the entire brisket with the rub.
- Preheat your pellet grill to 225°F using oak or hickory pellets.
- Place the brisket fat-side down on the grill grates. Insert your leave-in thermometer probe into the thickest part of the meat.
- Smoke until the internal temperature reaches about 165°F, which usually takes 6-8 hours.
- At this point, wrap the brisket tightly in butcher paper or foil, adding a splash of beef broth or apple cider vinegar before sealing.
- Return the wrapped brisket to the grill and continue cooking until it reaches an internal temperature of 203°F, usually another 3-5 hours.
- Remove from the grill, keep it wrapped, and let it rest in a cooler for at least 1-2 hours.
- Unwrap, slice against the grain into pencil-width slices, and serve.
Substitutions and Variations
| Original | Swap | Notes |
|---|---|---|
| Oak or hickory pellets | Mesquite | Stronger, more intense smoke flavor |
| Yellow mustard | Olive oil | Neutral binder option |
| Butcher paper | Aluminum foil | Foil traps more moisture, slightly softer bark |
| Smoked paprika | Regular paprika | Less smoky flavor |
| Beef broth | Apple juice | Adds a hint of sweetness |
Want a spicier rub? Add 1 tablespoon of cayenne pepper or chili powder to the rub mixture.
No pellet grill? This can be adapted for a charcoal smoker or oven, though smoke flavor and bark texture will differ.
Make Ahead Tips
Brisket actually reheats really well, so cooking it a day ahead is a smart move for big gatherings.
Slice it cold, then reheat slices wrapped in foil with a splash of beef broth at 325°F until warmed through.
You can also apply the dry rub the night before and let it sit uncovered in the fridge. This is called a “dry brine” and helps the seasoning penetrate even deeper.
Leftovers and Storage
Store leftover brisket in an airtight container in the fridge for up to 4 days.
For longer storage, vacuum-seal slices and freeze for up to 3 months.
Reheat gently in foil with a bit of broth to keep it from drying out. Avoid microwaving if possible, since it can make the meat tough and rubbery.
FAQ
Why is my brisket tough?
This usually means it was either undercooked (pulled before 203°F) or sliced with the grain instead of against it. Always check both before assuming something went wrong.
Do I need to wrap my brisket?
Wrapping (sometimes called the “Texas Crutch”) helps push through the stall faster and keeps the meat moist. It’s optional, but most people find it speeds things up and improves tenderness.
How much brisket do I need per person?
Plan for about 1/2 pound of raw brisket per person, since it loses weight during cooking and some portions (like the point) yield less usable meat than others.
Can I cook this at a higher temperature to save time?
You can, but lower and slower generally produces better texture and bark. If you’re short on time, 250°F instead of 225°F can shave off a couple hours without too much quality loss.
What’s the best way to slice brisket?
Always slice against the grain. The brisket has two muscles with grains running different directions, so you may need to rotate the brisket partway through slicing to follow the grain correctly.
Wrapping Up
Smoking a brisket takes time, but the payoff is completely worth it.
Tender, smoky, juicy beef that makes everyone at the table go quiet for a minute while they eat.
Give it a try and let me know in the comments how your bark turned out. Did you wrap it, and at what temp did you pull it?
I’d love to hear about it. 🔥🥩