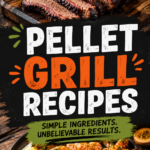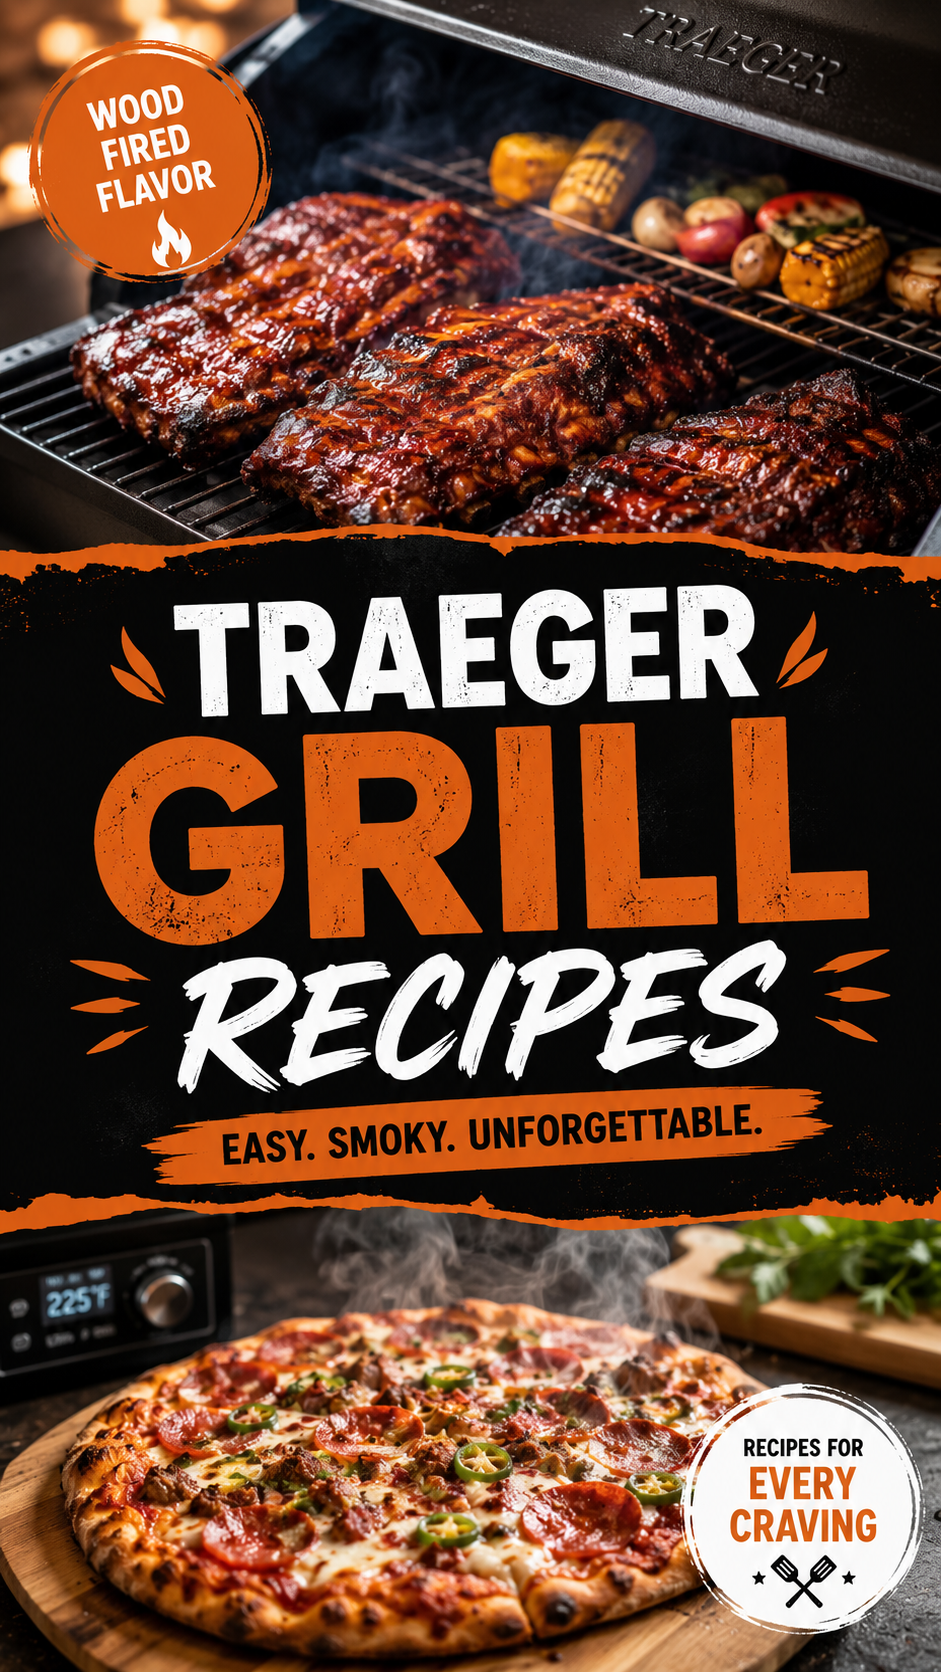
These Smoky BBQ Ribs Will Have Everyone Fighting Over the Last Bone
Fall-off-the-bone ribs used to feel impossible at home.
Like something only restaurants could pull off. 🍖
Then I got a pellet grill, and now I make these almost every weekend in the summer.
Smoky, tender, sticky with BBQ sauce, and seasoned all the way through.
The secret isn’t some fancy technique. It’s low heat, time, and a little patience.
That’s really it. Let’s get into how it’s done.
What You’ll Need
For the Ribs:
- 2 racks pork baby back ribs (about 2-3 lbs each)
- 2 tablespoons yellow mustard (as a binder)
- 1/4 cup brown sugar
- 2 tablespoons paprika
- 1 tablespoon chili powder
- 1 tablespoon garlic powder
- 1 tablespoon onion powder
- 1 tablespoon salt
- 1 teaspoon black pepper
- 1/2 teaspoon cayenne pepper (optional)
For Finishing:
- 1 cup BBQ sauce
- 1/4 cup apple juice or apple cider vinegar (for spritzing)
- 2 tablespoons butter (optional, cut into small pieces)
Tools You’ll Need
- Pellet grill
- Wood pellets (hickory, apple, or cherry work great)
- Sharp knife
- Spray bottle (for spritzing)
- Aluminum foil
- Meat thermometer
- Basting brush
Pro Tips
Remove the membrane from the back of the ribs. That thin, papery layer on the underside blocks seasoning and smoke from penetrating. Slide a butter knife under it at one corner, then pull it off with a paper towel for grip.
Don’t skip the spritzing during cooking. Spraying the ribs with apple juice every hour keeps the surface moist and helps the bark develop without drying out.
The 3-2-1 method takes the guesswork out. 3 hours smoking unwrapped, 2 hours wrapped in foil, 1 hour unwrapped with sauce. It’s a reliable framework that works for baby back ribs almost every time.
Check for doneness by the bend test. Pick up the rack with tongs from one end. If it bends and the meat starts to crack on the surface, it’s ready. If it stays stiff, it needs more time.
Apply BBQ sauce in the last hour only. Adding sauce too early can cause it to burn and turn bitter. Save it for the final stretch so it caramelizes nicely instead.
Instructions
- Remove the membrane from the back of each rib rack.
- Pat the ribs dry, then rub a thin layer of yellow mustard over both sides as a binder.
- In a small bowl, mix the brown sugar, paprika, chili powder, garlic powder, onion powder, salt, black pepper, and cayenne pepper if using. Generously coat both sides of the ribs.
- Preheat your pellet grill to 225°F using hickory, apple, or cherry pellets.
- Place the ribs bone-side down on the grill. Smoke for about 3 hours.
- Remove the ribs and place each rack on a sheet of foil. Spritz generously with apple juice, add a few pieces of butter if using, and wrap tightly.
- Return the wrapped ribs to the grill, bone-side up, and cook for another 2 hours.
- Unwrap the ribs and brush generously with BBQ sauce.
- Return to the grill, unwrapped, for a final hour, basting with more sauce every 20 minutes.
- Remove from the grill, let rest for 10-15 minutes, then slice between the bones and serve.
Substitutions and Variations
| Original | Swap | Notes |
|---|---|---|
| Baby back ribs | Spare ribs | Add about 30-60 minutes total cook time |
| Apple juice | Apple cider vinegar | More tang, less sweetness |
| Hickory pellets | Cherry or apple | Milder, slightly sweeter smoke |
| Brown sugar | Coconut sugar | Similar sweetness, less moisture |
| BBQ sauce | Dry rub only | Skip step 8-9 entirely for dry-rubbed ribs |
Want a Korean-style twist? Swap the BBQ sauce for a gochujang-based glaze in the final hour.
Going low-sugar? Use a sugar-free BBQ sauce and reduce or omit the brown sugar in the rub.
Make Ahead Tips
You can apply the dry rub up to 24 hours ahead and let the ribs sit covered in the fridge. This deepens the flavor significantly.
Cooked ribs also reheat well, so making them a day ahead for a party is totally doable.
To reheat, wrap in foil with a splash of apple juice and warm in a 300°F oven for about 20-30 minutes.
Leftovers and Storage
Store leftover ribs in an airtight container in the fridge for up to 4 days.
For longer storage, wrap tightly and freeze for up to 3 months.
Reheat in foil in the oven at 300°F until warmed through, adding a splash of liquid to prevent drying out.
FAQ
Why are my ribs tough instead of tender?
This usually means they need more time. Ribs are done when the meat pulls back from the bone and bends easily, not based on a set cook time alone.
Do I have to use the 3-2-1 method?
No, it’s a guideline. Some people prefer fully unwrapped for a firmer bite, or adjust the timing based on rack size and personal preference.
What temperature should the ribs reach?
Look for an internal temperature of around 195-203°F for that classic fall-off-the-bone texture, though the bend test is often more reliable than temperature alone for ribs.
Can I make these without a pellet grill?
Yes, this method adapts well to a regular smoker or even an oven, though you’ll miss out on the wood smoke flavor in an oven.
Why remove the membrane?
It’s tough, chewy, and doesn’t break down during cooking. Removing it lets seasoning and smoke reach the meat directly and improves the final texture.
Wrapping Up
These ribs are sticky, smoky, and the kind of food that makes people lick their fingers without any shame.
Low and slow really does make all the difference here.
Give it a try and let me know in the comments how your bark turned out. Did you stick with the 3-2-1 method or switch it up?
I’d love to hear about it. 🍖🔥Fall-off-the-bone ribs used to feel impossible at home.
Like something only restaurants could pull off. 🍖
Then I got a pellet grill, and now I make these almost every weekend in the summer.
Smoky, tender, sticky with BBQ sauce, and seasoned all the way through.
The secret isn’t some fancy technique. It’s low heat, time, and a little patience.
That’s really it. Let’s get into how it’s done.
What You’ll Need
For the Ribs:
- 2 racks pork baby back ribs (about 2-3 lbs each)
- 2 tablespoons yellow mustard (as a binder)
- 1/4 cup brown sugar
- 2 tablespoons paprika
- 1 tablespoon chili powder
- 1 tablespoon garlic powder
- 1 tablespoon onion powder
- 1 tablespoon salt
- 1 teaspoon black pepper
- 1/2 teaspoon cayenne pepper (optional)
For Finishing:
- 1 cup BBQ sauce
- 1/4 cup apple juice or apple cider vinegar (for spritzing)
- 2 tablespoons butter (optional, cut into small pieces)
Tools You’ll Need
- Pellet grill
- Wood pellets (hickory, apple, or cherry work great)
- Sharp knife
- Spray bottle (for spritzing)
- Aluminum foil
- Meat thermometer
- Basting brush
Pro Tips
Remove the membrane from the back of the ribs. That thin, papery layer on the underside blocks seasoning and smoke from penetrating. Slide a butter knife under it at one corner, then pull it off with a paper towel for grip.
Don’t skip the spritzing during cooking. Spraying the ribs with apple juice every hour keeps the surface moist and helps the bark develop without drying out.
The 3-2-1 method takes the guesswork out. 3 hours smoking unwrapped, 2 hours wrapped in foil, 1 hour unwrapped with sauce. It’s a reliable framework that works for baby back ribs almost every time.
Check for doneness by the bend test. Pick up the rack with tongs from one end. If it bends and the meat starts to crack on the surface, it’s ready. If it stays stiff, it needs more time.
Apply BBQ sauce in the last hour only. Adding sauce too early can cause it to burn and turn bitter. Save it for the final stretch so it caramelizes nicely instead.
Instructions
- Remove the membrane from the back of each rib rack.
- Pat the ribs dry, then rub a thin layer of yellow mustard over both sides as a binder.
- In a small bowl, mix the brown sugar, paprika, chili powder, garlic powder, onion powder, salt, black pepper, and cayenne pepper if using. Generously coat both sides of the ribs.
- Preheat your pellet grill to 225°F using hickory, apple, or cherry pellets.
- Place the ribs bone-side down on the grill. Smoke for about 3 hours.
- Remove the ribs and place each rack on a sheet of foil. Spritz generously with apple juice, add a few pieces of butter if using, and wrap tightly.
- Return the wrapped ribs to the grill, bone-side up, and cook for another 2 hours.
- Unwrap the ribs and brush generously with BBQ sauce.
- Return to the grill, unwrapped, for a final hour, basting with more sauce every 20 minutes.
- Remove from the grill, let rest for 10-15 minutes, then slice between the bones and serve.
Substitutions and Variations
| Original | Swap | Notes |
|---|---|---|
| Baby back ribs | Spare ribs | Add about 30-60 minutes total cook time |
| Apple juice | Apple cider vinegar | More tang, less sweetness |
| Hickory pellets | Cherry or apple | Milder, slightly sweeter smoke |
| Brown sugar | Coconut sugar | Similar sweetness, less moisture |
| BBQ sauce | Dry rub only | Skip step 8-9 entirely for dry-rubbed ribs |
Want a Korean-style twist? Swap the BBQ sauce for a gochujang-based glaze in the final hour.
Going low-sugar? Use a sugar-free BBQ sauce and reduce or omit the brown sugar in the rub.
Make Ahead Tips
You can apply the dry rub up to 24 hours ahead and let the ribs sit covered in the fridge. This deepens the flavor significantly.
Cooked ribs also reheat well, so making them a day ahead for a party is totally doable.
To reheat, wrap in foil with a splash of apple juice and warm in a 300°F oven for about 20-30 minutes.
Leftovers and Storage
Store leftover ribs in an airtight container in the fridge for up to 4 days.
For longer storage, wrap tightly and freeze for up to 3 months.
Reheat in foil in the oven at 300°F until warmed through, adding a splash of liquid to prevent drying out.
FAQ
Why are my ribs tough instead of tender?
This usually means they need more time. Ribs are done when the meat pulls back from the bone and bends easily, not based on a set cook time alone.
Do I have to use the 3-2-1 method?
No, it’s a guideline. Some people prefer fully unwrapped for a firmer bite, or adjust the timing based on rack size and personal preference.
What temperature should the ribs reach?
Look for an internal temperature of around 195-203°F for that classic fall-off-the-bone texture, though the bend test is often more reliable than temperature alone for ribs.
Can I make these without a pellet grill?
Yes, this method adapts well to a regular smoker or even an oven, though you’ll miss out on the wood smoke flavor in an oven.
Why remove the membrane?
It’s tough, chewy, and doesn’t break down during cooking. Removing it lets seasoning and smoke reach the meat directly and improves the final texture.
Wrapping Up
These ribs are sticky, smoky, and the kind of food that makes people lick their fingers without any shame.
Low and slow really does make all the difference here.
Give it a try and let me know in the comments how your bark turned out. Did you stick with the 3-2-1 method or switch it up?
I’d love to hear about it. 🍖🔥