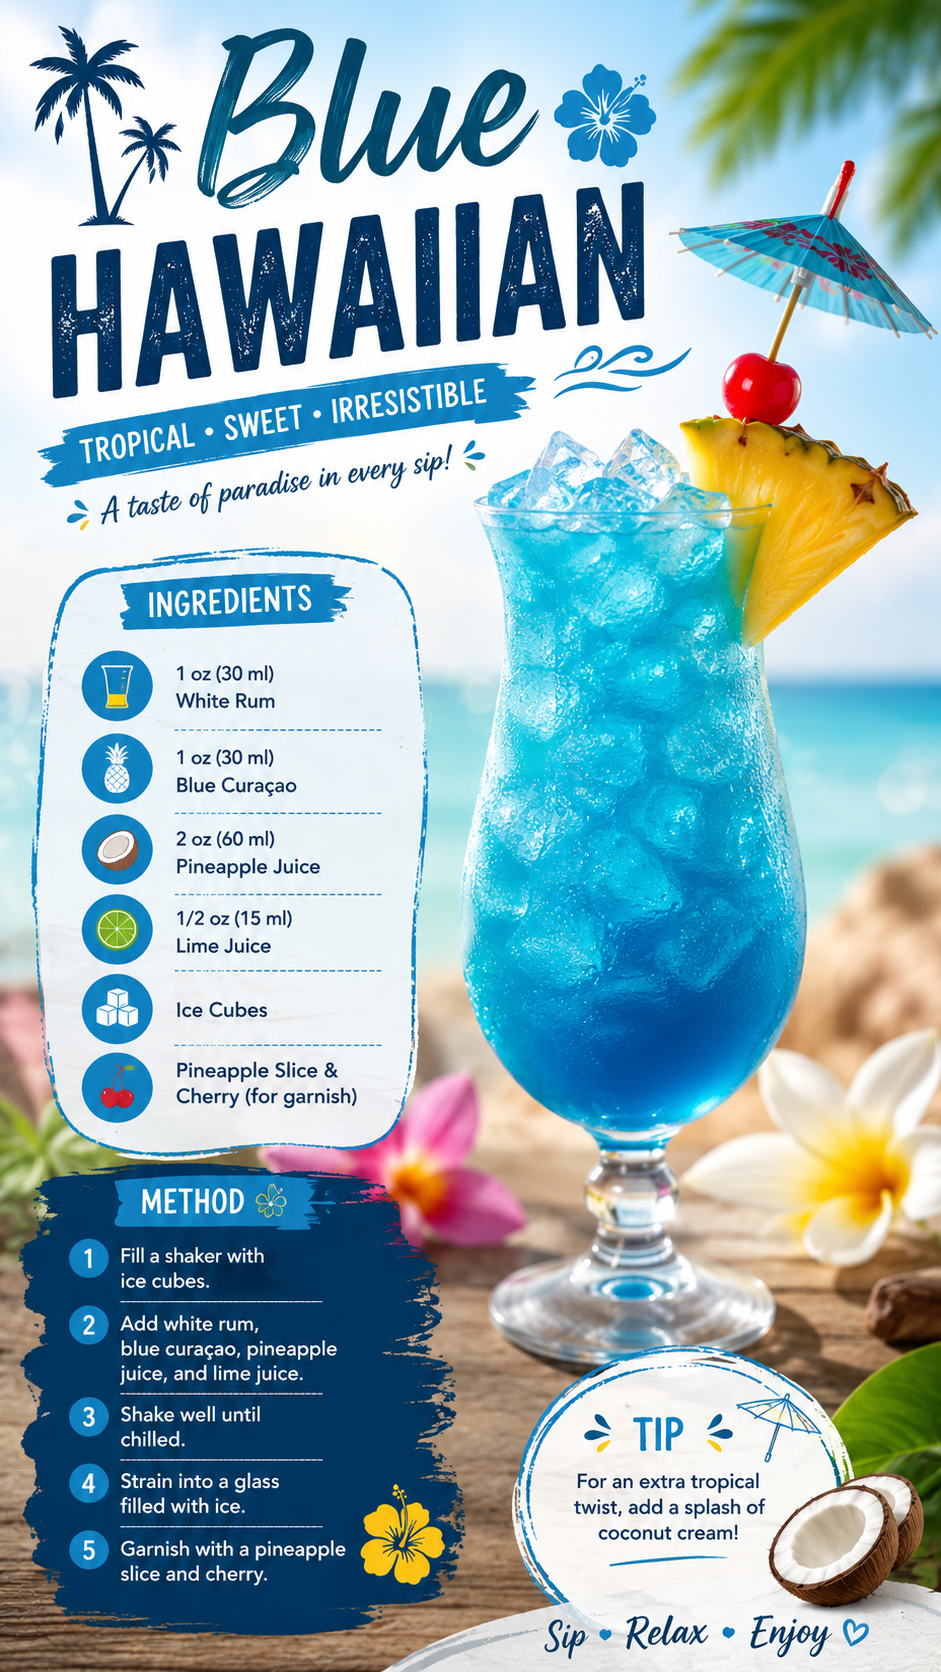
This drink has a surprisingly simple origin story.
No legend. No secret family recipe passed down for generations. Just a creative guy named Harry Yee, working at the Hilton Hawaiian Village in the 1950s. He wanted to make a drink that was bright, blue, and tropical. 🍹
That simple idea turned into one of the most iconic tropical drinks of all time. It’s the kind of drink you order on vacation specifically because it’s blue.
This is the family-friendly mocktail version. It’s simple, fast, and impossible to mess up.
Why This Drink Works So Well
The Blue Hawaiian gets its reputation from looking incredible. But the flavor is what makes people want a second glass.
It’s built on three things working together:
- Pineapple juice for bright, tropical sweetness
- Coconut cream for thick, dessert-like richness
- Blue raspberry syrup for a fruity berry note and, obviously, the color
Put them together and you get something that tastes like vacation. You can even make it in your kitchen on a random Tuesday.
What You’ll Need
- 45 ml (1.5 oz) halal-certified blue raspberry syrup
- 60 ml (2 oz) halal-certified cream of coconut
- 150 ml (5 oz) pineapple juice
- Crushed ice
- Pineapple wedge, for garnish
- Fresh cherry, for garnish
Tools You’ll Need
- Drink shaker (or a blender, for a frozen version)
- Measuring cup or small measuring spoons
- Hurricane glass or tall glass
- Strainer (optional)
- Paper drink umbrella, for full effect
How To Make A Blue Hawaiian Mocktail
Step 1: Chill everything first
Pop your glass in the freezer for a few minutes if you have time. A cold glass keeps the drink from watering down too fast once the ice goes in.
Step 2: Combine the base
Add the blue raspberry syrup and cream of coconut to your shaker.
Step 3: Shake it up
Shake well for about 15 seconds. The cream of coconut needs a real shake to combine fully. A gentle swirl isn’t enough.
Step 4: Add the pineapple juice
Pour in the pineapple juice. Shake again until everything is fully mixed.
Step 5: Pour and serve
Fill your glass with crushed ice. Pour the mixture over the top. Strain it if you want it perfectly smooth.
Step 6: Garnish
Top with a pineapple wedge and a fresh cherry. Add a paper umbrella if you’re really committing to the theme. You should.
Pro Tips
Shake longer than feels necessary. Cream of coconut is thick. It needs real shaking to blend smoothly. A half-hearted shake leaves it clumpy at the bottom.
Use cream of coconut, not coconut milk. They are not the same thing. Cream of coconut is sweetened and much thicker. That gives this drink its signature texture. Coconut milk makes it watery and bland.
Watch your pineapple juice ratio. If your drink turns out more green than blue, there’s too much pineapple juice for the syrup. Yellow juice and blue syrup make green. Add a little more syrup to bring the blue back.
Make pineapple juice ice cubes for a crowd. Regular ice waters down the drink as it melts. Frozen pineapple juice cubes keep the flavor strong from the first sip to the last.
Taste before you garnish. If it’s too sweet, add a small splash of lemon juice. It balances the sweetness without changing the color much.
Substitutions and Variations
| Original | Swap | Why It Works |
|---|---|---|
| Cream of coconut | Coconut milk + 1 tsp sugar | Lighter, less sweet version |
| Blue raspberry syrup | Blue sports drink | Lighter flavor, similar color |
| Pineapple juice | Pineapple and orange juice mix | Sweeter, slightly more citrusy |
| Shaken | Blended with ice | Turns it into a frozen, slushy-style drink |
Want a fizzy version? Top the finished drink with a splash of chilled lemon-lime soda.
Want it extra tropical? Add a small splash of coconut water for a lighter, fresher taste.
Make Ahead Tips
This isn’t really a make-way-ahead drink. The ice starts melting and watering things down. But you can prep most of it in advance.
- Pre-measure the syrup and cream of coconut into a sealed container up to 2 days ahead.
- Make pineapple juice ice cubes a few days in advance for parties.
- For a big batch, multiply all the ingredients by your guest count. Store the mixed liquid (without ice) in the fridge for a few hours before serving.
Nutritional Breakdown (Per Drink)
| Nutrient | Approximate Amount |
|---|---|
| Calories | 170 |
| Carbohydrates | 38g |
| Protein | 1g |
| Fat | 3g |
| Sugar | 34g |
These numbers shift depending on the brand of cream of coconut and syrup you use.
What To Pair It With
This drink was made for hot weather and good company.
It pairs perfectly with anything off the grill. It especially shines next to coconut shrimp, fish tacos, or a tropical fruit salad.
Hosting a luau-style party? Serve it alongside halal-certified pulled beef sliders or grilled pineapple skewers for a full tropical spread.
Leftovers and Storage
This one is best fresh. But here’s what to know if you have extra batch left over.
Pre-mixed liquid (no ice): Store in an airtight container in the fridge for up to 3 days.
Already poured over ice: Drink it within the hour. The ice dilutes the flavor fast.
Freezing: Avoid freezing the full mixture. It separates oddly once thawed and won’t shake back together the same way.
FAQ
Why is my Blue Hawaiian green instead of blue?
Blue syrup mixed with yellow pineapple juice makes green. Reduce the pineapple juice a little or add more blue raspberry syrup to bring the blue back.
What’s the difference between a Blue Hawaii and a Blue Hawaiian?
A Blue Hawaii uses sweet and sour mix. A Blue Hawaiian uses cream of coconut. They’re nearly identical otherwise. The coconut version is richer and slightly sweeter.
Can I make this for kids?
Yes. It’s completely family-friendly. Kids love the bright blue color and the sweet, creamy, fruity flavor.
Do I need a blender for this?
No. The classic version is shaken, not blended. You only need a blender if you want a frozen, slushy-style version.
Can I make a big batch for a party?
Yes. Multiply all the ingredients by your guest count. Mix everything except the ice in a pitcher. Pour it over ice right before serving.
Wrapping Up
This drink has been around for decades for a reason. It’s simple, it photographs beautifully, and it tastes like a vacation you didn’t have to pack for.
If you make one, I’d love to hear how it turned out. Drop a comment below and let me know if you went classic or tried the frozen version.