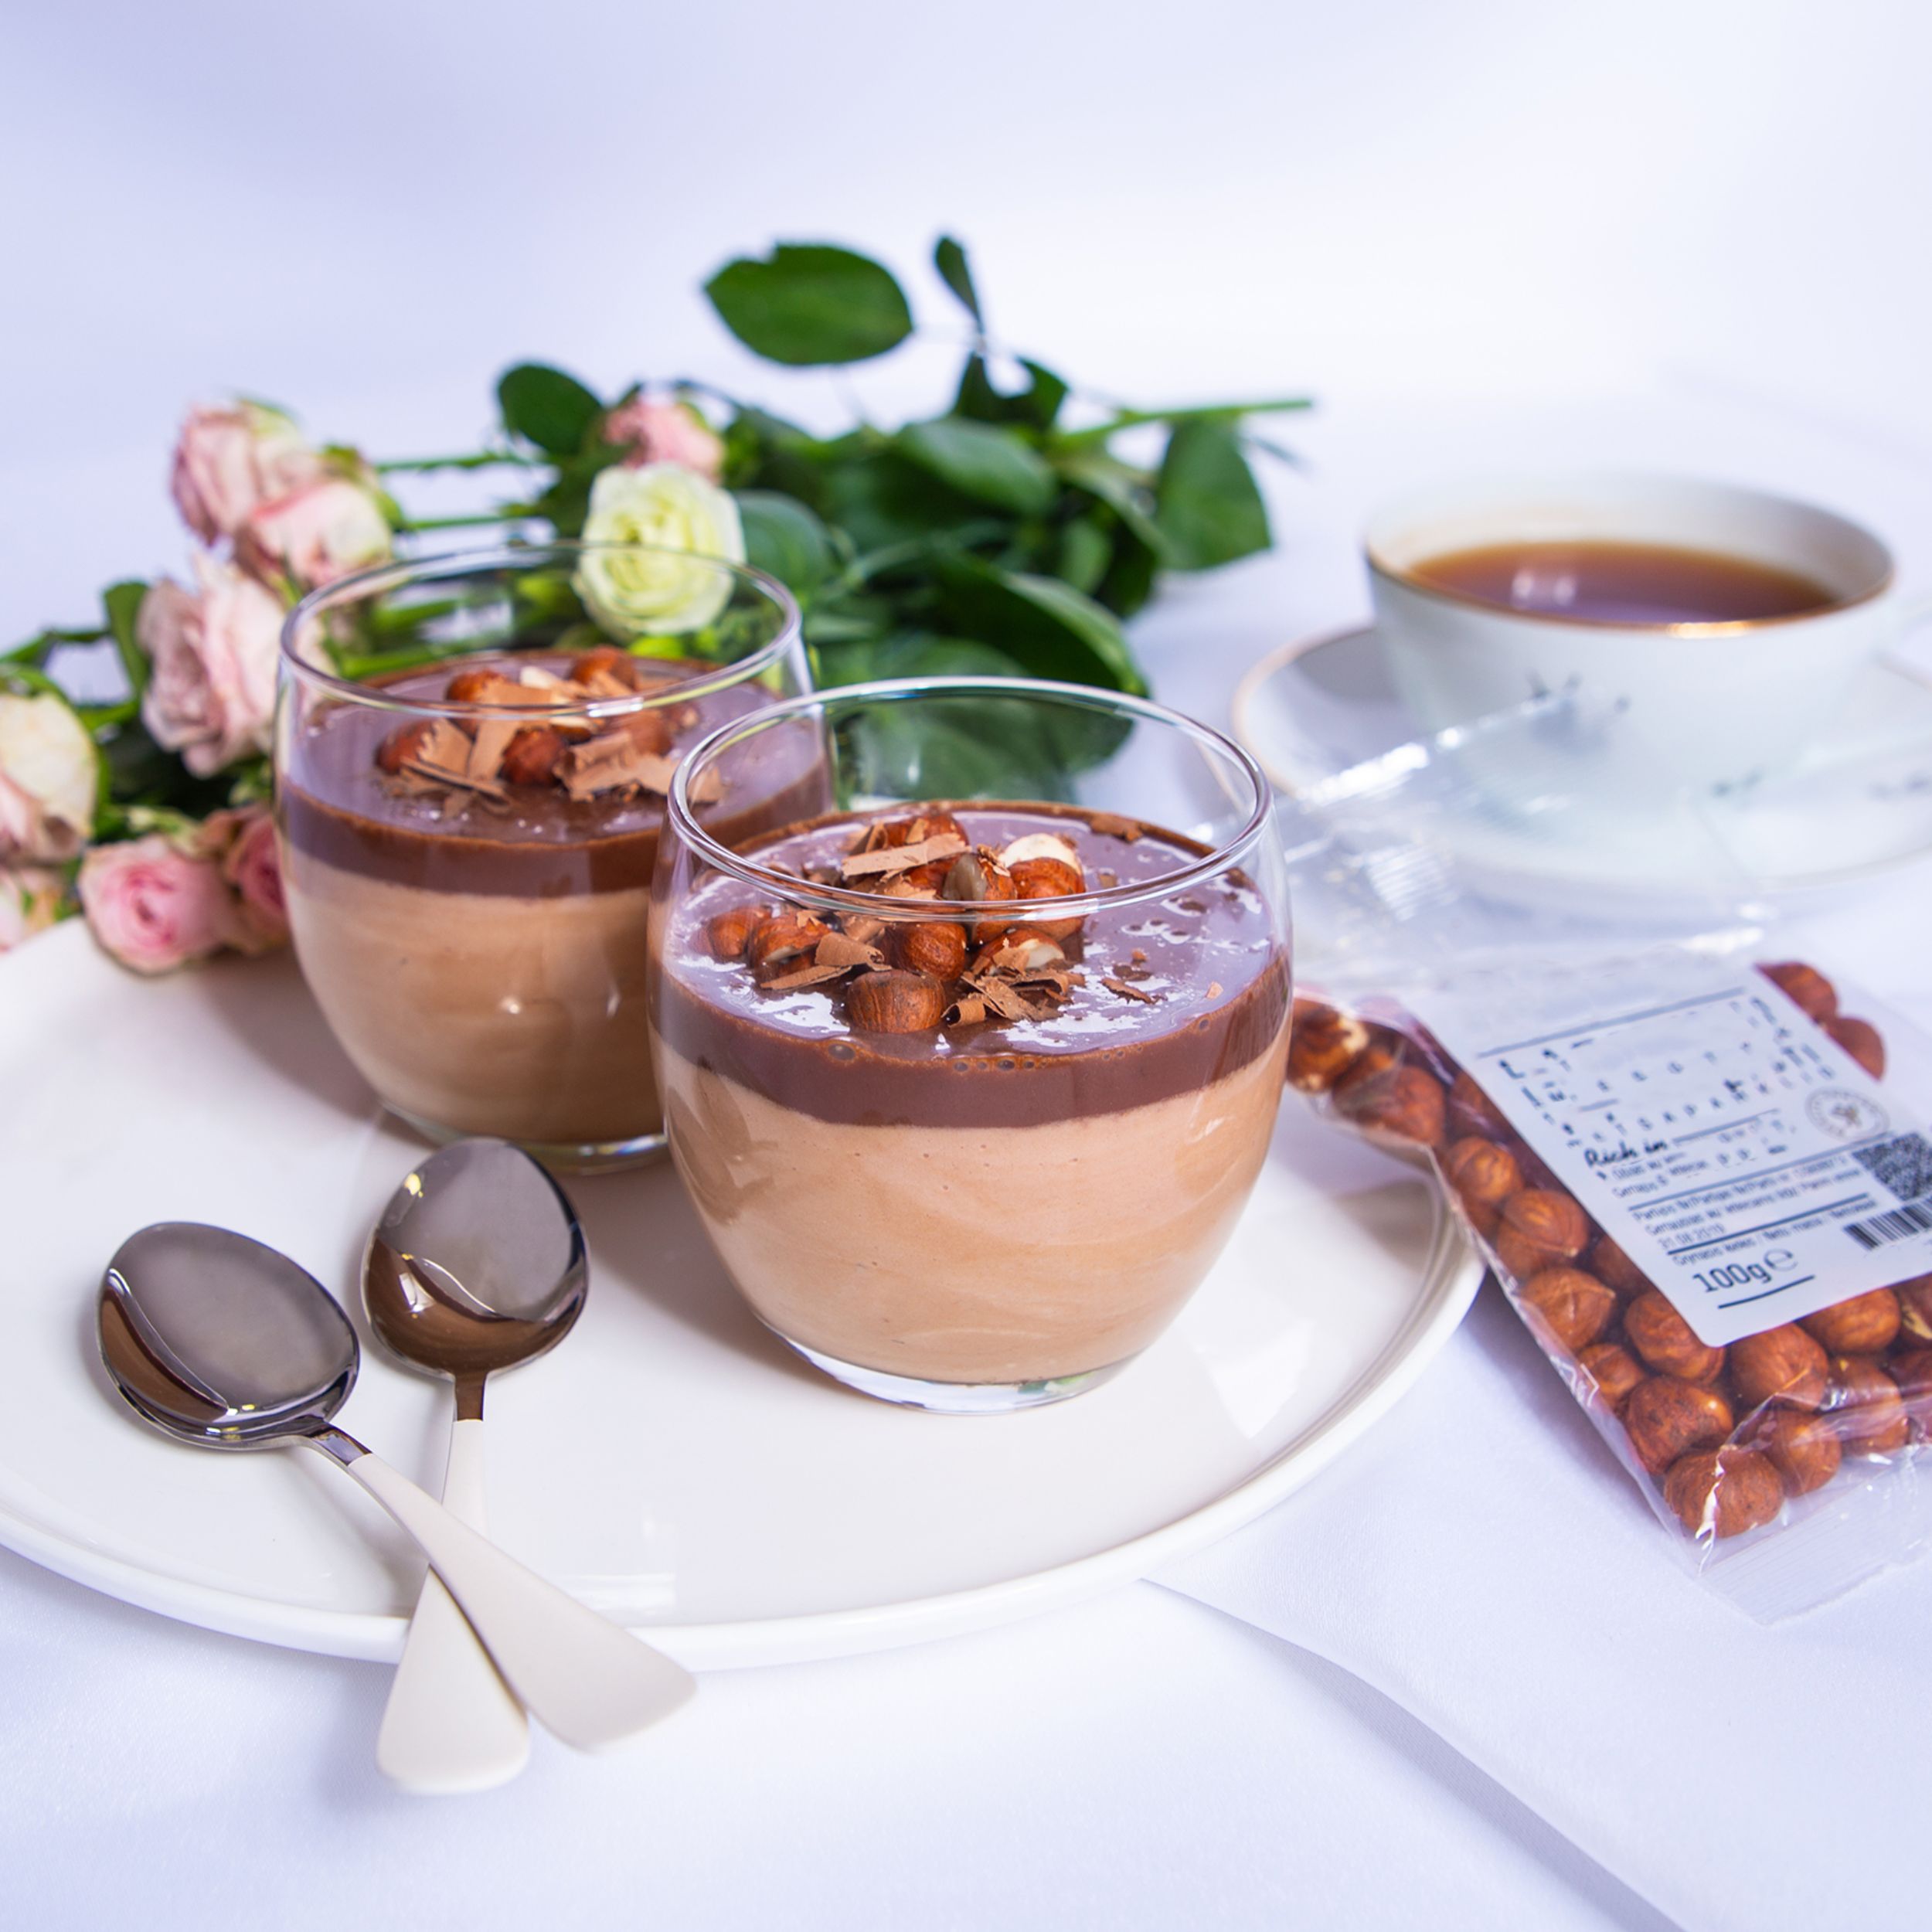
Four ingredients and twenty minutes stand between you and a dessert that looks like it came from a fancy restaurant menu.
I avoided making mousse at home for years, assuming it needed some complicated technique I didn’t have time for. Turns out this version just needs melted chocolate, whipped cream, and a little patience while it chills.
Rich, velvety, and completely no bake. This is the dessert I make when I want something impressive without turning on the oven or dirtying half my kitchen.
Let’s whip it up.
What You’ll Need
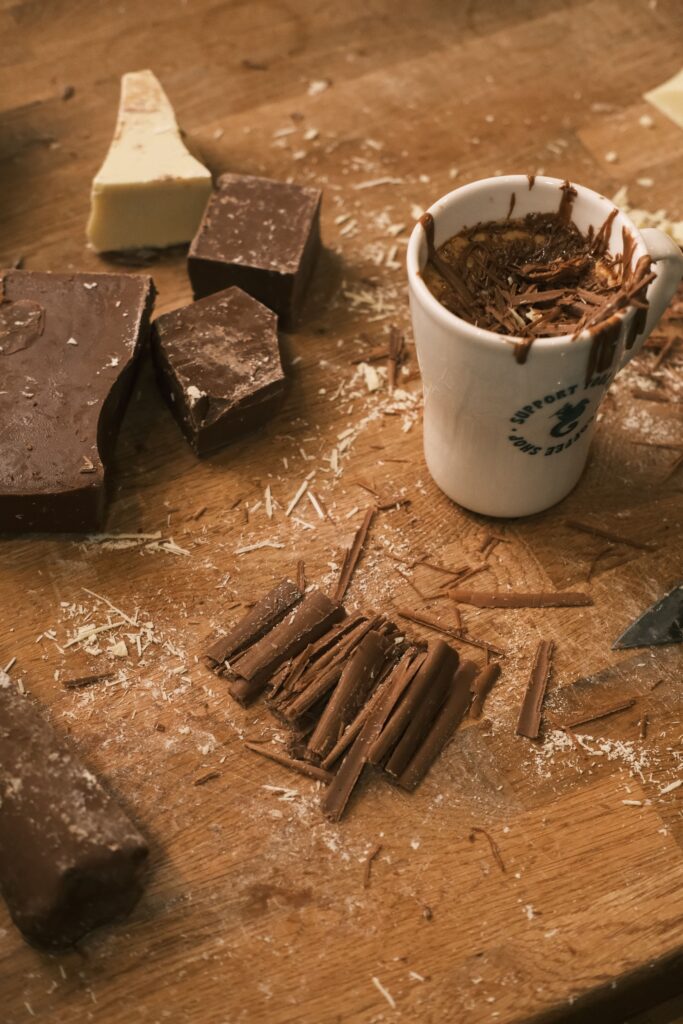
- 8 oz semisweet chocolate, chopped
- 2 cups heavy whipping cream, divided
- 2 tbsp granulated sugar
- 1 tsp vanilla extract
- Chocolate shavings and fresh raspberries, for garnish
Just four core ingredients doing all the work here.
Tools You’ll Need
- Microwave safe bowl or double boiler
- Mixing bowls
- Electric mixer or hand mixer
- Rubber spatula
- Serving glasses
Pro Tips
I’ve made this mousse enough times to know exactly what separates a silky batch from a grainy one.
1. Melt the chocolate gently. Low, steady heat prevents it from seizing. Short 20 second bursts in the microwave, stirring between each, work well.
2. Let the melted chocolate cool slightly before combining. Folding hot chocolate directly into whipped cream can deflate it. A few minutes of cooling makes a big difference.
3. Whip the cream to soft peaks, not stiff. Soft peaks fold in more gently and keep the mousse light instead of dense and heavy.
4. Fold, don’t stir. Use a gentle folding motion with a spatula to combine the chocolate and whipped cream, which keeps all that air in the mousse.
5. Chill for at least 2 hours. This gives the mousse time to firm up into that classic thick, spoonable texture.
How to Make Chocolate Mousse
Step 1: Melt the Chocolate
Melt the chopped chocolate in a microwave safe bowl in 20 second bursts, stirring between each, until smooth.
Let cool for 5 minutes.
Step 2: Whip the Cream
In a separate bowl, whip 1 ½ cups of the heavy cream with the sugar and vanilla extract until soft peaks form.
Step 3: Combine
Gently fold about a third of the whipped cream into the cooled melted chocolate to lighten it.
Fold in the remaining whipped cream until fully combined, being careful not to deflate the mixture.
Step 4: Portion and Chill
Spoon the mousse into serving glasses.
Refrigerate for at least 2 hours, until set.
Step 5: Whip Remaining Cream and Garnish
Whip the remaining ½ cup of heavy cream to stiff peaks and pipe or dollop on top of the chilled mousse.
Top with chocolate shavings and fresh raspberries right before serving.
Substitutions and Variations
- Dark chocolate version: Use dark chocolate instead of semisweet for a more intense, less sweet flavor.
- Dairy free: Use dairy free chocolate and coconut whipped cream in place of dairy.
- Coffee twist: Add 1 teaspoon of instant espresso powder to the melted chocolate for a mocha flavor.
- Orange chocolate: Add a bit of orange zest to the whipped cream for a citrus chocolate combination.
- Extra rich: Use a mix of dark and milk chocolate for a more layered chocolate flavor.
Make Ahead Tips
This mousse is genuinely built for making ahead since it needs at least 2 hours to set anyway.
Make it up to 2 days in advance and store covered in the fridge. Add the whipped cream topping and garnish right before serving.
Nutritional Breakdown (Per Serving, Serves 6)
| Nutrient | Amount |
|---|---|
| Calories | 320 |
| Fat | 26g |
| Carbs | 19g |
| Sugar | 15g |
| Protein | 3g |
Numbers will shift depending on the exact chocolate used.
Diet Friendly Swaps
- Lower sugar: Use a lower sugar chocolate and reduce the added sugar in the whipped cream slightly.
- Gluten free: This recipe is naturally gluten free as written.
- Dairy free: Use a dairy free chocolate and full fat coconut cream whipped to soft peaks.
Meal Pairing Suggestions
Serve after a lighter dinner like grilled chicken or a simple pasta dish, since this dessert is rich enough to stand on its own.
Pair with a small espresso or a glass of dessert wine for a more elevated presentation.
Cooking Time Efficiency Tips
Melt the chocolate while gathering the rest of your ingredients, so it has time to cool while you prep the whipped cream.
Portion the mousse directly into individual serving glasses right after folding, so it’s ready to chill and serve without extra dishes later.
Leftovers and Storage
Store leftover mousse covered in the fridge for up to 4 days.
This dessert does not freeze well since the texture separates once thawed, so plan to finish it within a few days.
FAQ
Why did my mousse turn out grainy? This usually happens when the chocolate seizes from overheating, or from moisture getting into the melted chocolate.
Can I make this without a mixer? Whipping cream by hand is possible but takes longer and more effort. A hand mixer speeds things up significantly.
Why is my mousse too runny? It likely needs more chill time, or the whipped cream wasn’t beaten to proper soft peaks before folding in the chocolate.
Can I use milk chocolate instead of semisweet? Yes, though the mousse will be noticeably sweeter and less rich in chocolate flavor.
How far in advance can I make this? Up to 2 days ahead, stored covered in the fridge, making it a great option for entertaining.
Wrapping Up
This chocolate mousse proves that a dessert doesn’t need a long ingredient list or complicated steps to feel special.
Once you make a batch, it becomes the go to dessert whenever you want something rich and impressive without much effort.
Try this recipe, then come back and tell me how it turned out. Did you add espresso? Try it dairy free? Drop a comment below, I’d love to hear about it. 🍫