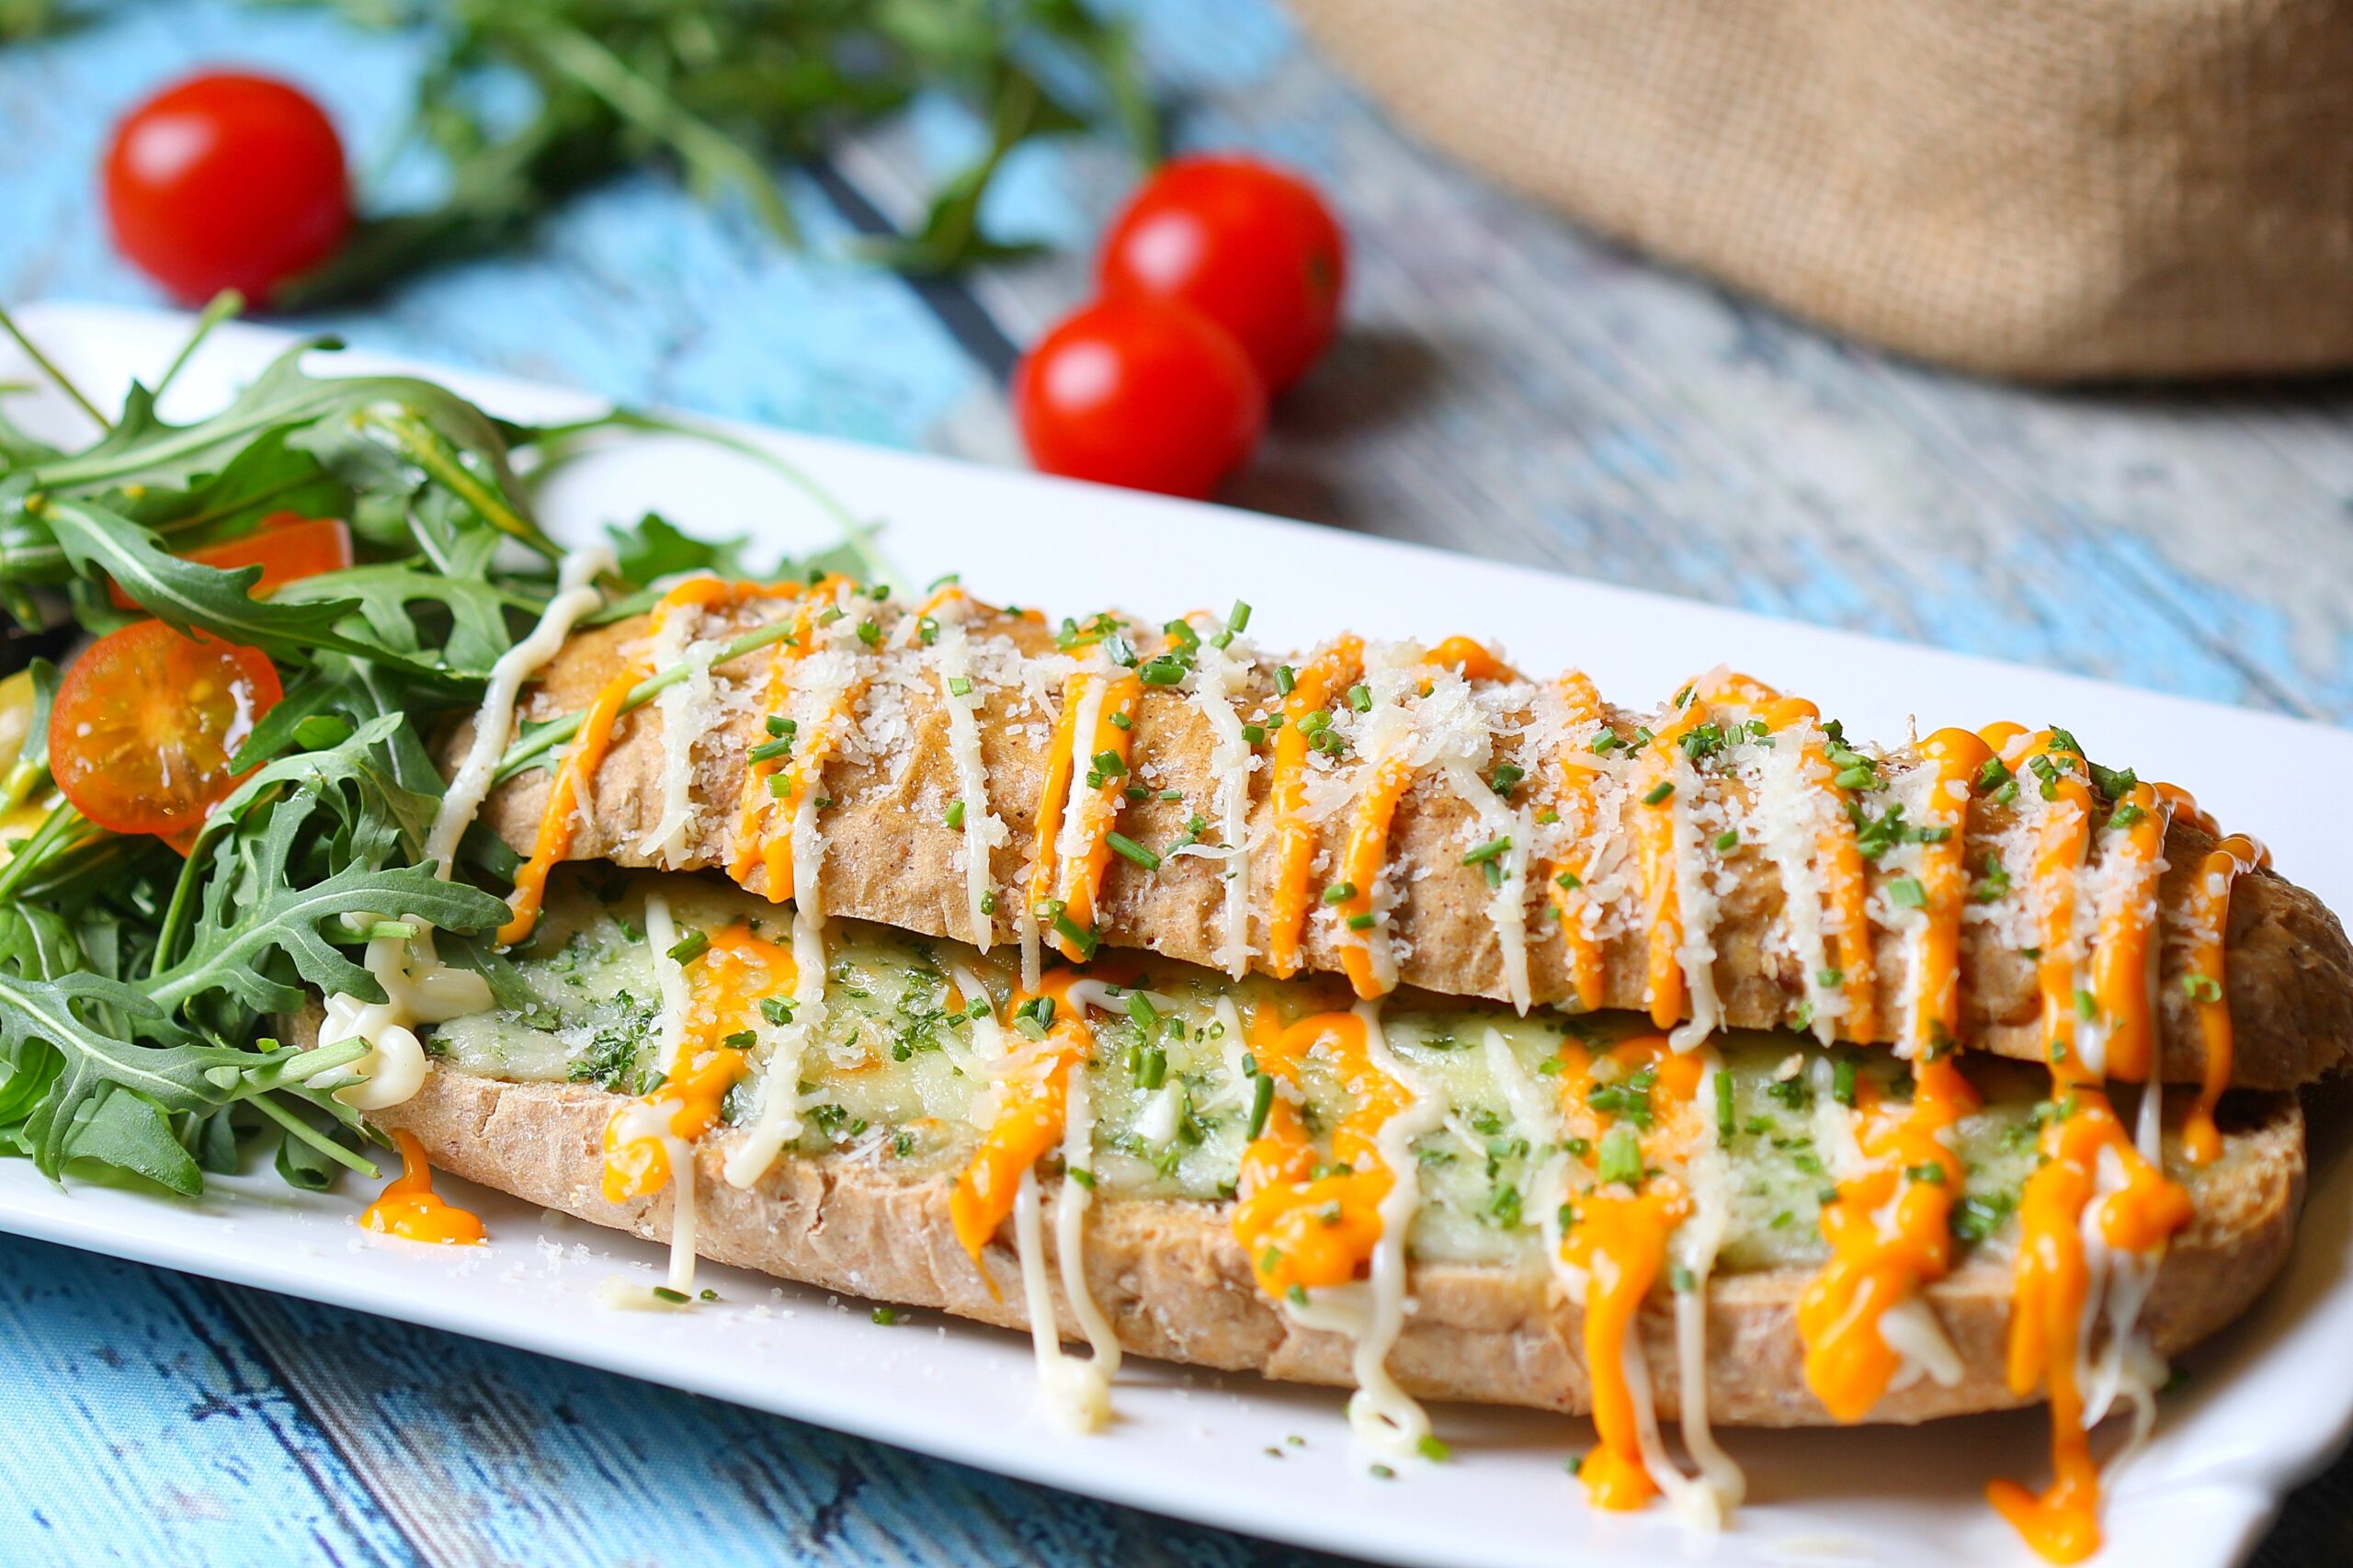
The smell alone gets people wandering into the kitchen before this bread even makes it to the table.
I started making this loaf when I got tired of the frozen garlic bread that never seemed to have enough actual garlic flavor. This version is loaded with fresh herbs, real garlic, and a generous brushing of butter that soaks right into every slice.
Crisp on the outside, soft in the middle, and genuinely fragrant enough to make an entire kitchen smell like something special is happening.
Let’s bake it.
What You’ll Need
- 1 loaf French or Italian bread
- ½ cup butter, softened
- 4 cloves garlic, minced
- 2 tbsp fresh parsley, chopped
- 1 tbsp fresh rosemary, chopped
- 1 tsp fresh thyme, chopped
- ¼ cup grated Parmesan cheese
- ¼ tsp salt
- ¼ tsp black pepper
A short list of ingredients that turns a plain loaf into something people ask about by name.
Tools You’ll Need
- Sharp bread knife
- Small mixing bowl
- Fork or spatula, for mixing the herb butter
- Baking sheet
- Aluminum foil
Pro Tips
I’ve made this bread enough times to know exactly what makes it turn out right.
1. Let the butter fully soften before mixing. Cold butter won’t blend evenly with the garlic and herbs, leaving you with clumps instead of a smooth spread.
2. Mince the garlic finely. Large pieces can burn under the broiler and turn bitter, while finely minced garlic toasts evenly and stays fragrant.
3. Use fresh herbs whenever possible. Dried herbs work in a pinch, but fresh gives this bread a brighter, more fragrant flavor that really makes it stand out.
4. Don’t skip the foil for the first part of baking. This lets the bread warm through and the flavors meld before the top gets a chance to brown too quickly.
5. Watch closely under the broiler. The Parmesan and butter can go from golden to burnt in under a minute, so stay close during that final step.
How to Make Herb and Garlic Bread
Step 1: Make the Herb Butter
In a bowl, combine the softened butter, garlic, parsley, rosemary, thyme, Parmesan, salt, and pepper.
Mix until fully combined.
Step 2: Slice the Bread
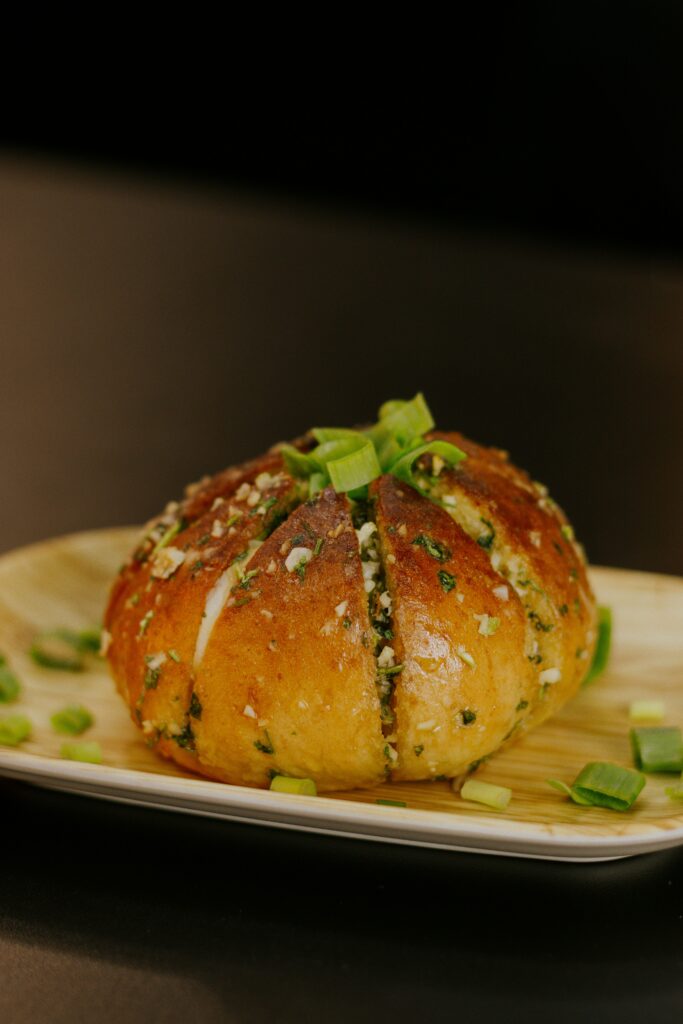
Slice the loaf almost all the way through, leaving the bottom intact so it stays connected.
Step 3: Spread the Butter
Spread the herb butter generously between each slice and over the top of the loaf.
Step 4: Bake
Preheat your oven to 350°F.
Wrap the loaf loosely in foil and bake for 15 minutes.
Step 5: Broil
Open the foil and broil for 2 to 3 minutes, watching closely, until the top is golden and slightly crisp.
Step 6: Serve
Serve warm, pulling apart the slices at the table.
Substitutions and Variations
- Cheesy version: Add shredded mozzarella between the slices along with the herb butter for a cheesy pull apart bread.
- Spicy version: Add a pinch of red pepper flakes to the herb butter for a little heat.
- Dried herb version: Use 1 teaspoon each of dried parsley, rosemary, and thyme if fresh herbs aren’t available.
- Dairy free: Use a dairy free butter alternative and skip the Parmesan, or use a dairy free Parmesan substitute.
- Garlic confit version: Use roasted garlic instead of raw for a milder, sweeter garlic flavor.
Make Ahead Tips
The herb butter can be made up to 3 days ahead and stored covered in the fridge, or frozen for up to a month.
Assemble the bread with the butter and wrap tightly, storing in the fridge until ready to bake, adding a few extra minutes to the covered bake time.
Nutritional Breakdown (Per Serving, Serves 10)
| Nutrient | Amount |
|---|---|
| Calories | 190 |
| Fat | 11g |
| Carbs | 19g |
| Sugar | 1g |
| Protein | 4g |
Numbers will shift depending on the exact bread and cheese used.
Diet Friendly Swaps
- Gluten free: Use a gluten free French bread loaf in place of the regular version.
- Lower fat: Reduce the butter slightly and use a light Parmesan alternative.
- Dairy free: Use a dairy free butter and skip or substitute the Parmesan cheese.
Meal Pairing Suggestions
This bread is a natural pairing for pasta dishes, soups, or a simple salad.
It also works well alongside grilled meats or as an appetizer with a bowl of marinara for dipping.
Cooking Time Efficiency Tips
Mix the herb butter while the oven preheats, so it’s ready to spread the moment the bread is sliced.
Make a double batch of herb butter and freeze half, so future loaves come together even faster.
Leftovers and Storage
Store leftover bread wrapped in foil at room temperature for up to 2 days.
Reheat in the oven at 350°F for about 10 minutes to help restore some crispness, since microwaving tends to leave it soft.
FAQ
Can I use dried herbs instead of fresh? Yes, use about a third of the amount since dried herbs are more concentrated in flavor than fresh.
Why did my bread turn out soggy in the middle? This usually happens if too much butter was used, or if the bread wasn’t given enough time in the oven before broiling.
Can I make this bread ahead for a dinner party? Yes, assemble it with the herb butter and refrigerate, then bake fresh right before serving.
What type of bread works best for this recipe? A sturdy French or Italian loaf holds up best, since softer breads can fall apart when sliced and stuffed with butter.
Can I freeze this bread after baking? Yes, wrap tightly and freeze for up to a month, then reheat directly from frozen in a low oven until warmed through.
Wrapping Up
This herb and garlic bread turns a simple loaf into the thing people reach for first at the table, long before the main dish even arrives.
Once you make a batch, it becomes the side you’re expected to bring to every dinner from here on out.
Try this recipe, then come back and tell me how it turned out. Did you add cheese between the slices? Try the roasted garlic version? Drop a comment below, I’d love to hear about it. 🧄