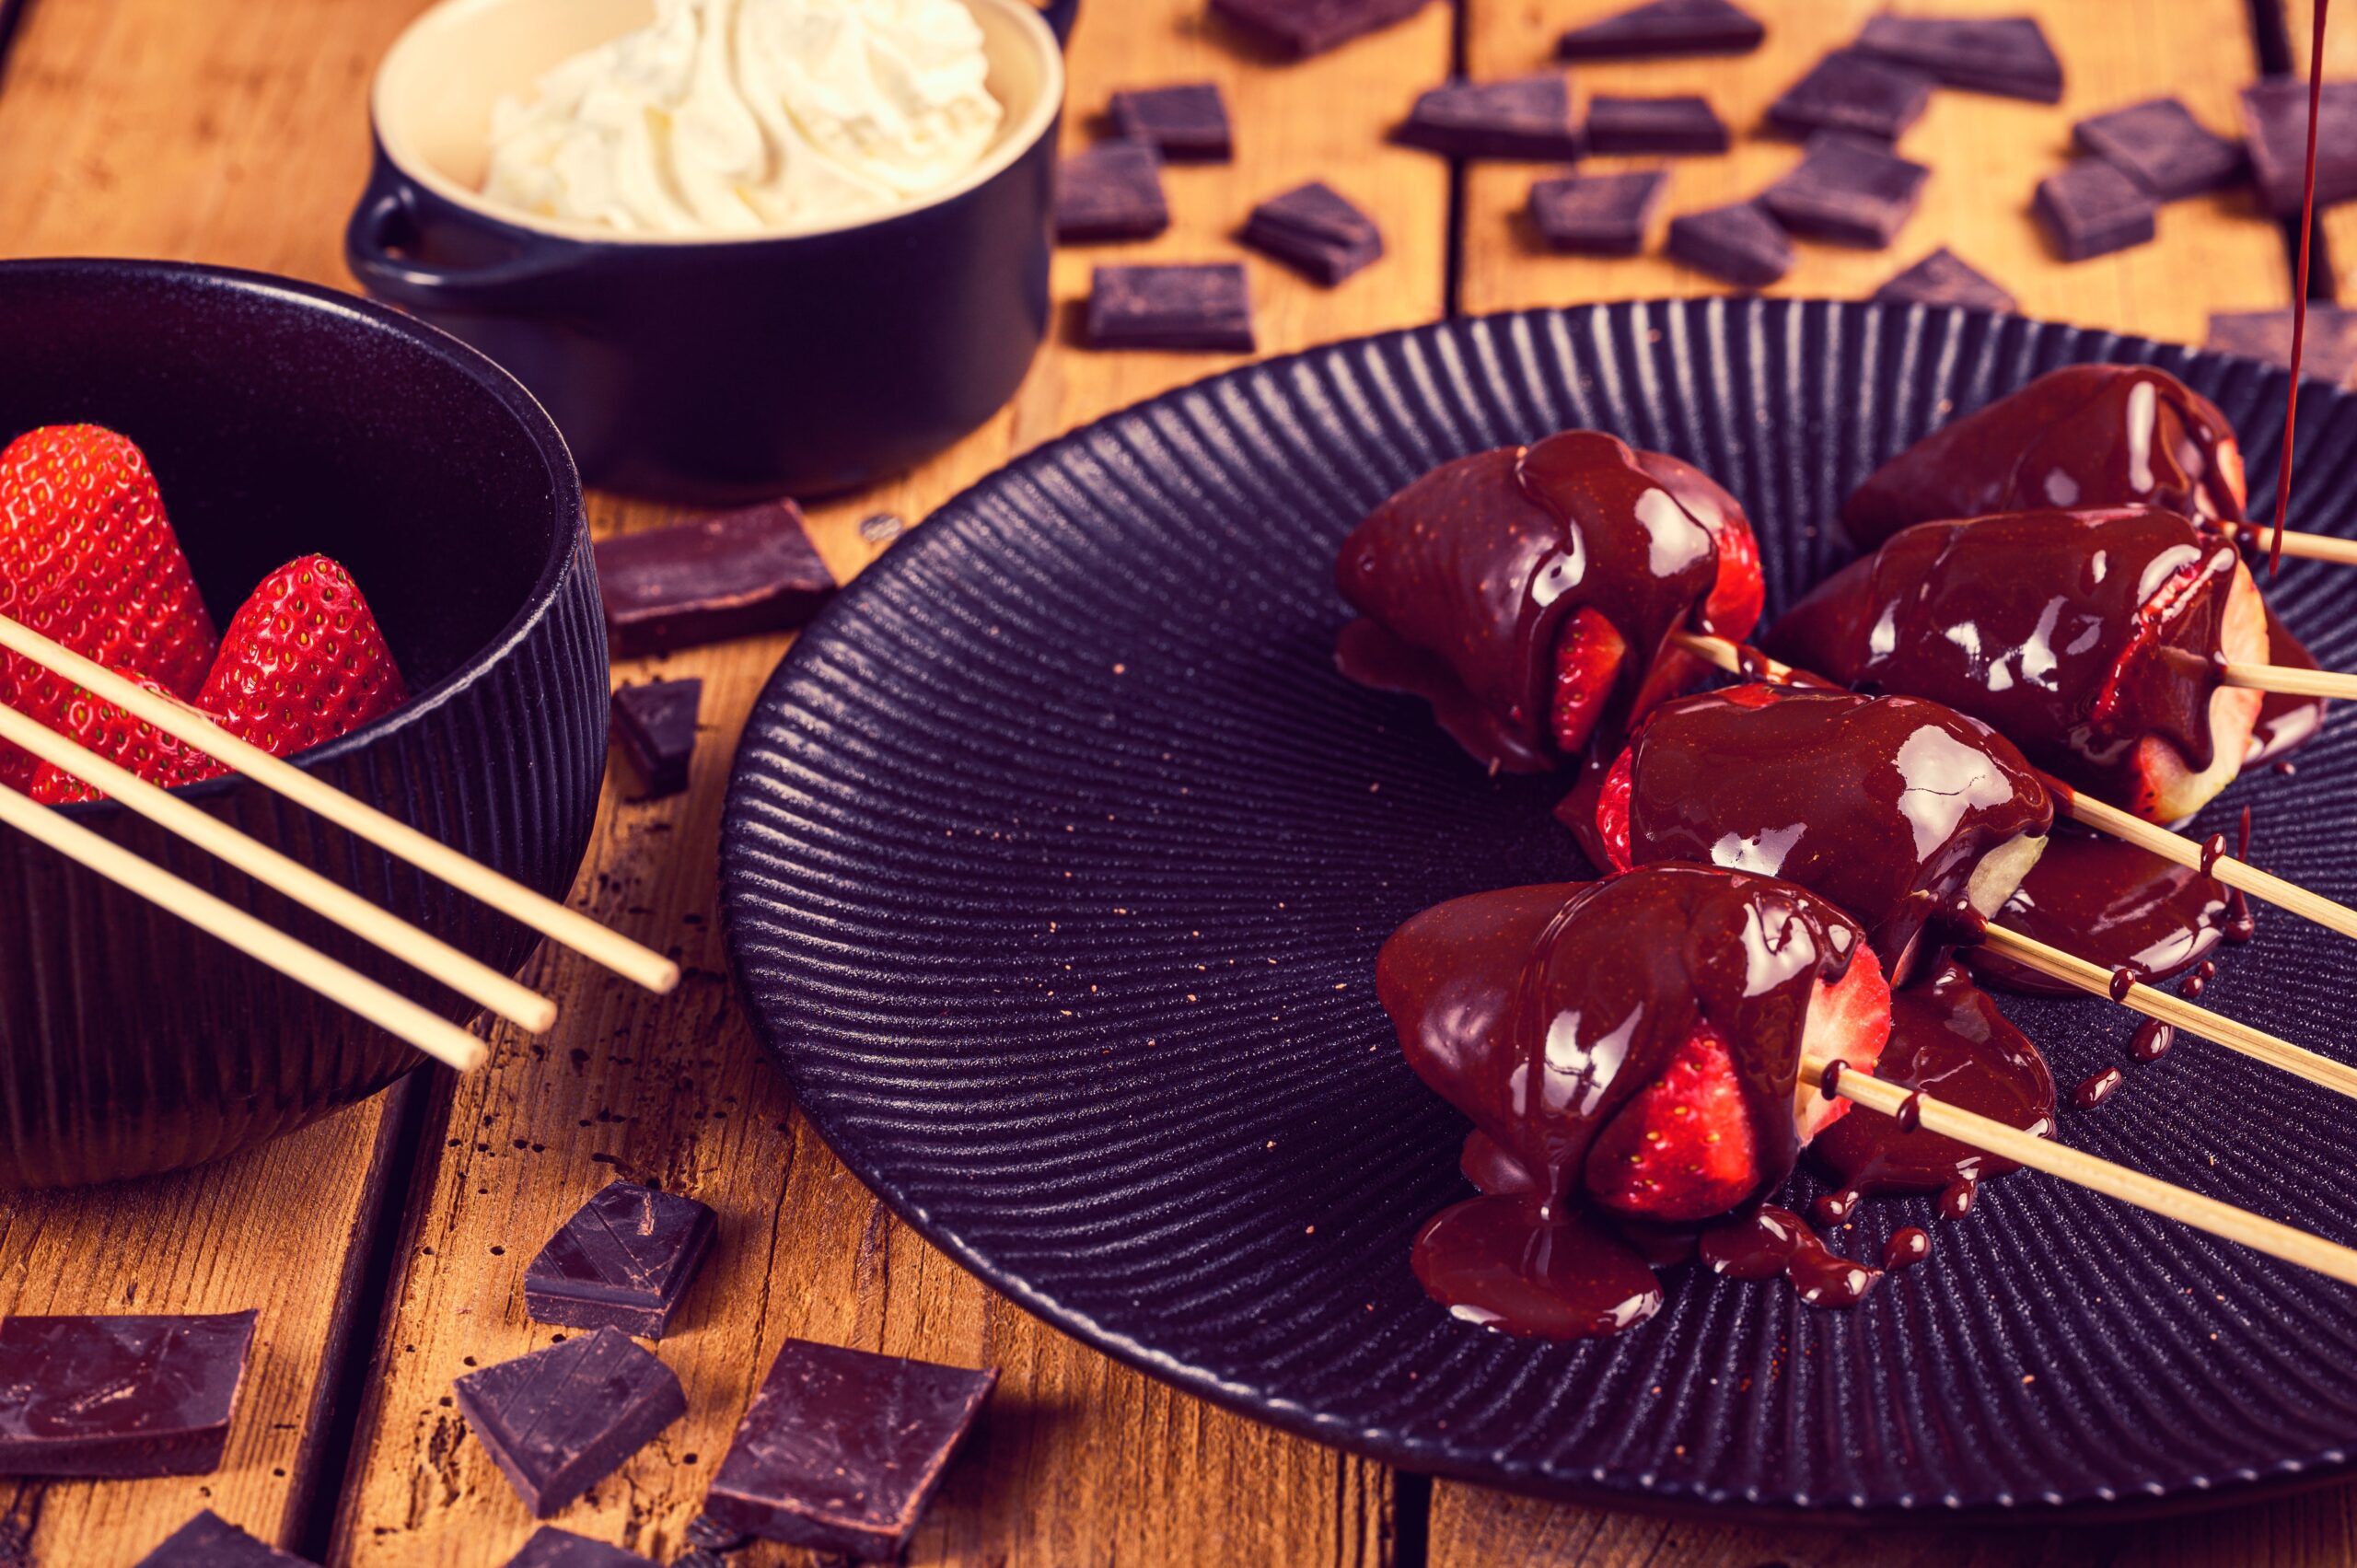
Chocolate covered strawberries are always a hit, but give them little faces and suddenly they’re the star of the whole party.
I started making these for a Halloween gathering a few years back, turning basic chocolate dipped strawberries into tiny ghosts, mummies, and jack-o-lanterns. They disappeared faster than anything else on the dessert table, and kids especially couldn’t get enough of picking their favorite design.
These take a little patience for the decorating, but the actual dipping process is simple, and the payoff is a tray of genuinely adorable, spooky season treats.
Let’s dip and decorate.
What You’ll Need
- 24 fresh strawberries, washed and dried thoroughly
- 12 oz white chocolate melting wafers
- 8 oz dark or semisweet chocolate melting wafers
- Orange candy melts
- Purple candy melts
- Black decorating gel or small candy eyes
- Purple and orange sprinkles
A colorful lineup of simple ingredients that turns into a whole tray of Halloween characters.
Tools You’ll Need
- Microwave safe bowls
- Rubber spatula
- Parchment paper
- Baking sheet
- Toothpicks or small piping bags, for detail work
- Fork, for dipping
Pro Tips
I’ve made these enough Halloweens to know exactly what makes them turn out right.
1. Dry your strawberries completely before dipping. Any leftover moisture prevents the chocolate from sticking properly and can cause it to slide right off.
2. Melt chocolate in short bursts, stirring often. Chocolate seizes easily if overheated, so 20 second increments in the microwave with stirring between each keep it smooth.
3. Let excess chocolate drip off before setting strawberries down. A quick tap or twist after dipping prevents a thick pool of chocolate from forming at the base.
4. Chill strawberries between decorating steps. Popping them in the fridge for a few minutes between the base coat and the detail work keeps each layer from smudging into the next.
5. Work in small batches. Chocolate can start to set before you finish decorating a whole tray, so work with a handful of strawberries at a time.
How to Make Halloween Strawberries
Step 1: Melt the Chocolate
Melt the white chocolate, dark chocolate, orange candy melts, and purple candy melts separately in microwave safe bowls, in 20 second bursts, stirring between each.
Step 2: Dip the Ghosts
Dip strawberries into the white chocolate, letting excess drip off, and place on parchment paper.
Once set, use black decorating gel or small candy eyes to add ghost faces.
Step 3: Dip the Mummies
Dip strawberries into the dark chocolate.
Once mostly set, drizzle white chocolate back and forth across the strawberry to create mummy wrap lines, leaving a small gap for candy eyes.
Step 4: Dip the Pumpkins
Dip strawberries into the orange candy melts, letting excess drip off.
Once set, use black decorating gel to draw jack-o-lantern faces.
Step 5: Dip the Sprinkle Strawberries
Dip strawberries into the purple candy melts and immediately roll in purple and orange sprinkles before the coating sets.
Step 6: Chill and Serve
Refrigerate all decorated strawberries for at least 15 minutes to fully set before serving.
Substitutions and Variations
- Different colors: Use green candy melts for a witch themed strawberry, or classic red and white for a simpler look.
- Spider webs: Drizzle thin white chocolate lines over dark chocolate in a web pattern for a different design.
- Chocolate only version: Skip the candy melts and use just dark and white chocolate with simple designs for an easier version.
- Nut addition: Roll a few strawberries in crushed nuts instead of sprinkles for added texture.
- Dairy free: Use dairy free chocolate and candy melt alternatives.
Make Ahead Tips
These are best made within a day of serving, since strawberries release moisture over time that can affect the chocolate coating.
You can melt and prep your chocolate colors ahead of time, storing them covered, then remelt gently before dipping.
Nutritional Breakdown (Per Strawberry, Makes 24)
| Nutrient | Amount |
|---|---|
| Calories | 70 |
| Fat | 4g |
| Carbs | 8g |
| Sugar | 7g |
| Protein | 1g |
Numbers will shift depending on the exact chocolate and candy melts used.
Diet Friendly Swaps
- Lower sugar: Use a sugar free chocolate alternative for dipping.
- Dairy free: Use dairy free chocolate and candy melts throughout.
- Nut free: This recipe is naturally nut free as written, just double check your candy melt brand.
Meal Pairing Suggestions
Serve alongside other Halloween party snacks like popcorn or a themed charcuterie board.
These also work well as a light dessert following a heavier meal, since the fruit keeps them from feeling too rich.
Cooking Time Efficiency Tips
Melt all four chocolate colors at the same time using separate bowls, so you can move between designs without waiting.
Set up a decorating station with all your candy eyes, decorating gel, and sprinkles ready before you start dipping, so nothing slows down the process once the chocolate is melted.
Leftovers and Storage
Store leftover strawberries in an airtight container in the fridge for up to 2 days.
These are best enjoyed within a day or two, since the strawberries will start to release moisture the longer they sit.
FAQ
Why did my chocolate coating crack when I bit into it? This is fairly normal with tempered chocolate on a juicy strawberry, though using candy melts instead of pure chocolate can help reduce cracking.
Can I make these ahead for a party? They’re best made within a day of serving, since strawberries release moisture over time that can affect the coating.
Why won’t my chocolate stick to the strawberries? This usually means the strawberries weren’t fully dried before dipping. Any leftover moisture prevents the chocolate from adhering properly.
Can I use chocolate chips instead of melting wafers? Chocolate chips can work, though they don’t always melt as smoothly. Adding a teaspoon of coconut oil can help thin them out for dipping.
How far in advance can I decorate these? Same day is best, though you can prepare them a few hours ahead and store in the fridge until serving.
Wrapping Up
These Halloween strawberries turn a simple chocolate covered fruit into something that gets photographed before it gets eaten.
Once you get the hang of the different designs, decorating a whole tray becomes a fun activity on its own, whether you’re doing it solo or with kids helping out.
Try this recipe, then come back and tell me how it turned out. Did you try the spider web design? Make a whole ghost army? Drop a comment below, I’d love to hear about it. 👻