Roasting the chickpeas first is the small step that turns this into a completely different salad than the usual straight from the can version.
I started roasting my chickpeas before adding them to salads once I got tired of that soft, slightly mushy texture canned chickpeas have on their own. A quick roast with olive oil and spices gives them a crispy, almost snack like texture that holds up beautifully against crunchy cucumber, tangy feta, and fresh dill.
It takes a little extra time compared to just opening a can and tossing everything together, but the texture difference is worth it.
Let’s roast and toss.
What You’ll Need
For the roasted chickpeas:
- 2 cans (15 oz each) chickpeas, drained and rinsed
- 2 tbsp olive oil
- 1 tsp smoked paprika
- ½ tsp garlic powder
- Salt and pepper, to taste
For the salad:
- 2 cucumbers, sliced into half moons
- 1 cup cherry tomatoes, halved
- ¼ cup red onion, thinly sliced
- ½ cup crumbled feta cheese
- 3 tbsp fresh dill, chopped
- 3 tbsp olive oil
- 2 tbsp fresh lemon juice
- 1 tsp Dijon mustard
- Salt and pepper, to taste
A fresh, crunchy salad built around crispy roasted chickpeas instead of the usual straight from the can texture.
Tools You’ll Need
- Baking sheet
- Paper towels
- Large mixing bowl
- Small bowl or jar, for the dressing
- Whisk
- Cutting board and knife
Pro Tips
I’ve made this salad enough times to know exactly what makes it turn out right.
1. Dry the chickpeas thoroughly before roasting. Excess moisture prevents them from crisping up properly, so pat them dry with paper towels and let them air dry for a few minutes if you have time.
2. Roast in a single layer with space between each chickpea. Crowding the pan causes them to steam instead of roast, which keeps them from getting that crispy texture.
3. Let the roasted chickpeas cool slightly before adding to the salad. Adding them hot can wilt the cucumbers and cause the feta to melt unevenly.
4. Slice the cucumbers just before assembling. This keeps them crisp instead of releasing moisture into the salad while sitting.
5. Add the roasted chickpeas right before serving. They lose their crispness the longer they sit in the dressing, so keep them separate until the last moment if you’re not eating right away.
How to Make Crispy Chickpea Cucumber Salad
Step 1: Roast the Chickpeas
Preheat your oven to 400°F.
Pat the chickpeas dry and toss with olive oil, smoked paprika, garlic powder, salt, and pepper.
Spread in a single layer on a baking sheet and roast for 20 to 25 minutes, shaking the pan halfway through, until golden and crispy.
Step 2: Prep the Vegetables
While the chickpeas roast, slice the cucumbers, halve the cherry tomatoes, and thinly slice the red onion.
Step 3: Make the Dressing
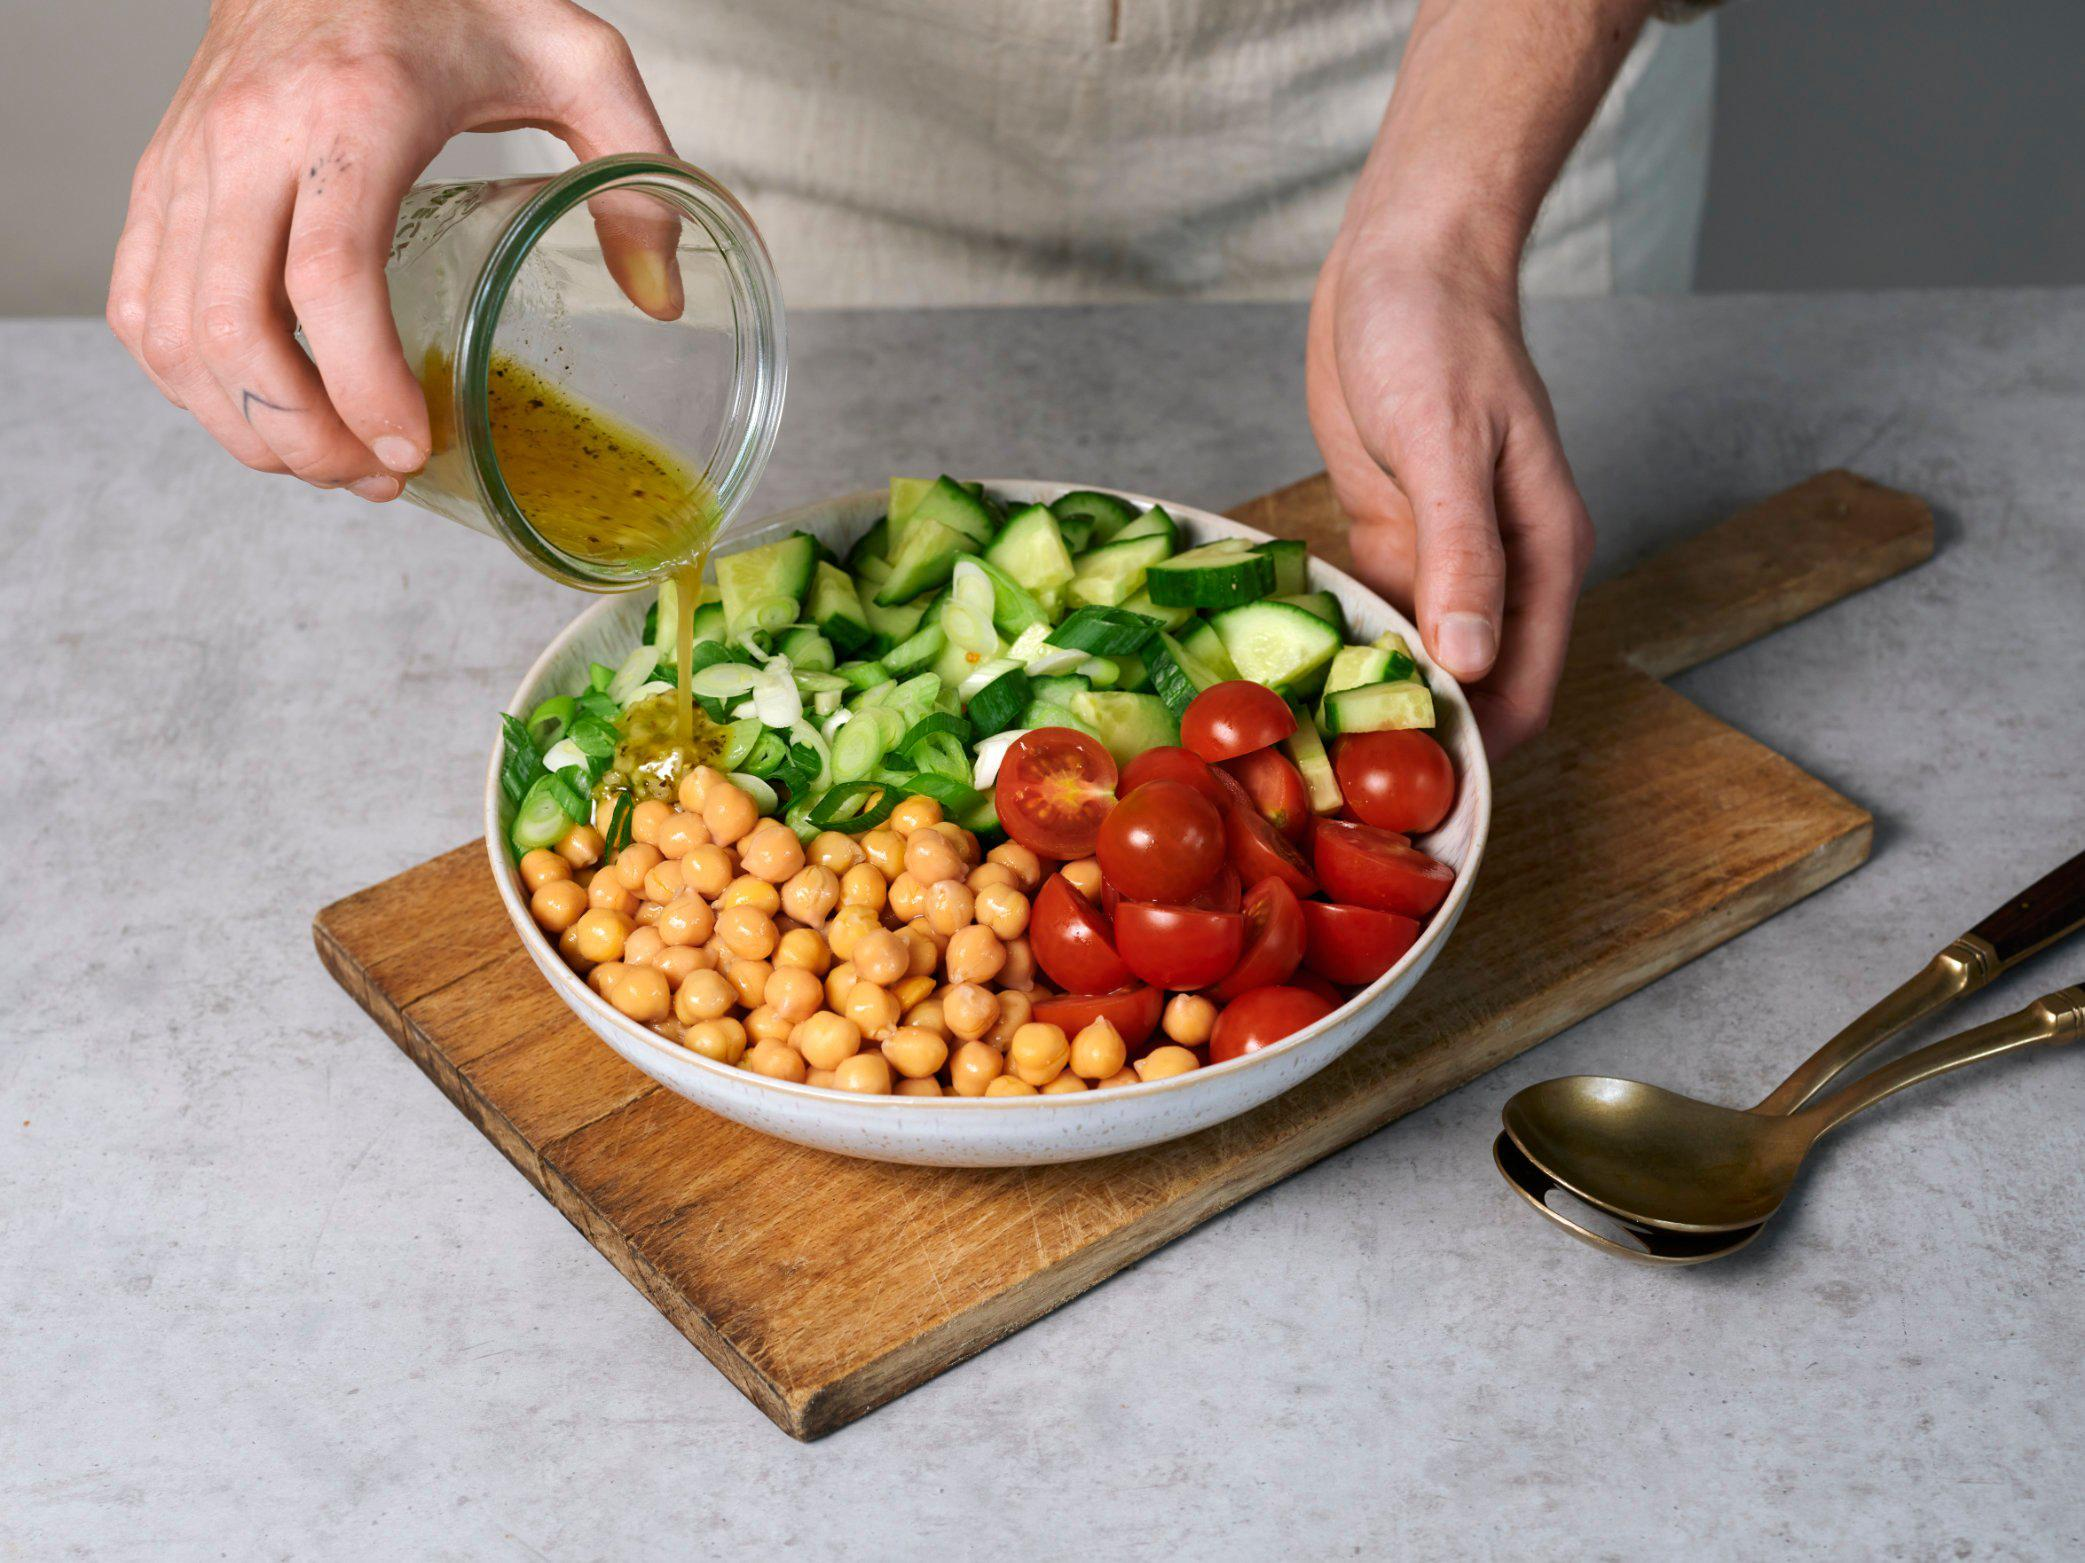
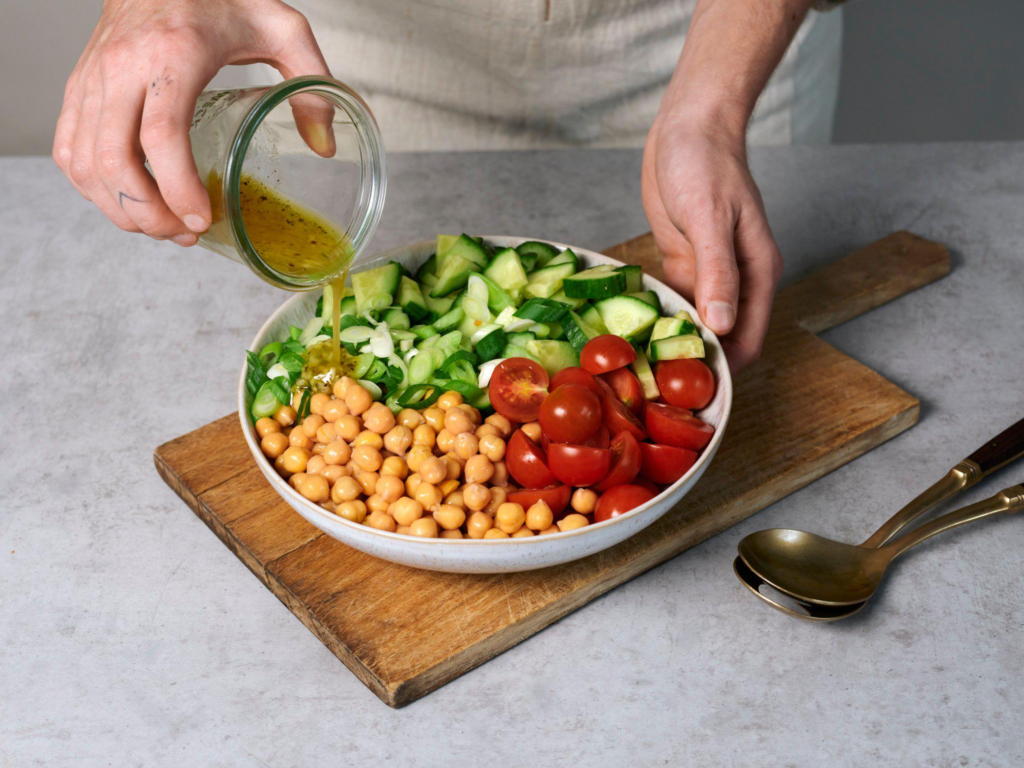
In a small bowl or jar, whisk together the olive oil, lemon juice, Dijon mustard, salt, and pepper.
Step 4: Combine the Salad
In a large bowl, combine the cucumbers, cherry tomatoes, and red onion.
Pour the dressing over the top and toss to combine.
Step 5: Add Feta and Dill
Gently fold in the crumbled feta and fresh dill.
Step 6: Top and Serve
Top the salad with the warm or slightly cooled roasted chickpeas right before serving.
Substitutions and Variations
- Different herb: Use fresh mint or parsley in place of dill for a different flavor.
- Spicy version: Add a pinch of cayenne to the chickpea seasoning for some heat.
- Extra protein: Add grilled chicken or shrimp to turn this into a more substantial main dish.
- Dairy free: Skip the feta or use a dairy free feta alternative.
- Different vinegar: Swap lemon juice for red wine vinegar for a slightly different tang.
Make Ahead Tips
Roast the chickpeas up to 2 days ahead and store in an airtight container at room temperature, though they’ll lose some crispness over time.
The vegetables and dressing can be prepped separately and combined just before serving, keeping everything fresh and crisp.
Nutritional Breakdown (Per Serving, Serves 6)
| Nutrient | Amount |
|---|---|
| Calories | 240 |
| Fat | 14g |
| Carbs | 22g |
| Protein | 8g |
| Fiber | 6g |
Numbers will shift depending on the exact feta and roasting oil amounts used.
Diet Friendly Swaps
- Vegan: Skip the feta or use a plant based feta alternative.
- Lower sodium: Use a low sodium or no salt added canned chickpea, and reduce the added salt throughout.
- Lower fat: Reduce the olive oil in both the roasting step and the dressing.
Meal Pairing Suggestions
Serve alongside grilled chicken or fish for a full, balanced meal.
This also works well on its own as a light lunch, especially paired with warm pita bread on the side.
Cooking Time Efficiency Tips
Prep the vegetables and make the dressing while the chickpeas roast, so everything is ready to combine the moment they come out of the oven.
Roast a double batch of chickpeas since they make a great snack on their own beyond just topping this salad.
Leftovers and Storage
Store the salad and roasted chickpeas separately in airtight containers in the fridge for up to 3 days.
Combine just before serving to keep the chickpeas from softening in the dressing.
FAQ
Can I make the chickpeas ahead of time? Yes, though they’re crispiest the same day they’re roasted. Reheating in the oven for a few minutes can help restore some crunch.
Why didn’t my chickpeas get crispy? This usually means they weren’t dried well enough before roasting, or the pan was too crowded, causing them to steam instead of crisp.
Can I use canned chickpeas without roasting them? Yes, though the texture will be softer and closer to a traditional chickpea salad rather than this crispy version.
Can I add protein to make this a full meal? Yes, grilled chicken or shrimp both work well to turn this into a more substantial main dish.
How long do the roasted chickpeas stay crispy? They’re best within a few hours of roasting, since they naturally soften over time, especially once combined with the dressing.
Wrapping Up
This chickpea cucumber salad brings a satisfying crunch that a straight from the can version just can’t match, thanks to that quick roast in the oven.
Once you try roasting your chickpeas this way, it’s hard to go back to using them straight from the can in salads.
Try this recipe, then come back and tell me how it turned out. Did you add mint? Try it with shrimp? Drop a comment below, I’d love to hear about it. 🥒