You know that moment when you open the freezer, stare at it for a full 30 seconds, and then close it because nothing in there excites you?
Yeah. This recipe fixes that.
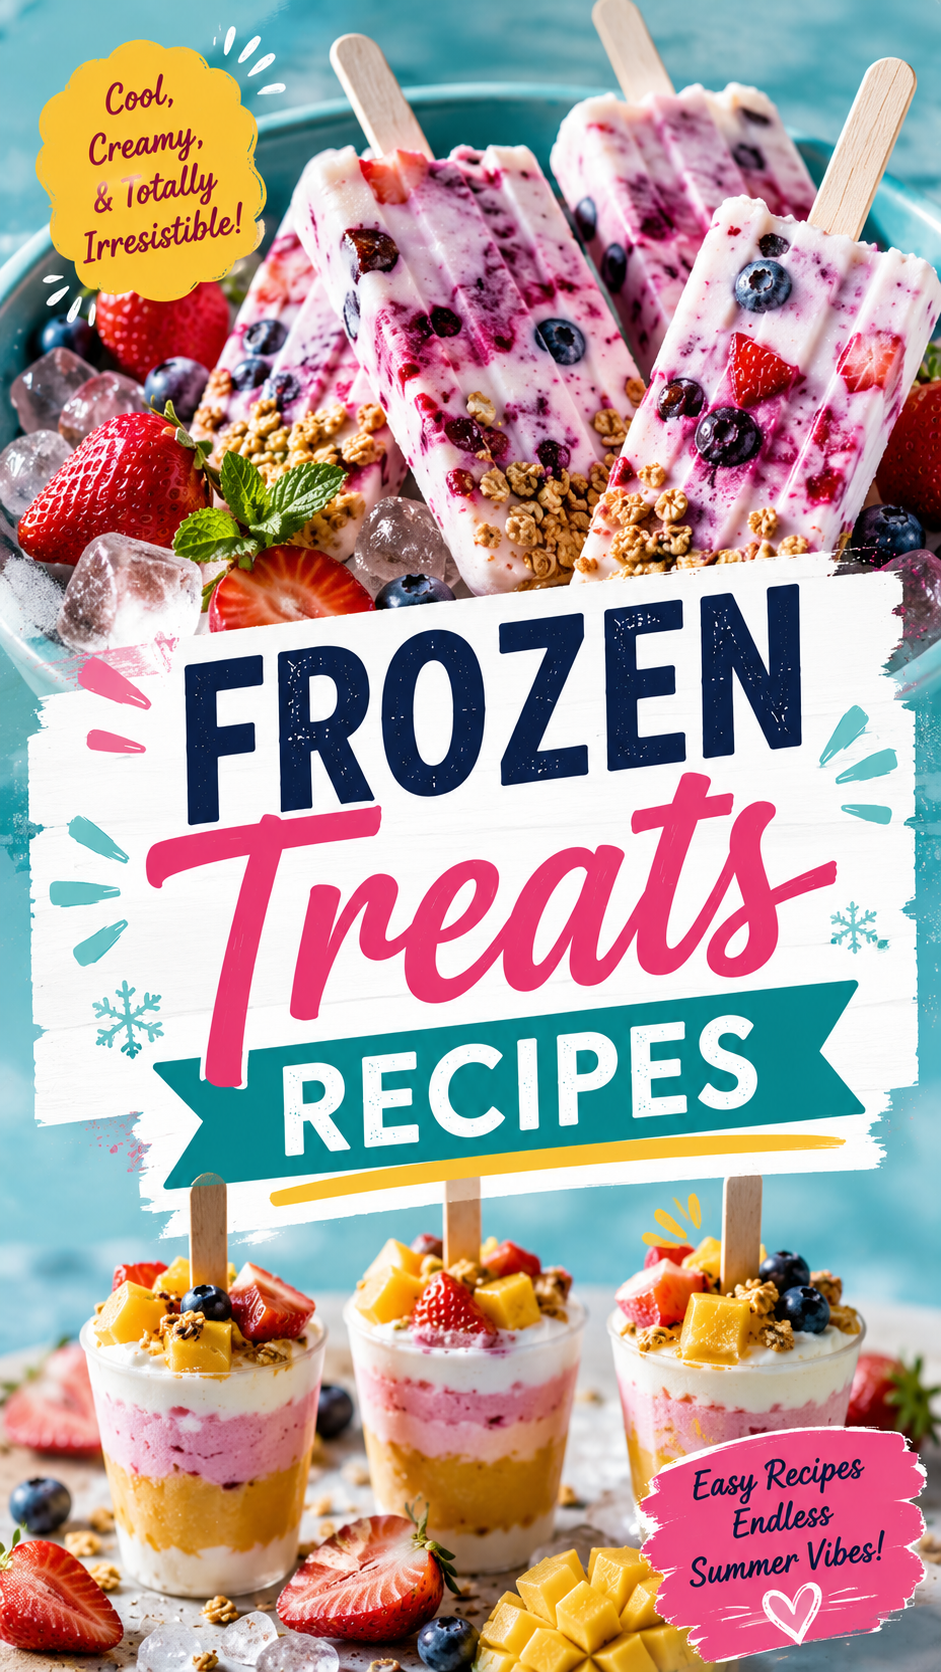
These frozen yogurt berry popsicles are creamy, fruity, and loaded with real strawberries and blueberries. They come together in about 10 minutes of actual effort. The rest is just waiting.
And here’s the part people don’t expect: they taste like something you’d pay $7 for at a fancy health food cafe. But you made them in your kitchen. With a popsicle mold. 😌
They’re also naturally high in protein, packed with antioxidants, and the kids will beg you to make them on repeat all summer. Let’s get into it.
What You’ll Need
For the yogurt base:
- 2 cups full-fat Greek yogurt (plain or vanilla)
- 3 tablespoons honey (or maple syrup)
- 1 teaspoon pure vanilla extract
- Pinch of sea salt
For the berry swirl:
- 1 cup fresh strawberries, hulled and sliced
- 1 cup fresh blueberries
- 2 tablespoons honey
- 1 tablespoon fresh lemon juice
Optional toppings (pressed into molds):
- ¼ cup granola
- A few extra whole blueberries or sliced strawberries
Tools You’ll Need
- Popsicle mold (silicone works best for easy release — 6 to 8 cavities)
- Popsicle sticks (usually come with the mold)
- Small saucepan
- Blender or immersion blender
- Mixing bowl
- Rubber spatula
- Measuring cups and spoons
- Freezer-safe tray or flat surface
Pro Tips
These are the things I wish someone had told me the first time I made frozen pops at home.
- Use full-fat Greek yogurt. Low-fat versions get icy and a little sad once frozen. Full-fat stays creamy and scoopable the whole way through.
- Cool the berry sauce before mixing. If you pour hot fruit sauce straight into the yogurt, it curdles slightly. Give it 10 minutes on the counter first.
- Tap the mold on the counter before freezing. This removes air bubbles and gives you a smooth, even popsicle instead of a lumpy one.
- Run warm (not hot) water over the mold to release. Hot water melts the edges too fast. Warm water for 10 to 15 seconds is the sweet spot.
- Don’t skip the lemon juice in the berry sauce. It brightens the whole flavor and keeps the berries from tasting flat once frozen.
How to Make the Berry Swirl Sauce
This step takes maybe 5 minutes and it makes the whole recipe.
Add the strawberries, blueberries, honey, and lemon juice to a small saucepan over medium heat.
Cook for about 5 to 7 minutes, stirring occasionally, until the berries break down and the mixture thickens slightly.
Use an immersion blender (or transfer to a regular blender) and blend until smooth. For a more textured swirl, leave it a little chunky.
Set aside and let it cool completely.
Step-by-Step Instructions
Step 1: Make the yogurt base
In a mixing bowl, stir together the Greek yogurt, honey, vanilla extract, and sea salt. Taste it. It should be sweet but not over the top.
Step 2: Make the berry sauce
Follow the steps above. Cool completely before using.
Step 3: Layer your molds
Spoon a layer of the yogurt mixture into the bottom of each mold cavity. Add a spoonful of berry sauce on top. Repeat the layers until the mold is filled, ending with yogurt on top.
Use a toothpick or skewer to swirl gently for that pretty marbled effect.
Step 4: Add toppings (optional)
Press a few granola pieces and whole berries into the top of each mold before inserting the sticks. These become the “bottom” of the popsicle when you flip it out.
Step 5: Insert sticks and freeze
Place the sticks into the molds, making sure they’re centered. Set the mold on a flat surface in the freezer.
Freeze for at least 5 to 6 hours, or overnight for best results.
Step 6: Unmold and eat
Run warm water over the outside of the mold for about 10 to 15 seconds. Gently twist and pull the popsicles out.
Eat immediately or store them (more on that below).
Substitutions and Variations
The base recipe is flexible. Here’s how to make it your own.
| Swap | Use Instead |
|---|---|
| Greek yogurt | Coconut yogurt (dairy-free) |
| Honey | Agave syrup or maple syrup |
| Strawberries + blueberries | Mango, raspberries, or peach |
| Granola topping | Crushed graham crackers or coconut flakes |
| Vanilla extract | Almond extract for a different flavor profile |
Want it creamier? Add 2 tablespoons of cream cheese to the yogurt base. It makes the texture even richer.
Want more protein? Stir in a scoop of vanilla protein powder to the yogurt base.
Need it vegan? Use coconut yogurt and maple syrup. Done.
Make Ahead Tips
These popsicles are honestly made for making ahead.
- Up to 2 weeks in advance: Make a full batch, freeze solid, then transfer to a zip-lock freezer bag or wrap individually in plastic wrap. Keep in the freezer until ready to eat.
- Berry sauce only: Make the sauce up to 3 days ahead and keep it in a sealed jar in the fridge. Then all you’re doing is assembling.
Nutritional Details
Here’s a rough breakdown per popsicle (based on 8 popsicles from this batch):
| Nutrient | Per Popsicle |
|---|---|
| Calories | ~120 kcal |
| Protein | ~6g |
| Carbohydrates | ~18g |
| Natural Sugars | ~14g |
| Fat | ~2.5g |
| Fiber | ~1.5g |
Values are estimates and will vary based on yogurt brand and exact fruit quantities used.
These are genuinely a guilt-free summer treat. High in protein from the Greek yogurt, antioxidants from the berries, and natural sweetness from the honey. Zero weird ingredients.
Meal Pairing Ideas
These work great as:
- An afternoon snack for kids (or adults who refuse to grow up 😄)
- A post-workout treat that actually has protein in it
- A light dessert after a summer BBQ
- A “breakfast popsicle” if you add granola and call it a parfait on a stick
Leftovers and Storage
Once frozen solid, here’s how to keep them tasting fresh:
- In the mold: They’ll keep well for up to 1 week.
- Out of the mold: Wrap each popsicle individually in plastic wrap or parchment paper. Store in a zip-lock freezer bag. Good for up to 2 weeks.
- Avoid: Keeping them near strong-smelling foods in the freezer. Yogurt popsicles can pick up flavors from their surroundings.
If you notice any ice crystals forming on the outside, it just means they’ve been in there a while. They’ll still taste great.
FAQ
Can I use frozen berries instead of fresh?
Yes! Frozen berries work perfectly for the sauce. No need to thaw them first; just add them straight to the pan. Fresh berries are great for pressing into the molds as decoration.
My popsicles are icy, not creamy. What went wrong?
This usually comes down to the yogurt. Low-fat or non-fat yogurt has a higher water content, which causes more ice crystal formation. Switch to full-fat Greek yogurt and you’ll notice a huge difference.
How long do they need to freeze?
Minimum 5 to 6 hours. But honestly? Overnight is better. You want them completely solid before unmolding.
Do I need a popsicle mold?
Not necessarily. You can use small paper cups! Fill them, cover with foil, poke a stick through the foil (the foil holds the stick upright), and freeze. Peel away the cup when ready to eat.
Can kids help with this recipe?
This is actually a great recipe to make with kids. They can help with spooning the layers, swirling with a toothpick, and choosing toppings. Just handle the hot berry sauce yourself.
Can I add other mix-ins to the yogurt base?
Absolutely. Mini chocolate chips, shredded coconut, or a swirl of peanut butter all work really well. Get creative with it.
Wrapping Up
These frozen yogurt berry popsicles have become a summer staple in our house, and I think they’ll become one in yours too.
They take almost no time, they’re made with real ingredients, and they hit that perfect sweet spot between a dessert and something that actually makes you feel good after eating it.
Make a batch this weekend. You’ll be really glad you did.
And once you try them, drop a comment below! I love knowing what flavor combinations people come up with. Tried mango? Added chocolate chips? Gone the coconut yogurt route? Tell me everything. Questions are welcome too. 👇