My grandma used to keep a jar of these in her fridge door, right next to the pickles.
I always assumed they were just… more pickles.
I was wrong. Dilly beans are their own thing entirely, and once you make a batch, you’ll understand why she guarded that jar like treasure. 🫙
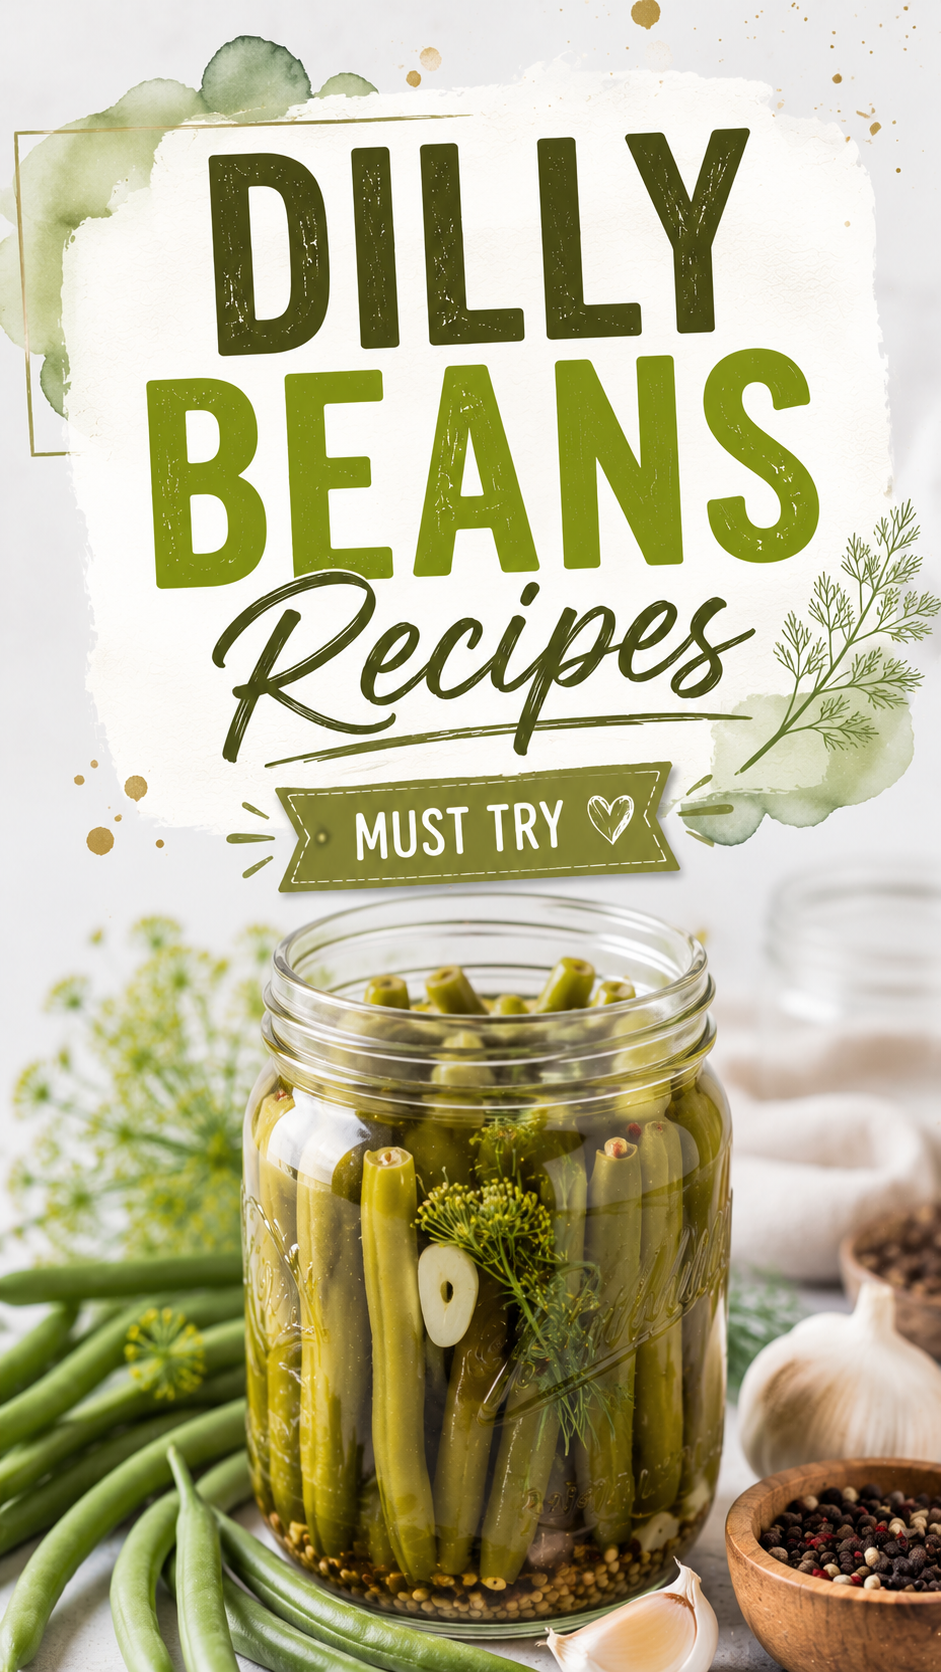
These are crunchy, garlicky, dill-packed green beans soaked in a tangy brine. They taste like the best part of a pickle jar, minus the cucumber. You can eat them straight out of the jar, drop them in a Bloody Mary, or chop them into a salad for a serious flavor bomb.
Here’s exactly how to make them.
What You’ll Need
Grab these before you start:
- 1 ½ pounds fresh green beans, trimmed
- 4 cloves garlic, peeled
- 2 teaspoons whole peppercorns
- 4 fresh dill heads (or 4 teaspoons dill seed)
- ½ teaspoon crushed red pepper flakes (optional, for heat)
- 2 cups white vinegar
- 2 cups water
- 3 tablespoons kosher salt
- 1 tablespoon sugar
That’s the whole list. No obscure ingredients, no special order needed.
Tools You’ll Need
- 4 pint-sized mason jars with lids
- Small saucepan
- Measuring cups and spoons
- Sharp knife
- Cutting board
- Funnel (optional, but it saves your countertop)
Pro Tips
I’ve made batch after batch of these, and here’s what actually makes a difference:
- Use the freshest beans you can find. Limp, older beans turn mushy in the brine. Snappy, firm beans stay crisp even after weeks in the jar.
- Trim the beans to fit your jar, not the other way around. Stand a bean up next to the jar before cutting so you leave about half an inch of headspace at the top.
- Don’t skip the ice bath. If you blanch your beans first (more on that below), shocking them in ice water locks in that snap. Skip it and you’ll lose the crunch.
- Let them sit for at least 48 hours before eating. I know it’s tempting to dig in immediately. But the flavor needs time to actually soak into the beans, not just coat the outside.
- Shake the jar once a day for the first few days. This helps distribute the garlic and dill flavor evenly instead of it all settling at the bottom.
Instructions
Step 1: Wash your green beans and trim the stem ends. Leave the pointed tips on.
Step 2: Bring a pot of water to a boil. Blanch the beans for 2 minutes, then immediately transfer them to a bowl of ice water. This step is optional but gives you a crunchier final result.
Step 3: Pack each jar tightly with beans standing upright, leaving about ½ inch of space at the top.
Step 4: Add 1 clove of garlic, ½ teaspoon of peppercorns, 1 dill head (or 1 teaspoon dill seed), and a pinch of red pepper flakes to each jar.
Step 5: In your saucepan, combine the vinegar, water, salt, and sugar. Bring to a boil, stirring until the salt and sugar dissolve completely.
Step 6: Carefully pour the hot brine over the beans in each jar, leaving ¼ inch of headspace.
Step 7: Use a butter knife to gently press along the inside of the jar to release any trapped air bubbles.
Step 8: Wipe the jar rims clean, then seal with your lids.
Step 9: Let the jars cool to room temperature on the counter, then transfer to the fridge.
Step 10: Wait at least 48 hours before eating. One week gives you the best flavor.
That’s genuinely the whole process, start to finish.
Substitutions and Variations
Here’s how you can switch things up depending on what you like or what’s in your kitchen:
| Original | Swap | Notes |
|---|---|---|
| Green beans | Yellow wax beans | Same texture, slightly milder flavor |
| White vinegar | Apple cider vinegar | Adds a slightly sweeter, rounder tang |
| Fresh dill heads | Dried dill seed | Works just as well if fresh dill isn’t available |
| Red pepper flakes | Sliced jalapeño | Adds a fresher, sharper heat |
| Kosher salt | Pickling salt | Prevents any cloudiness in the brine |
You can also toss in a few thin carrot sticks alongside the beans in each jar. They soak up the brine just as well and add a nice color contrast.
Make Ahead Tips
You can prep your garlic, dill, and spices into each jar a day ahead of time. Just keep the jars covered in the fridge until you’re ready to add the beans and brine.
The brine itself can also be made a day in advance. Store it in an airtight container in the fridge, then reheat it to a boil right before pouring it over your beans.
Leftovers and Storage
These keep remarkably well, which is part of why I always make a big batch.
- Fridge: Up to 2 months in a sealed jar, unopened or opened.
- Counter: Not recommended. These are a refrigerator pickle, not a shelf-stable canned good.
- Brine reuse: You can reuse the leftover brine one more time for a fresh batch of beans, though the flavor will be slightly milder the second round.
Every week that passes, the flavor gets a little deeper. By week two, they’re at their absolute peak.
Additional Details
Nutritional Breakdown (per serving, about 1 cup)
- Calories: 35
- Carbohydrates: 8g
- Protein: 2g
- Fat: 0g
- Sodium: 590mg
This will shift slightly depending on how much brine you consume along with the beans.
Diet Friendly Swaps
- Low sodium: Cut the kosher salt down to 2 tablespoons total. The beans will still pickle properly, just with a milder brine.
- Sugar free: Swap the sugar for a sugar substitute like monk fruit sweetener at a 1:1 ratio.
- Vegan and gluten free: This recipe is already both, no changes needed.
Pairing Suggestions
These are fantastic chopped up in a charcuterie board next to sharp cheddar and salami. They’re also the secret ingredient in a great Bloody Mary garnish, or a crunchy addition to a chopped salad.
Time Efficiency Tip
Trim and blanch your beans the night before, then store them in the fridge overnight. The next day, you’ll only need about 15 minutes to make the brine and fill your jars.
FAQ
Do I need to blanch the beans first? No, it’s optional. Blanching gives you a slightly softer texture with a more pickle-like bite. Skipping it keeps the beans closer to raw and extra crunchy.
Why did my beans turn out mushy? This usually comes down to using older beans that already lost some of their firmness before pickling. Fresh, snappy beans make all the difference.
Can I can these for long term shelf storage instead of the fridge? Yes, but you’ll need to process the jars in a water bath canner for 10 minutes to make them shelf stable. Without that step, these need to stay refrigerated.
How spicy are these with the red pepper flakes? With just ½ teaspoon per jar, the heat is mild and mostly background warmth. Double it if you want a noticeable kick.
Can I use a different vinegar? Yes, as long as it’s at least 5% acidity. White vinegar and apple cider vinegar both work well.
Wrapping Up
If you’ve got a bag of green beans just sitting in your fridge with no plan, this is exactly what they’ve been waiting for.
Dilly beans take almost no hands on time, they last for weeks, and they turn an ordinary vegetable into something people actually get excited about snacking on.
Make a batch this weekend and let me know how they turned out in the comments below. I’d also love to hear if you tried any of the flavor variations.