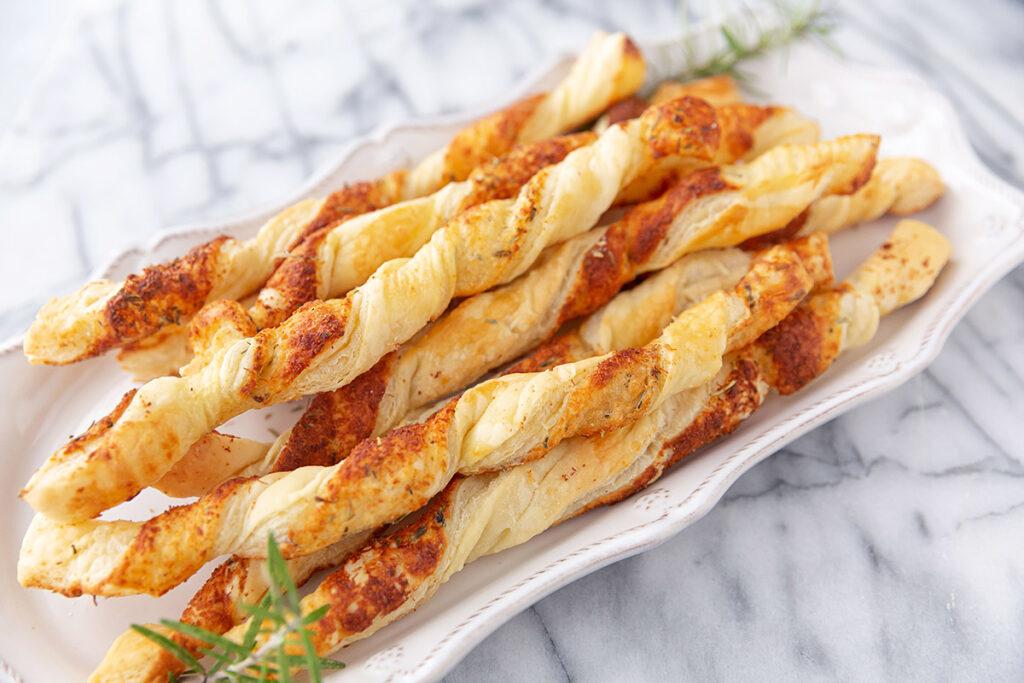
I used to think cheese straws were one of those things you only got at fancy parties, made by someone’s grandma who guarded the recipe like a state secret.
Turns out they’re one of the easiest snacks I’ve ever made at home.
Four cheese-forward ingredients, a rolling pin, and about 30 minutes is all it takes. And once they’re out of the oven, crispy and golden and smelling like a cheese shop exploded in your kitchen, you’ll wonder why you ever bought the boxed kind. 🧀
These are the snack I bring to every gathering now. They disappear faster than anything else on the table, every single time.
I once made a batch for a small get-together and caught three separate people sneaking back to the kitchen for “just one more.” There were none left within the hour.
That’s really all the proof you need.
Let’s get into it.
What You’ll Need
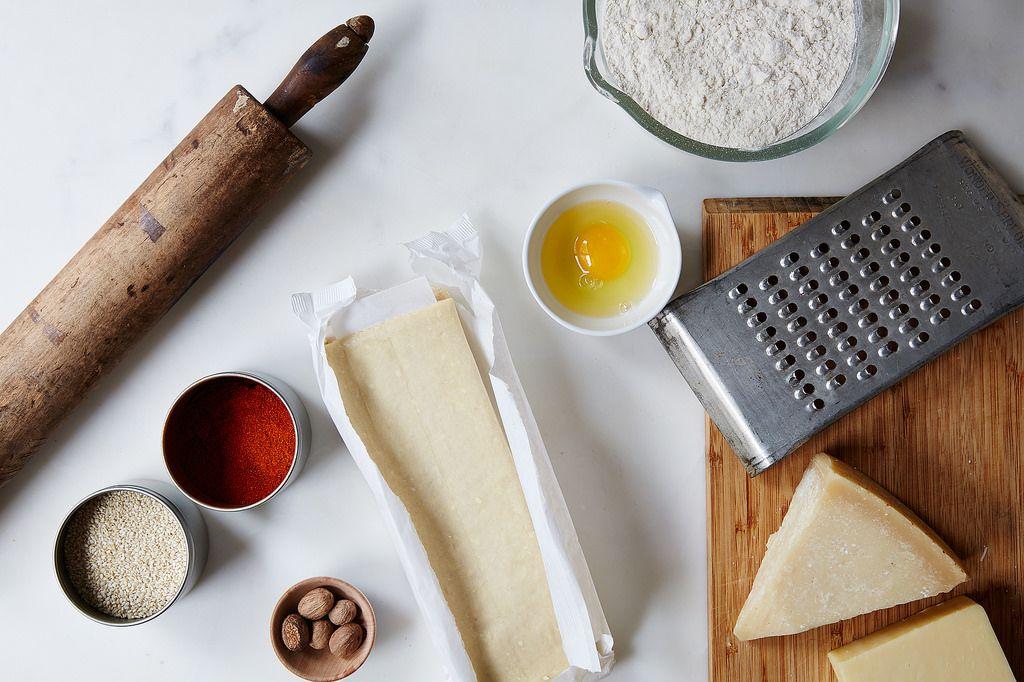
Here’s everything you’ll need to pull this off. Simple ingredients, big payoff.
| Ingredient | Amount |
|---|---|
| Sharp cheddar cheese, freshly grated | 2 cups (200g) |
| Unsalted butter, softened | 1/2 cup (115g) |
| All-purpose flour | 1 1/4 cups (155g) |
| Salt | 1/2 tsp |
| Cayenne pepper | 1/4 tsp |
| Garlic powder | 1/4 tsp |
| Large egg, beaten (for egg wash) | 1 |
| Flaky sea salt, for topping | A pinch |
Quick note: Grate your own cheese for this one. Pre-shredded cheese has anti-caking additives that keep it from melting into the dough the way you want it to.
Tools You’ll Need
- Food processor or stand mixer
- Box grater (if grating cheese by hand)
- Rolling pin
- Baking sheet
- Parchment paper
- Pizza cutter or sharp knife
- Pastry brush
How to Make Cheese Straws
- Preheat your oven to 350°F (175°C) and line a baking sheet with parchment paper.
- Combine the cheese and butter. Add the grated cheddar and softened butter to your food processor. Pulse until it forms a paste.
- Add the dry ingredients. Toss in the flour, salt, cayenne, and garlic powder. Pulse again until the dough comes together into a ball.
- Roll it out. Turn the dough onto a lightly floured surface and roll into a rectangle about 1/4-inch thick.
- Cut into strips. Use a pizza cutter to slice the dough into strips roughly 1/2-inch wide and 4 to 5 inches long.
- Twist (optional, but fun). Give each strip a gentle twist for that classic bakery look.
- Brush with egg wash. Transfer the strips to your prepared baking sheet and brush lightly with the beaten egg.
- Add a finishing touch. Sprinkle with flaky sea salt right before baking.
- Bake for 12 to 15 minutes, until the edges are golden brown and slightly puffed.
- Cool for 5 minutes on the pan before moving them to a wire rack. They firm up as they cool, so don’t skip this part.
Pro Tips
A few things I learned the hard way, so you don’t have to.
- Cold butter can work too, but softened butter blends faster. If you’re short on time, softened is the way to go.
- Don’t overwork the dough. The second it forms a ball, stop pulsing. Overmixing makes them tough instead of flaky.
- Uniform width matters more than you’d think. If your strips are different sizes, some will burn before others finish baking.
- Watch the last 2 minutes closely. Cheese straws go from perfectly golden to too dark fast, especially with cayenne in the mix.
- Let the dough rest for 10 minutes if it feels sticky. A quick chill in the fridge makes it way easier to roll.
- Rotate your pan halfway through baking. Most home ovens have hot spots, and rotating helps every straw bake evenly.
I skipped this step the first time I made them and ended up with one side of the pan burnt while the other was still pale. Lesson learned.
Substitutions and Variations
This recipe is forgiving, so feel free to play around.
- Cheese swap: Gruyere, parmesan, or a sharp white cheddar all work beautifully instead of regular cheddar.
- Spice level: Skip the cayenne for a mild version, or double it if you like heat.
- Herby version: Add 1 tablespoon of fresh chopped rosemary or thyme to the dough.
- Gluten-free: Swap the all-purpose flour for a 1:1 gluten-free baking blend.
- Extra crunch: Roll the strips in sesame seeds or everything bagel seasoning before baking.
I tried the everything bagel version on a whim once and honestly, it might be even better than the original. It’s worth trying at least once before you settle on your favorite version.
Make Ahead Tips
You can prep the dough up to 2 days ahead. Wrap it tightly in plastic wrap and store it in the fridge until you’re ready to roll and bake.
You can also freeze the raw, cut strips on a baking sheet, then transfer them to a freezer bag once solid. Bake straight from frozen, just add an extra 2 to 3 minutes to the bake time.
Nutrition, Diet Notes & Pairing Ideas
Each cheese straw comes out to roughly 45 calories, depending on how thick you cut them. They’re naturally low-carb friendly if you swap the flour for almond flour, though the texture will be a bit denser.
For pairings, these go really well with:
- A crisp glass of white wine or a cold beer
- Tomato soup, for dipping
- A charcuterie board, right alongside the cured meats and olives
- Just a bowl on the counter for guests to grab as they walk by
If you’re tight on time, double the batch and freeze half. Future you will be very grateful.
For a dairy-free version, a good vegan butter and a plant-based cheddar shred can work, though the texture ends up a little softer than the original. Still tasty, just different.
And here’s a small surprise: cheese straws actually have less fat per serving than most crackers you’d buy at the store, since there’s no added oil beyond the butter already in the dough.
Leftovers and Storage
Store cooled cheese straws in an airtight container at room temperature for up to 5 days. They’ll stay crisp if the container is truly airtight.
If they lose their crunch, a quick 3-minute stint in a 300°F oven brings them right back.
They also freeze well after baking. Just thaw at room temperature and warm them up in the oven for a few minutes.
FAQ
Can I make these without a food processor? Yes. Cream the softened butter and cheese together with a hand mixer or a wooden spoon, then stir in the dry ingredients until combined.
Why did my cheese straws turn out soft instead of crispy? This usually means they weren’t rolled thin enough, or they came out of the oven a touch early. Roll to a true 1/4-inch and give them the full bake time.
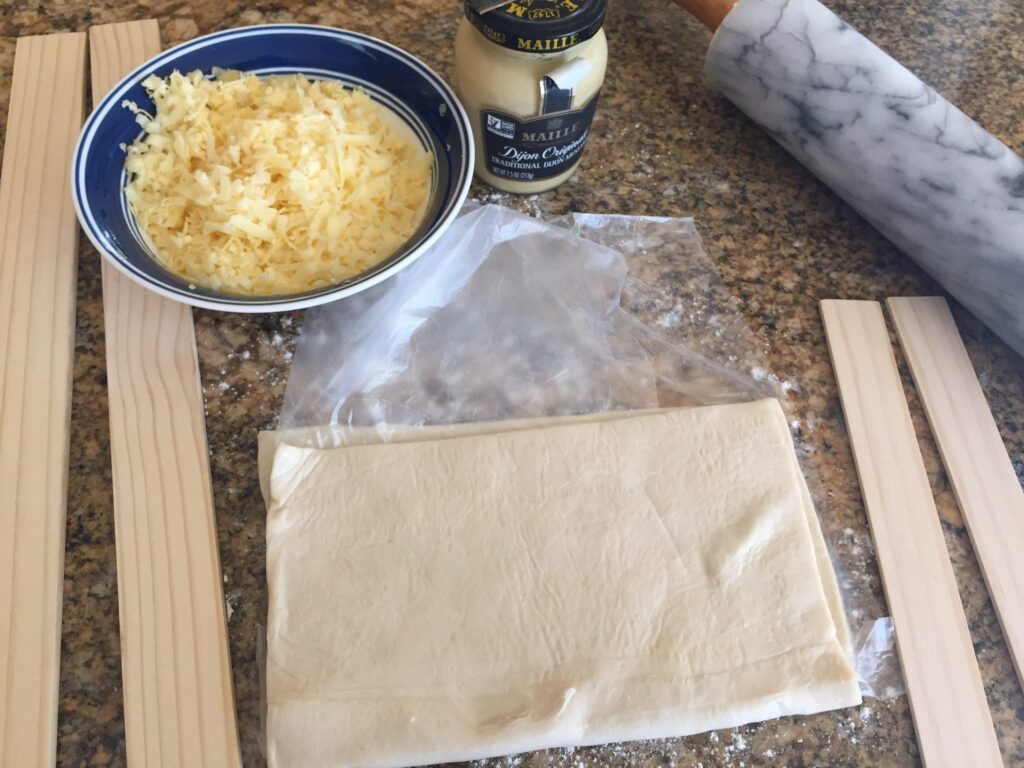
Can I use pre-made puff pastry instead? You can, though the texture and flavor will be different. This recipe is a shortbread-style dough, which gives you that dense, cheesy crunch instead of a flaky, buttery one.
Do I have to twist them? Not at all. Straight strips work just as well and are actually easier for beginners.
Can kids help make these? Definitely. Rolling and cutting the dough is a great hands-on task for kids, just handle the egg wash and oven parts yourself.
How long do these actually take from start to finish? About 30 minutes total, including bake time. That’s roughly 15 minutes of hands-on prep and 15 minutes of mostly hands-off baking and cooling.
Can I double the recipe? Yes, and I’d honestly recommend it. These go fast, and having extra dough in the freezer means fresh cheese straws are always just a bake away.
Wrapping Up
Cheese straws are one of those recipes that looks impressive but takes barely any effort, which is exactly my kind of cooking.
Once you make a batch, I have a feeling this is going to become your go-to snack for parties, movie nights, or just a random Tuesday when you want something crunchy and cheesy in your hands.
And unlike a lot of “impressive” snacks, there’s no fancy equipment, no waiting overnight, and no complicated technique standing between you and a warm batch fresh from the oven.
Give this recipe a try, and let me know how it turns out in the comments below. I’d love to hear what cheese you used, if you twisted them or kept them straight, and any tweaks you made along the way. 🧡