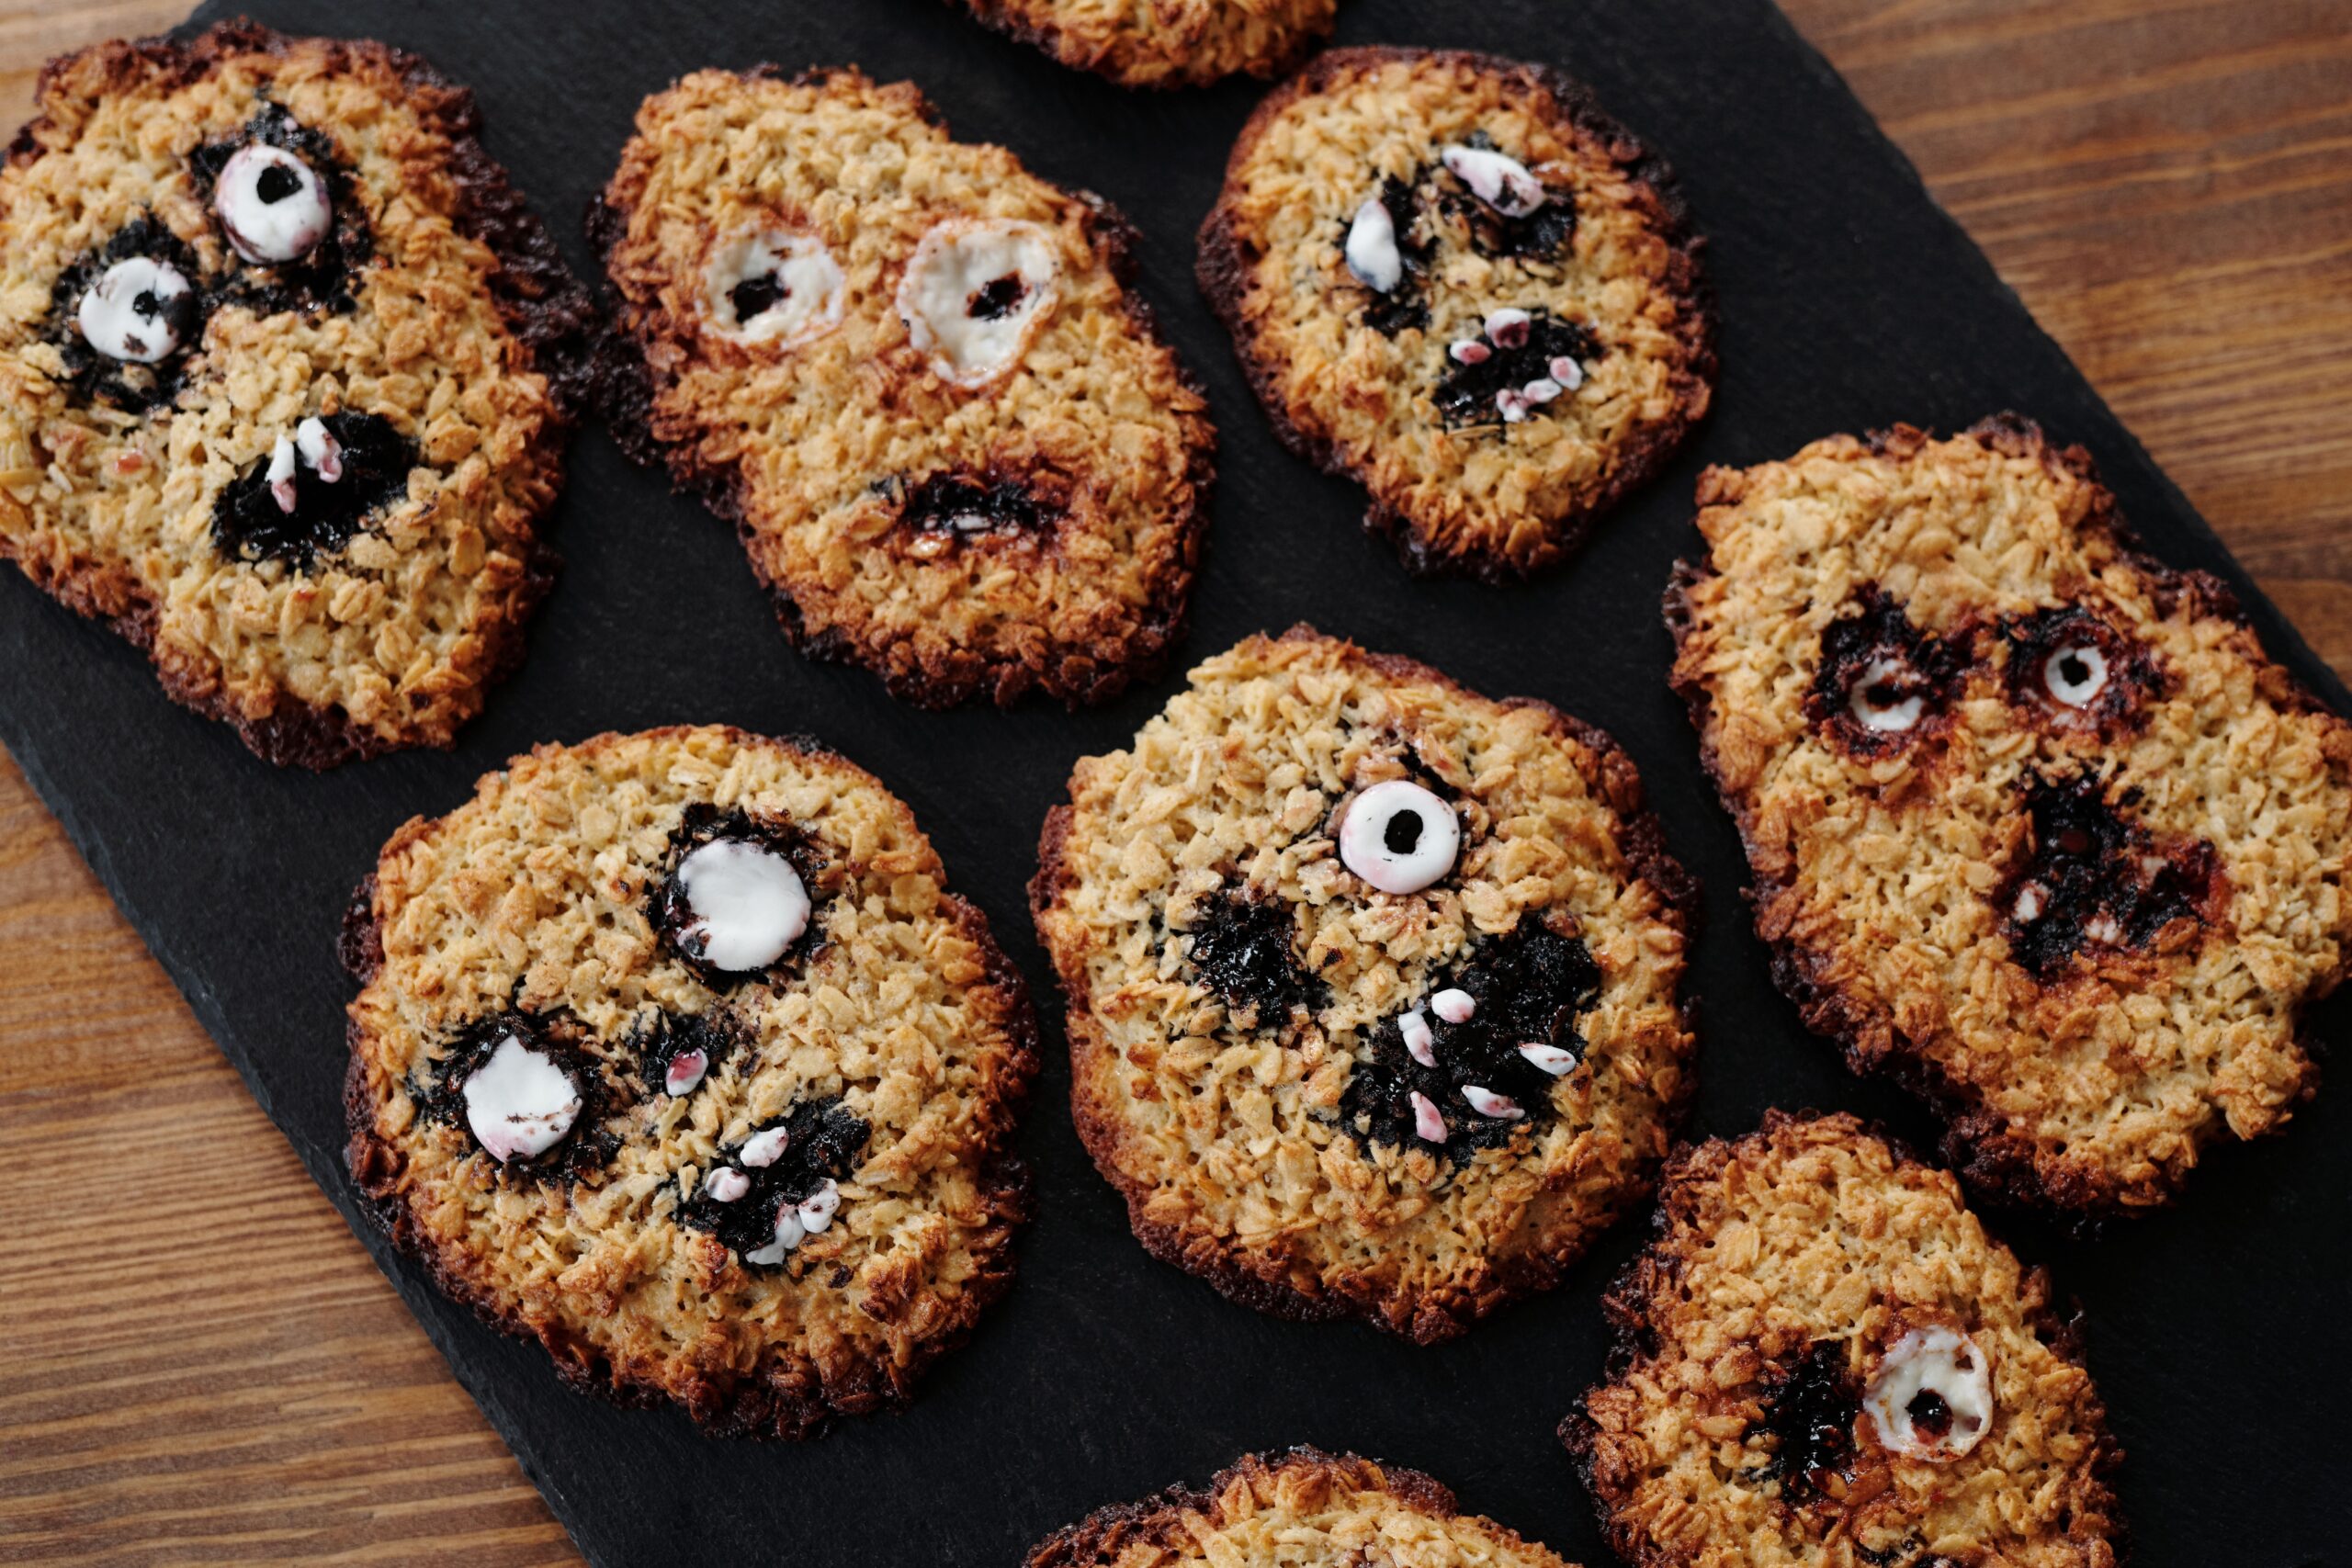
A plate of plain sugar cookies is fine. A plate of ghosts, pumpkins, and a black cat with a tiny bat charm is the thing people photograph before they even take a bite.
I started decorating cookies like this for a Halloween party a few years ago, and once I got the hang of royal icing, I couldn’t stop making new designs. This base cookie and icing recipe works for every shape on the tray, from a simple ghost to a full haunted house scene.
It takes some patience with the decorating, but the actual dough and icing are simple enough for anyone to pull off.
Let’s bake and decorate.
What You’ll Need
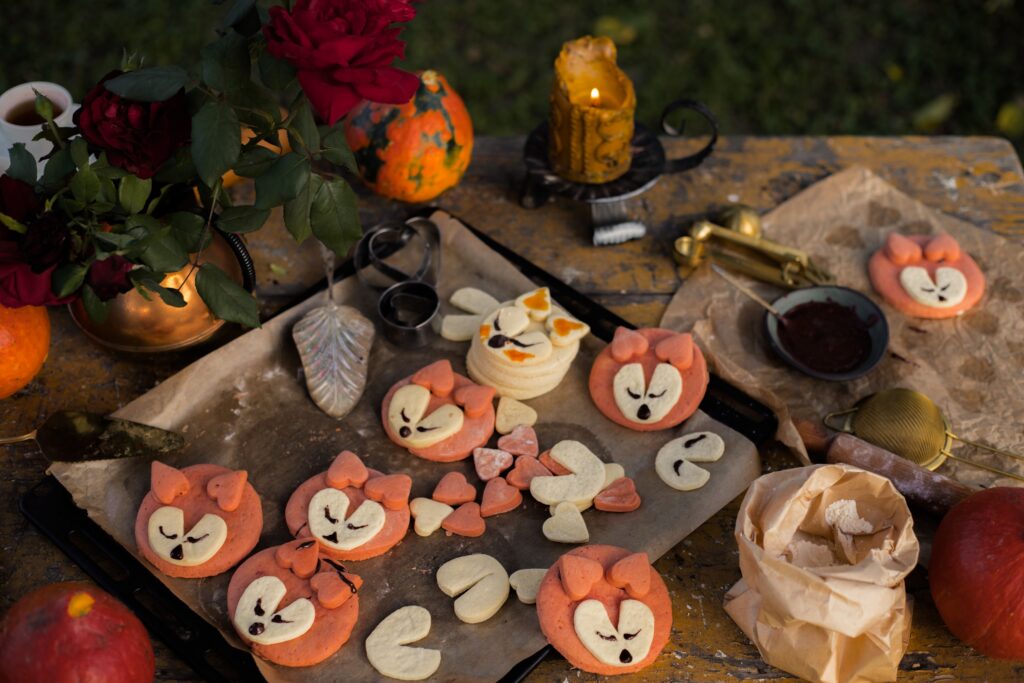
For the sugar cookies:
- 3 cups all purpose flour
- ½ tsp baking powder
- ¼ tsp salt
- 1 cup butter, softened
- 1 cup granulated sugar
- 1 large egg
- 1 tsp vanilla extract
For the royal icing:
- 4 cups powdered sugar
- 3 tbsp meringue powder
- 5 to 6 tbsp water
- Gel food coloring (orange, black, white, purple)
A classic base recipe that becomes the starting point for any cookie design.
Tools You’ll Need

- Mixing bowls
- Electric mixer or hand mixer
- Rolling pin
- Halloween themed cookie cutters
- Baking sheets
- Parchment paper
- Piping bags with small round tips
- Toothpicks, for detail work
Pro Tips
I’ve made these cookies enough Halloweens to know exactly what makes them turn out right.
1. Chill the cookie dough before rolling. This makes it much easier to handle and helps the shapes hold their form during baking instead of spreading.
2. Use two consistencies of royal icing. A thicker icing for outlining the edges, and a slightly thinner icing for flooding the center, gives you clean, professional looking results.
3. Let the outline dry before flooding. This creates a barrier that keeps the flooded icing from running off the edges of the cookie.
4. Work on one color at a time. Complete all the white sections across your cookies before moving to orange, black, or purple, so you’re not constantly switching piping bags.
5. Let cookies dry completely before stacking. Royal icing needs several hours, or even overnight, to fully harden. Stacking too soon can smudge the designs.
How to Make Halloween Cookies
Step 1: Make the Cookie Dough
Whisk together the flour, baking powder, and salt in a bowl.
In a separate bowl, beat the softened butter and sugar until light and fluffy.
Add the egg and vanilla extract, beating until combined.
Gradually add the dry ingredients, mixing until a dough forms.
Step 2: Chill and Cut
Chill the dough for at least 30 minutes.
Roll out on a floured surface and cut into Halloween shapes using cookie cutters.
Step 3: Bake
Preheat your oven to 350°F.
Bake for 8 to 10 minutes, until the edges are just barely golden.
Let cool completely.
Step 4: Make the Royal Icing
Beat the powdered sugar, meringue powder, and water together until smooth and glossy, adjusting water for outlining or flooding consistency.
Divide and tint with gel food coloring as needed for each design.
Step 5: Outline and Flood
Pipe an outline around the edge of each cookie shape, then let dry for 10 minutes.
Fill in the center with the flooding consistency icing, using a toothpick to spread it into corners if needed.
Step 6: Add Details
Once the base icing has dried for at least an hour, pipe on additional details like faces, patterns, or accents using a small round tip.
Step 7: Dry and Serve
Let the finished cookies dry completely, ideally overnight, before serving or stacking.
Substitutions and Variations
- Ghost cookies: Use a ghost shaped cutter, flood entirely in white icing, and pipe on simple black dot eyes and an oval mouth.
- Black cat cookies: Use a cat shaped cutter, flood in black icing, and add small green eyes and white whisker details once dry.
- Candy corn cookies: Use a triangle cutter and section the icing into yellow, orange, and white stripes.
- Haunted house cookies: Use a circle cutter, flood in purple, and pipe a black silhouette house with yellow windows once dry.
- Spider web cookies: Flood a round cookie in white, then pipe black spiral lines and drag a toothpick outward to create a web pattern.
Make Ahead Tips
Bake the cookies up to a week ahead and store unfrosted in an airtight container at room temperature.
Decorated cookies also keep well once the icing has fully dried, making this a great project to spread out over a few days before a party.
Nutritional Breakdown (Per Cookie, Makes 24 cookies)
| Nutrient | Amount |
|---|---|
| Calories | 180 |
| Fat | 6g |
| Carbs | 30g |
| Sugar | 20g |
| Protein | 2g |
Numbers will shift depending on cookie size and the amount of icing used.
Diet Friendly Swaps
- Gluten free: Use a 1:1 gluten free flour blend in place of all purpose flour.
- Egg free icing: Meringue powder based royal icing is already egg free, making it a safer option for allergy conscious baking.
- Lower sugar: Use a sugar substitute in the cookie dough, though the icing itself relies on powdered sugar for proper texture.
Meal Pairing Suggestions
Serve alongside a cup of hot apple cider or hot chocolate for a cozy fall pairing.
These also work well as part of a larger Halloween dessert table alongside other spooky treats.
Cooking Time Efficiency Tips
Bake all the cookies first and let them cool completely while you mix and tint your royal icing colors.
Decorate one color at a time across all cookies rather than finishing one cookie completely before moving to the next, which saves time switching piping bags.
Leftovers and Storage
Store decorated cookies in an airtight container at room temperature for up to a week, once the icing has fully dried.
These freeze well undecorated. Wrap tightly and freeze for up to 3 months, then thaw and decorate once ready to use.
FAQ
Why did my royal icing crack after drying? This usually happens if the icing was applied too thick, or if it dried too quickly in a very dry environment.
Can I make the icing without meringue powder? Meringue powder is recommended for the best texture and shelf stability, though egg white based royal icing can work as an alternative.
How long does royal icing take to dry completely? At least 6 to 8 hours, though overnight drying gives the most reliable, fully hardened result.
Can kids help decorate these cookies? Yes, simpler designs like ghosts or basic flooding are great for kids to help with, while more detailed designs are better suited for adult hands.
Can I freeze decorated cookies? It’s best to freeze cookies undecorated, since royal icing details don’t always hold up well after thawing.
Wrapping Up
These Halloween cookies turn a basic sugar cookie recipe into a whole cast of spooky characters, and once you get comfortable with the icing technique, the design possibilities are pretty much endless.
Whether you stick to simple ghosts or work your way up to a full haunted house scene, this is the kind of baking project that’s just as fun to make as it is to eat.
Try this recipe, then come back and tell me how it turned out. Did you try the black cat design? Make a whole haunted house scene? Drop a comment below, I’d love to hear about it. 🎃