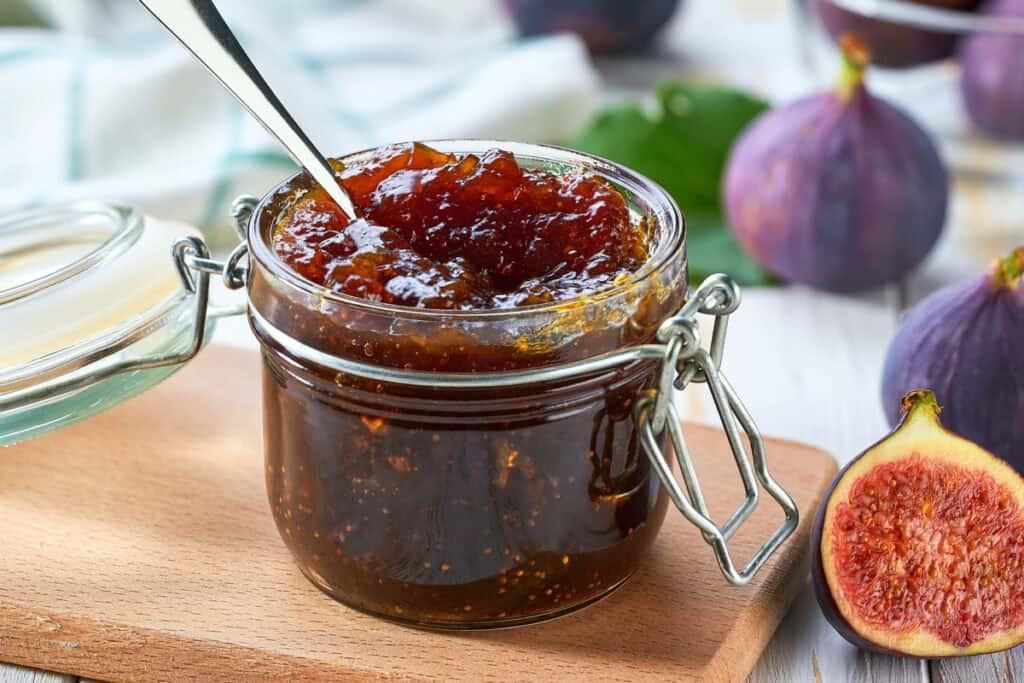
Four ingredients and one pot turn fresh figs into something you’ll want to put on absolutely everything.
I started making this jam during fig season when I had way more figs than I knew what to do with. It’s simple enough that there’s no real learning curve, and the payoff is jars of deep, sweet jam that tastes nothing like the store bought version.
No pectin, no complicated canning process required if you’re just planning to keep it in the fridge. Just figs, sugar, lemon, and time on the stove doing the work.
Let’s make a batch.
What You’ll Need
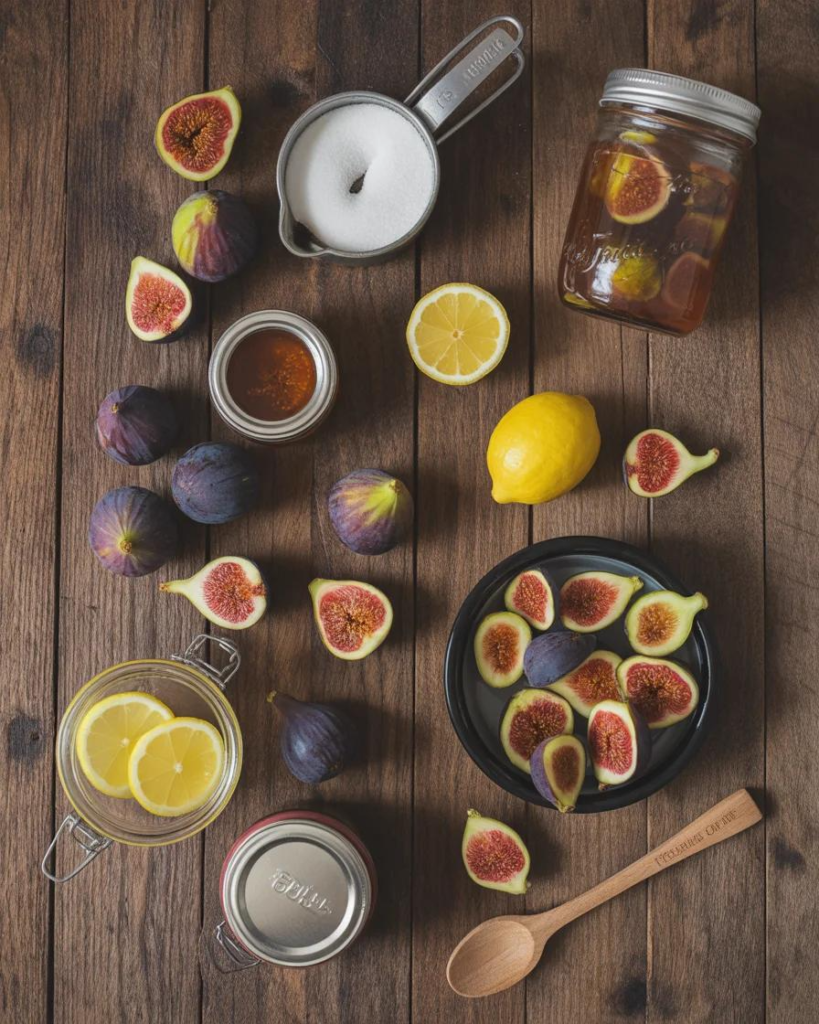
- 2 lbs fresh figs, stems removed and quartered
- 1 cup granulated sugar
- 3 tbsp fresh lemon juice
- Pinch of salt
Just four ingredients, and most of the work is really just patience.
Tools You’ll Need
- Large pot or Dutch oven
- Wooden spoon
- Potato masher (optional, for a smoother texture)
- Glass jars, for storage
- Ladle
Pro Tips
I’ve made this jam enough times to know exactly what makes it turn out right.
1. Use ripe, slightly soft figs. Overripe figs break down more easily and bring more natural sweetness, giving you a richer jam without needing extra sugar.
2. Stir frequently as it cooks. Fig jam can stick and scorch on the bottom of the pot if left unattended, especially as it thickens.
3. Mash the figs partway through cooking. A few passes with a potato masher breaks down larger pieces while still leaving some texture, rather than pureeing everything smooth.
4. Test the thickness with the plate method. Place a small spoonful on a chilled plate and run your finger through it. If it holds a line without running back together, it’s ready.
5. Let the jam cool before jarring. Pouring hot jam directly into jars and sealing immediately can trap excess steam, so let it cool slightly first if you’re not doing a full canning process.
How to Make Fig Jam
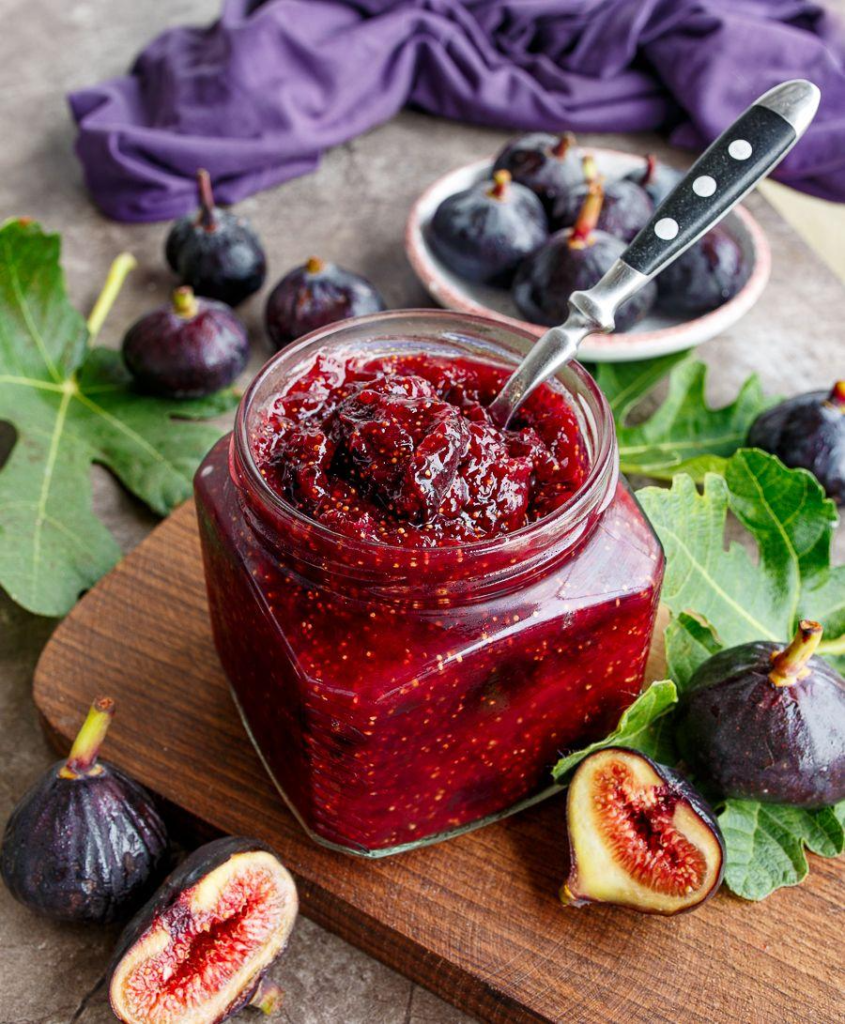
Step 1: Combine the Ingredients
Add the quartered figs, sugar, lemon juice, and salt to a large pot.
Step 2: Cook
Bring to a simmer over medium heat, stirring occasionally.
Step 3: Simmer and Mash
Continue simmering for 30 to 40 minutes, stirring frequently and mashing the figs partway through with a potato masher for your desired texture.
Step 4: Check for Doneness
Test the jam using the chilled plate method. It should hold its shape without running when it’s ready.
Step 5: Cool and Jar
Remove from heat and let cool slightly.
Ladle into clean glass jars.
Substitutions and Variations
- Vanilla fig jam: Add 1 teaspoon of vanilla extract near the end of cooking for extra depth.
- Spiced version: Add a cinnamon stick or a pinch of ground cinnamon while simmering.
- Honey fig jam: Swap half the sugar for honey for a slightly different sweetness profile.
- Balsamic fig jam: Add 2 tablespoons of balsamic vinegar for a tangy, savory twist that pairs well with cheese boards.
- Lower sugar: Reduce the sugar slightly, though this will affect the final texture and shelf life.
Make Ahead Tips
This jam is essentially built for making ahead, since it needs to cool before jarring anyway.
Make a big batch during fig season and store in the fridge or freezer, so you have homemade jam ready well beyond the short fig season.
Nutritional Breakdown (Per Tablespoon, Makes About 3 cups)
| Nutrient | Amount |
|---|---|
| Calories | 35 |
| Fat | 0g |
| Carbs | 9g |
| Sugar | 8g |
| Protein | 0g |
Numbers will shift slightly depending on the exact ripeness and size of your figs.
Diet Friendly Swaps
- Lower sugar: Use a reduced amount of sugar, understanding the jam will be less thick and have a shorter shelf life.
- Vegan: This recipe is naturally vegan as written.
- No added sugar: Rely on very ripe figs and a natural sweetener like honey or maple syrup in smaller amounts, though texture and preservation will differ.
Meal Pairing Suggestions
Serve on toast, biscuits, or scones for a simple breakfast spread.
This jam also works beautifully on a cheese board alongside brie or goat cheese, or as a glaze for roasted pork or chicken.
Cooking Time Efficiency Tips
Quarter all the figs in one batch before starting to cook, so nothing interrupts the simmering process once it begins.
Make a double batch since the cooking time is roughly the same regardless of quantity, giving you more jars for the same amount of hands on effort.
Leftovers and Storage
Store in the fridge in an airtight jar for up to 3 weeks.
This jam also freezes well. Store in freezer safe containers for up to 6 months, leaving room at the top for expansion, and thaw in the fridge before using.
FAQ
Do I need to can this jam for it to be shelf stable? For long term pantry storage, proper water bath canning is required. Without canning, store this jam in the fridge or freezer instead.
Why did my jam turn out too runny? This usually means it needs more simmering time, since fig jam thickens as the liquid reduces and the natural pectin in the figs develops.
Can I use dried figs instead of fresh? Fresh figs are recommended for the best texture and flavor, though rehydrated dried figs can work in a pinch with adjusted liquid.
How long does homemade fig jam last? Up to 3 weeks in the fridge, or up to 6 months in the freezer if not canned for shelf stable storage.
Can I give this jam as a gift? Yes, it makes a lovely homemade gift. Just let recipients know whether it needs to be refrigerated or was properly canned for shelf storage.
Wrapping Up
This fig jam turns a short, precious fig season into something you can enjoy for months, and it tastes far richer than anything you’ll find on a store shelf.
Once you make a batch, you’ll understand why so many people wait all year for fig season to roll back around.
Try this recipe, then come back and tell me how it turned out. Did you add balsamic? Try it with vanilla? Drop a comment below, I’d love to hear about it. 🍯











I made this recipe and Loved It! I am making my second batch today. I added a touch of cinnamon to my first batch and you can really taste it. Thank you for the easy to follow instructions and variations.