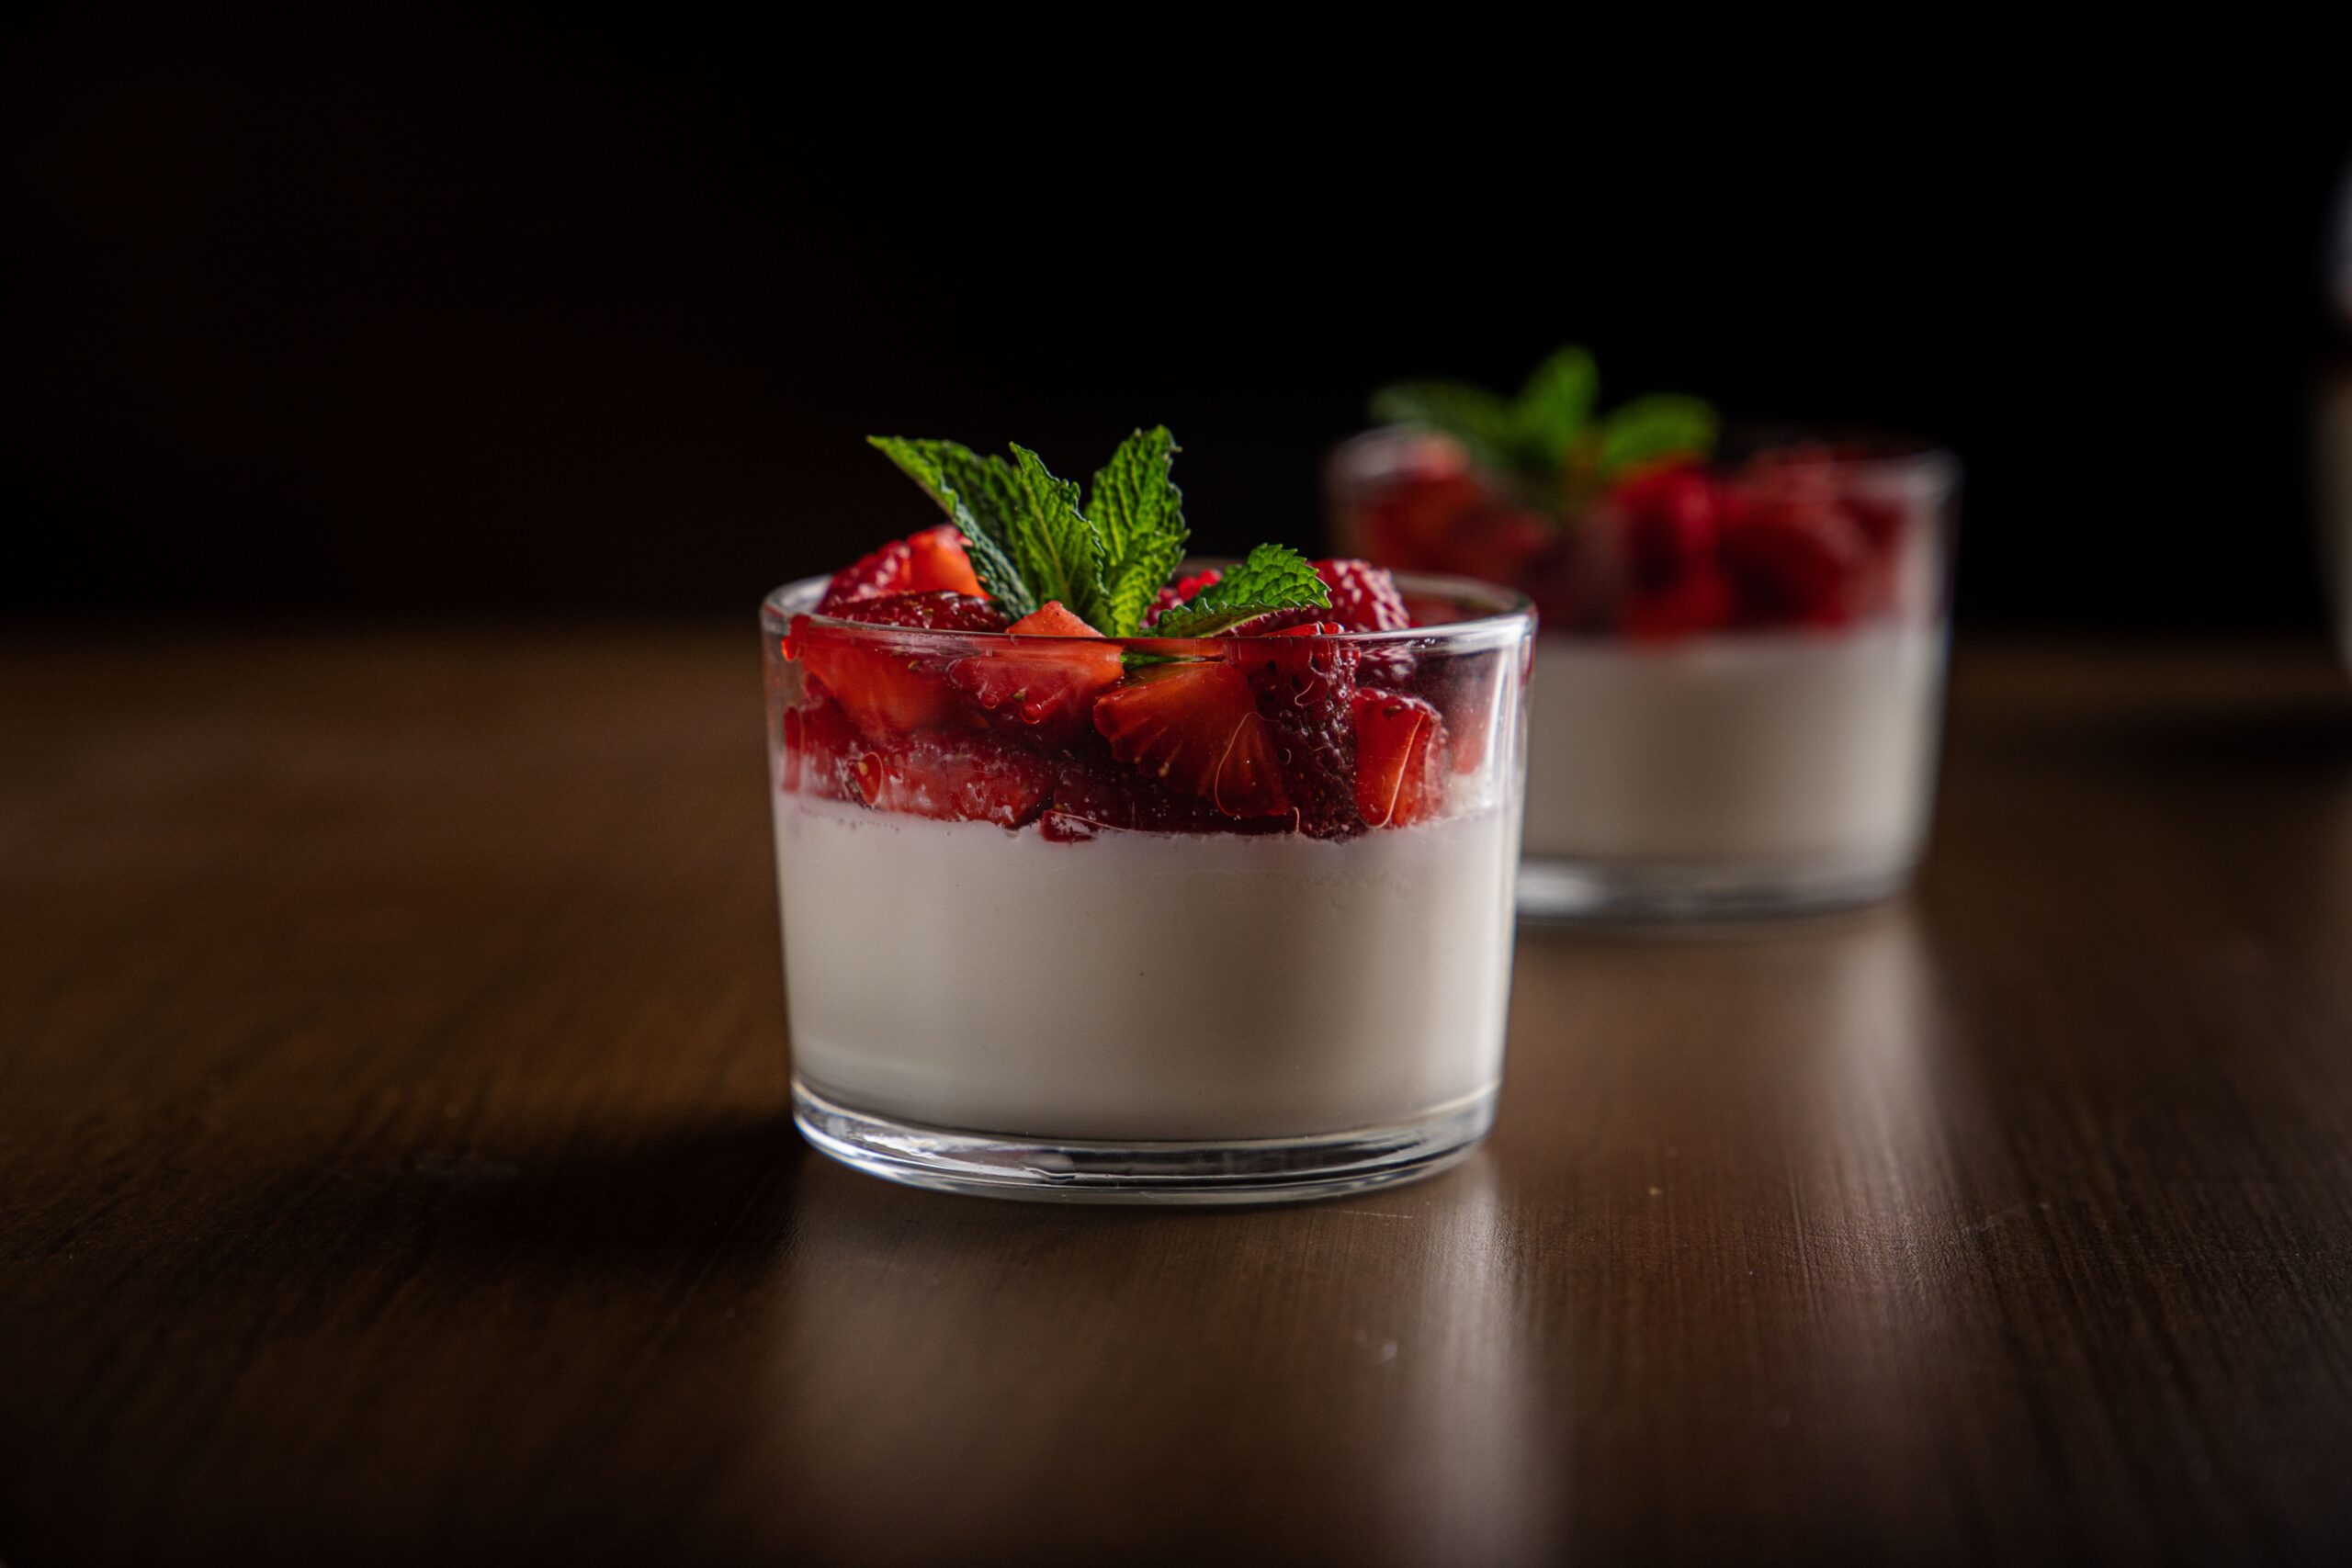
I brought this to a dinner party once and someone asked which bakery I ordered it from. I did not correct them right away.
Panna cotta has this reputation for being a restaurant-only dessert, something you order but never actually make. Truth is, it’s just cream, sugar, and gelatin set in little cups, topped with a bright raspberry sauce that makes the whole thing look way more impressive than it actually is to pull off.
If you’ve been intimidated by panna cotta, this is the recipe that changes that. 🍇
What Is Panna Cotta, Exactly?
Panna cotta is an Italian dessert made by simmering cream, sugar, and vanilla together, then setting it with a small amount of gelatin until it turns into a silky, custard-like texture.
It’s not baked. It’s not whisked over a double boiler for an hour. You heat, you pour, you chill, and the fridge does the rest.
The raspberry sauce on top adds a sharp, fruity contrast to the rich cream underneath, which is really what makes this dessert feel so balanced instead of overly heavy.
What You’ll Need
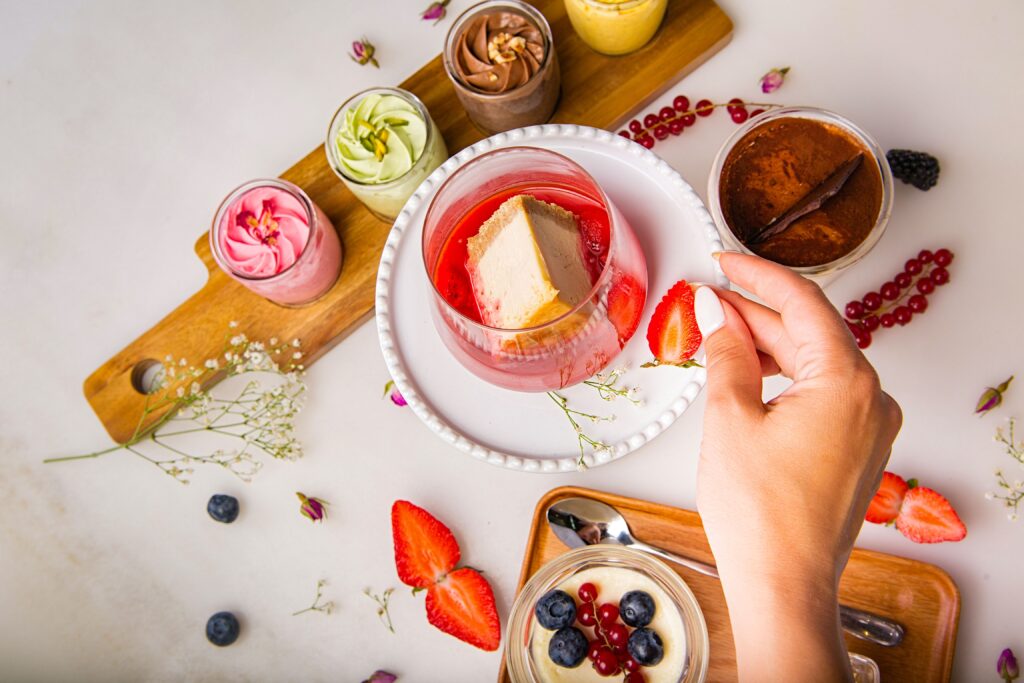
For the panna cotta:
- 2 cups heavy cream
- 1 cup whole milk
- 1/3 cup sugar
- 1 teaspoon vanilla extract
- 2 1/4 teaspoons unflavored gelatin (one standard packet)
- 3 tablespoons cold water
For the raspberry sauce:
- 2 cups fresh or frozen raspberries
- 3 tablespoons sugar
- 1 tablespoon lemon juice
- 2 tablespoons water
For garnish:
- Fresh raspberries
- Fresh mint leaves
Eleven ingredients, and most of them are just cream, sugar, and fruit.
Tools You’ll Need
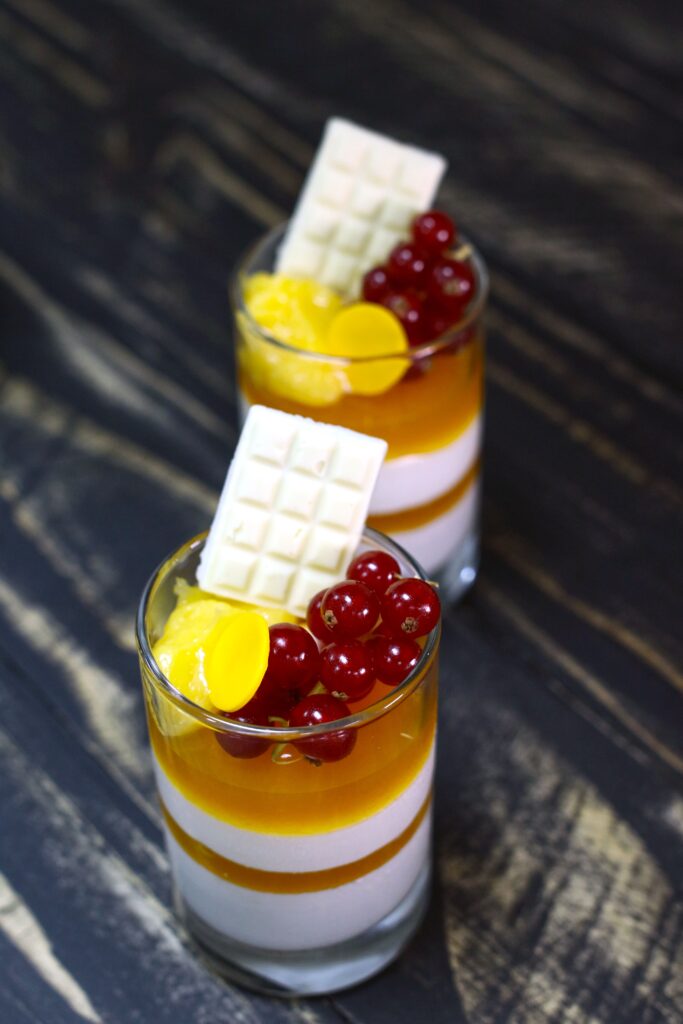
- A small saucepan
- A small bowl (for blooming the gelatin)
- A whisk
- A fine mesh strainer
- Small serving glasses or ramekins
- A blender or food processor (for the raspberry sauce)
How to Make Raspberry Panna Cotta
- In a small bowl, sprinkle the gelatin over the cold water and let it sit for 5 minutes to bloom.
- In a saucepan, heat the heavy cream, milk, and sugar over medium heat, stirring occasionally, until the sugar dissolves and the mixture is warm but not boiling.
- Remove from heat and whisk in the bloomed gelatin and vanilla extract until fully dissolved.
- Pour the mixture through a fine mesh strainer into a clean bowl or pitcher to remove any lumps.
- Divide the mixture evenly among your serving glasses.
- Chill for at least 4 hours, or until fully set.
- While the panna cotta chills, blend the raspberries, sugar, lemon juice, and water until smooth, then strain out the seeds if desired.
- Once set, spoon the raspberry sauce over each panna cotta.
- Top with fresh raspberries and a mint leaf before serving.
Nine steps, and most of the waiting happens while you do something else entirely.
Pro Tips From Many, Many Batches of This
Don’t let the cream mixture boil. Boiling can affect the texture and cause the gelatin to set unevenly, so keep it at a gentle simmer at most.
Bloom your gelatin properly. Skipping this step or rushing it can leave you with a grainy texture instead of that smooth, silky finish panna cotta is known for.
Strain the mixture before chilling. This one step catches any small lumps of gelatin and gives you that glassy-smooth texture in the final result.
Chill in the glasses you plan to serve in. Unmolding panna cotta is possible, but serving it directly in the cup is far less stressful for a first attempt.
Make the raspberry sauce while the panna cotta chills. It’s the perfect use of that waiting time, and the sauce needs to cool anyway before it goes on top.
Substitutions and Variations
| Swap this | For this |
|---|---|
| Heavy cream | Coconut cream (for dairy-free) |
| Raspberries | Strawberries, blackberries, or mixed berries |
| Vanilla extract | Vanilla bean paste for visible flecks |
| Regular sugar | Honey or maple syrup |
| Gelatin | Agar agar (for a vegetarian version, adjust ratio per package) |
You can also swirl a little raspberry puree directly into the cream mixture before chilling for a marbled look instead of a clean top layer.
Make Ahead Tips
Panna cotta is genuinely built for making ahead. It needs the chill time regardless, so there’s no reason not to make it a day or two before you need it.
Make the panna cotta and raspberry sauce separately, storing both covered in the fridge, then top the panna cotta with sauce and garnish right before serving.
A Few Extra Details Worth Knowing
Nutrition-wise, a single serving lands around 280 to 320 calories, mostly from the cream, so it’s a rich dessert best served in smaller portions.
For different diets:
- Dairy-free: use full-fat coconut cream instead of heavy cream and milk
- Lower sugar: reduce the sugar in both the cream mixture and the raspberry sauce
- Vegetarian: swap gelatin for agar agar
Pairing suggestions: this works beautifully after a lighter meal, like grilled chicken or a simple pasta dish, since it’s rich but not overly filling.
Time-saving tip: make the raspberry sauce a day or two ahead and store it in the fridge, so all you need to do on serving day is spoon it on top.
Leftovers and Storage
Store panna cotta covered in the fridge for up to 4 days.
Keep the raspberry sauce separate until you’re ready to serve so the top layer doesn’t get watery from sitting too long.
This dessert doesn’t freeze well, since the texture can turn grainy and separate once thawed.
FAQ
Why didn’t my panna cotta set properly?
This usually means the gelatin wasn’t bloomed long enough, or too little was used. Double-check your measurements and give it the full 4 hours to chill.
Can I use frozen raspberries for the sauce?
Yes, frozen raspberries work just as well as fresh for the sauce since they get blended and cooked down anyway.
Is panna cotta supposed to jiggle?
Yes, a slight jiggle is normal and actually a good sign. It means the texture is soft and creamy rather than overly firm and rubbery.
Can I make this dairy-free?
Yes, full-fat coconut cream is a great substitute for the heavy cream and milk, though it will add a mild coconut flavor.
How far in advance can I make this for a party?
Up to 2 days ahead works well. Just add the raspberry sauce and garnish the day you’re serving it.
Wrapping Up
This dessert has a way of making people think you spent way more effort than you actually did.
A short list of ingredients, a bit of patience while it chills, and a result that looks like it came straight out of a restaurant kitchen.
Make a batch for your next gathering and let me know how it turns out in the comments. I’d love to hear what fruit you topped it with, and if you have any questions along the way, just ask. I read every comment.