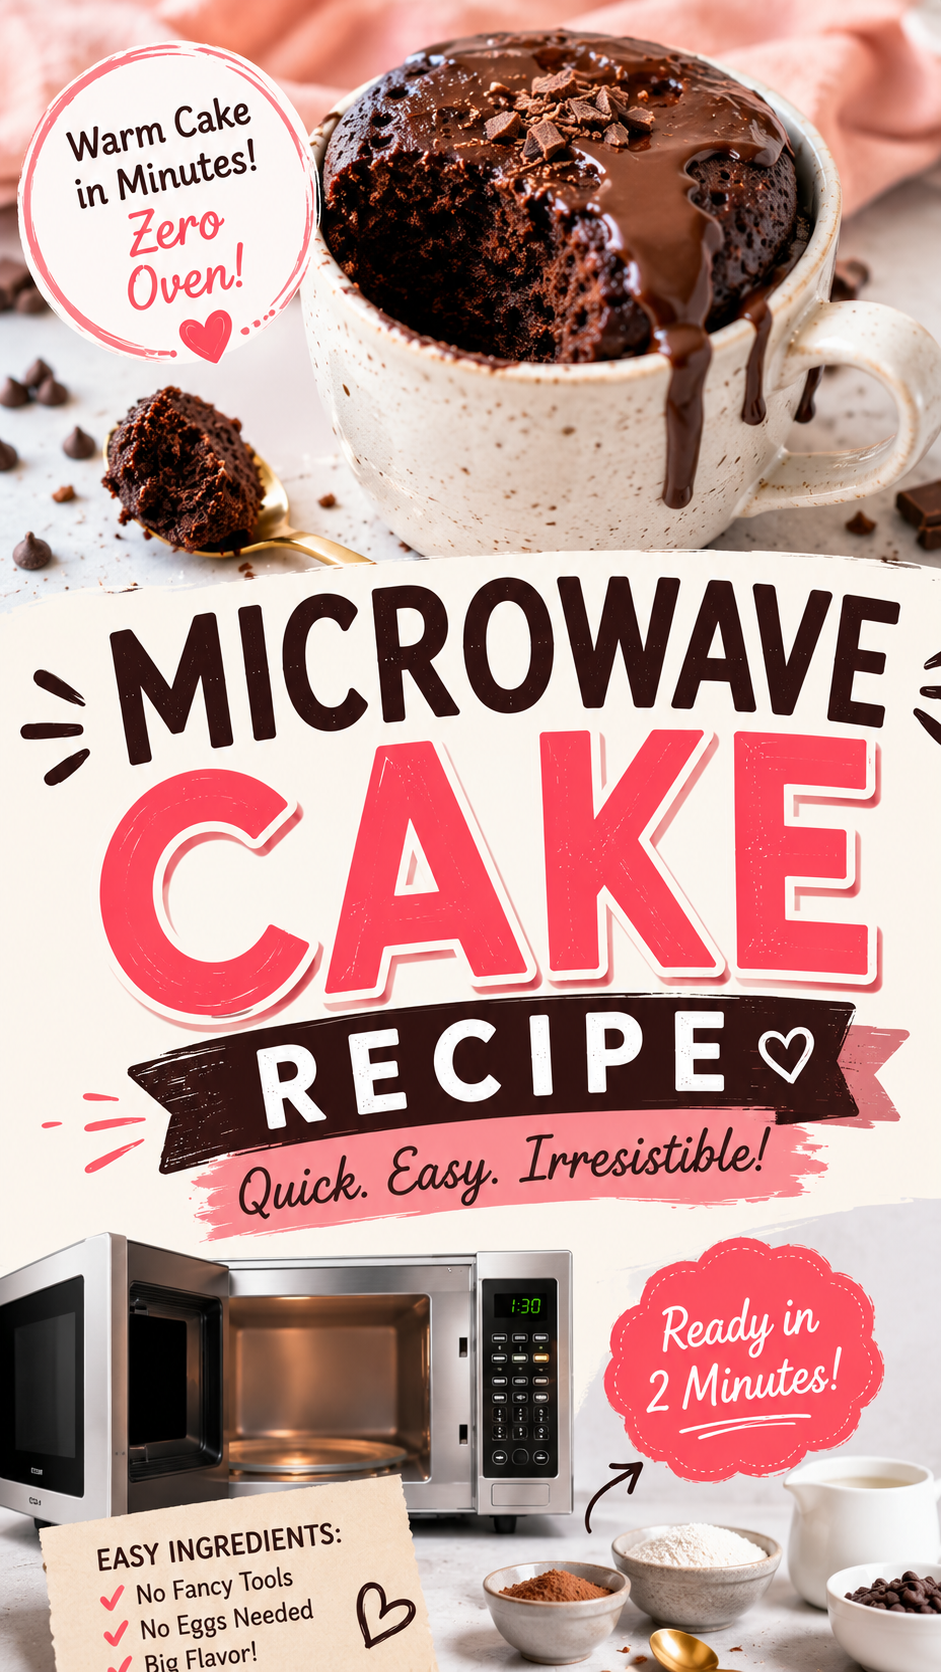
A warm, fudgy chocolate cake in 2 minutes. From scratch. In a mug.
No oven. No eggs. No mixer. No waiting.
This microwave mug cake is the kind of recipe that sounds like a trick until you actually make it — and then you’re slightly annoyed that you didn’t know about it sooner. The inside is soft and gooey, the edges have a slight pull to them, and if you add chocolate chips in the middle it gets even more ridiculous.
The whole thing takes about 3 minutes start to finish, including the 90 seconds it sits in the microwave.
There’s one thing that ruins most mug cakes though — and it’s the single most common mistake people make. I’ll cover it in the Pro Tips section. Don’t skip it.
What You’ll Need
For the Mug Cake
- 4 tablespoons all-purpose flour
- 4 tablespoons granulated white sugar
- 2 tablespoons unsweetened cocoa powder
- ¼ teaspoon baking powder
- Pinch of salt
- 3 tablespoons whole milk
- 2 tablespoons vegetable oil (or melted butter)
- ½ teaspoon pure vanilla extract
- 2 tablespoons chocolate chips (optional but highly recommended)
- 1 tablespoon water (to adjust consistency if needed)
Optional Toppings
- A scoop of vanilla ice cream
- Whipped cream
- Extra chocolate chips
- Powdered sugar dusting
- A drizzle of caramel sauce
Tools You’ll Need
- A large microwave-safe mug (at least 12 oz capacity — this is important)
- A fork or small whisk
- Measuring spoons
- Microwave
That’s it. No bowls, no pans, no cleanup beyond the mug.
Pro Tips
Simple as this recipe is, a few things make or break it.
- Use a big mug. This is the mistake that ruins most mug cakes. The batter rises as it cooks — a small mug means overflow, a mess, and uneven cooking. A 12 oz mug minimum, 14–16 oz is even better. When in doubt, go bigger.
- Don’t overcook it. A mug cake goes from perfect to rubbery in about 15 seconds. Start with 60–75 seconds at full power and check it. The top should look mostly set but still slightly moist in the very center — it continues cooking from residual heat after you pull it out. Overcooked mug cake has the texture of a dry sponge.
- Mix the dry ingredients first, then add wet. This ensures the cocoa powder and baking powder are evenly distributed. Dumping everything in at once leaves pockets of dry flour at the bottom.
- Let it rest 60 seconds before eating. It’s extremely hot straight out of the microwave, and the texture firms up slightly as it rests. Those 60 seconds also let the center finish cooking from carryover heat.
- Stuff chocolate chips in the middle. Pour half the batter, drop in a tablespoon of chocolate chips, then pour the remaining batter on top. They melt into a molten center that makes the whole thing feel indulgent in the best way.
How to Make It
Prep time: 2 minutes Cook time: 60–90 seconds Total time: ~3 minutes Serves: 1
Step 1: Mix the Dry Ingredients
Add the flour, sugar, cocoa powder, baking powder, and salt to your mug.
Stir with a fork until everything is combined and there are no visible lumps of cocoa or flour.
Step 2: Add the Wet Ingredients
Add the milk, vegetable oil, and vanilla extract directly to the mug.
Stir with a fork until the batter is smooth. Scrape the bottom of the mug to make sure no dry flour is hiding underneath. The batter should be thick but pourable — similar to brownie batter. If it looks too thick, add the tablespoon of water and stir again.
Step 3: Add the Chocolate Chips (Optional but Do It)
If you’re adding chocolate chips, press them lightly into the top of the batter or do the stuffed version from Pro Tip #5.
Step 4: Microwave
Microwave on full power for 60–90 seconds.
Start checking at 60 seconds. The cake should look set around the edges and mostly set on top, with just a small moist spot in the very center. That’s perfect.
If it still looks very wet after 60 seconds, add 10–15 second increments until it’s just set. Don’t go past 90 seconds total.
Step 5: Rest and Serve
Let it sit for 60 seconds — the inside is volcanic right out of the microwave.
Add your toppings, grab a spoon, and eat it straight from the mug.
Substitutions and Variations
Make it dairy-free:
- Swap whole milk for oat milk, almond milk, or coconut milk
- Use dairy-free chocolate chips
- Replace butter with coconut oil if using butter
Make it gluten-free:
- Use a 1:1 gluten-free baking flour blend — works nearly identically
Peanut butter mug cake:
- Reduce cocoa powder to 1 tablespoon
- Add 1 tablespoon of peanut butter to the wet ingredients
- Add a peanut butter chip or two on top
Vanilla mug cake:
- Omit the cocoa powder entirely
- Increase flour to 5 tablespoons
- Add an extra ¼ teaspoon of vanilla extract
- Top with sprinkles for a birthday cake vibe
Mocha version:
- Add ½ teaspoon of instant espresso powder to the dry ingredients
- Deepens the chocolate flavor significantly without making it taste like coffee
Nutella center:
- Drop a heaped teaspoon of Nutella into the center of the batter before microwaving for a hazelnut molten core
Nutritional Breakdown (Per Serving, Approximate)
Plain chocolate mug cake with vegetable oil, without toppings.
| Nutrient | Amount |
|---|---|
| Calories | ~380 kcal |
| Protein | ~5g |
| Carbohydrates | ~55g |
| Fat | ~16g |
| Sugar | ~32g |
| Sodium | ~120mg |
When to Make This
This recipe is genuinely useful in more situations than you’d think.
- Late-night craving when baking a full cake isn’t happening
- Single serving dessert so there’s no leftover cake sitting on the counter calling your name
- Kids’ after-school snack — they can make it mostly themselves with minor supervision
- Dorm room or office when you only have a microwave
- When you need dessert in under 5 minutes for literally any reason
FAQ
Why is my mug cake rubbery?
Overcooked. This is the most common issue. Microwave wattages vary, so if your microwave is higher powered (1000W+), start checking at 50–55 seconds. Rubbery texture means the proteins in the flour set too hard from excess heat.
Can I use butter instead of oil?
Yes — melted butter works well and gives a slightly richer flavor. Make sure it’s not too hot when you add it or it can affect the batter.
My mug cake is still wet in the middle after 90 seconds. What’s wrong?
A few possibilities: the mug is too wide and shallow (batter spreads too thin), or the microwave wattage is lower than standard. Add 10-second bursts until the center looks mostly set. You can also cover the mug loosely with a microwave-safe plate to trap steam and help it cook through.
Can I make the batter ahead of time?
You can mix the dry ingredients in the mug and store them covered at room temperature for a day or two. Add the wet ingredients right before microwaving — don’t let the mixed batter sit, as the baking powder activates when it hits liquid.
Does this work without cocoa powder?
Yes — see the vanilla mug cake variation above. Just replace the cocoa with extra flour and adjust the vanilla.
Can I bake this in the oven instead?
Technically yes, but it defeats the entire point of the recipe. Pour the batter into a small oven-safe ramekin and bake at 350°F (175°C) for about 12–15 minutes if you need to go that route.
Why is no egg needed?
Traditional cakes use eggs for structure, moisture, and binding. In a mug cake, the small quantity of batter and the steam created in the microwave does most of that structural work. The oil provides moisture and the baking powder gives the lift. Skipping eggs also makes it faster and more accessible — no cracking, no worrying about raw egg in a partially cooked cake.
Wrapping Up
A warm chocolate cake in the time it takes to scroll through your phone.
Once you make this once, it becomes one of those recipes you just know by heart. Six dry ingredients, three wet ingredients, 90 seconds. Done.
Try it tonight and come back and leave a comment — I want to hear what toppings you went with, whether you did the stuffed chocolate chip version, and if you found any variations worth sharing. Questions are always welcome too. 😄