Most people bake sourdough in autumn or winter.
Warm kitchens, slow weekends, the smell of bread filling a cold house. That’s the image people have.
But summer sourdough is something else entirely, and once you understand why, you’ll realize it’s actually the easiest time of year to bake a great loaf.
Your kitchen is already warm. Your starter is already active and hungry. The long fermentation that takes 12 hours in January takes half that in July.
The catch is that summer also punishes you fast if you get it wrong. Overproofed dough, dense crumb, a loaf that collapses in the oven. It all happens quicker when your house is 80 degrees.
This post is going to show you exactly how to work with summer heat instead of fighting it, and you’ll end up with a blistered, crackly crust and an open, airy crumb that makes the whole loaf worth every minute.
Stick with me, because there’s a fridge trick later that changes everything.
Why Summer Sourdough Behaves Differently
Sourdough fermentation is temperature-driven.
The warmer it is, the faster your starter eats through the sugars in the flour, and the faster your dough rises.
In winter, bakers often struggle to get their dough to rise at all. In summer, the problem flips completely. Your dough can go from perfectly proofed to overproofed in the time it takes you to run an errand.
The sweet spot for sourdough fermentation is between 75°F and 80°F. Above that, things move fast. Above 85°F, they move very fast.
Knowing this changes how you schedule your bake. Instead of fighting the heat, you use it to your advantage, and use your fridge to put the brakes on when you need to.
What You’ll Need
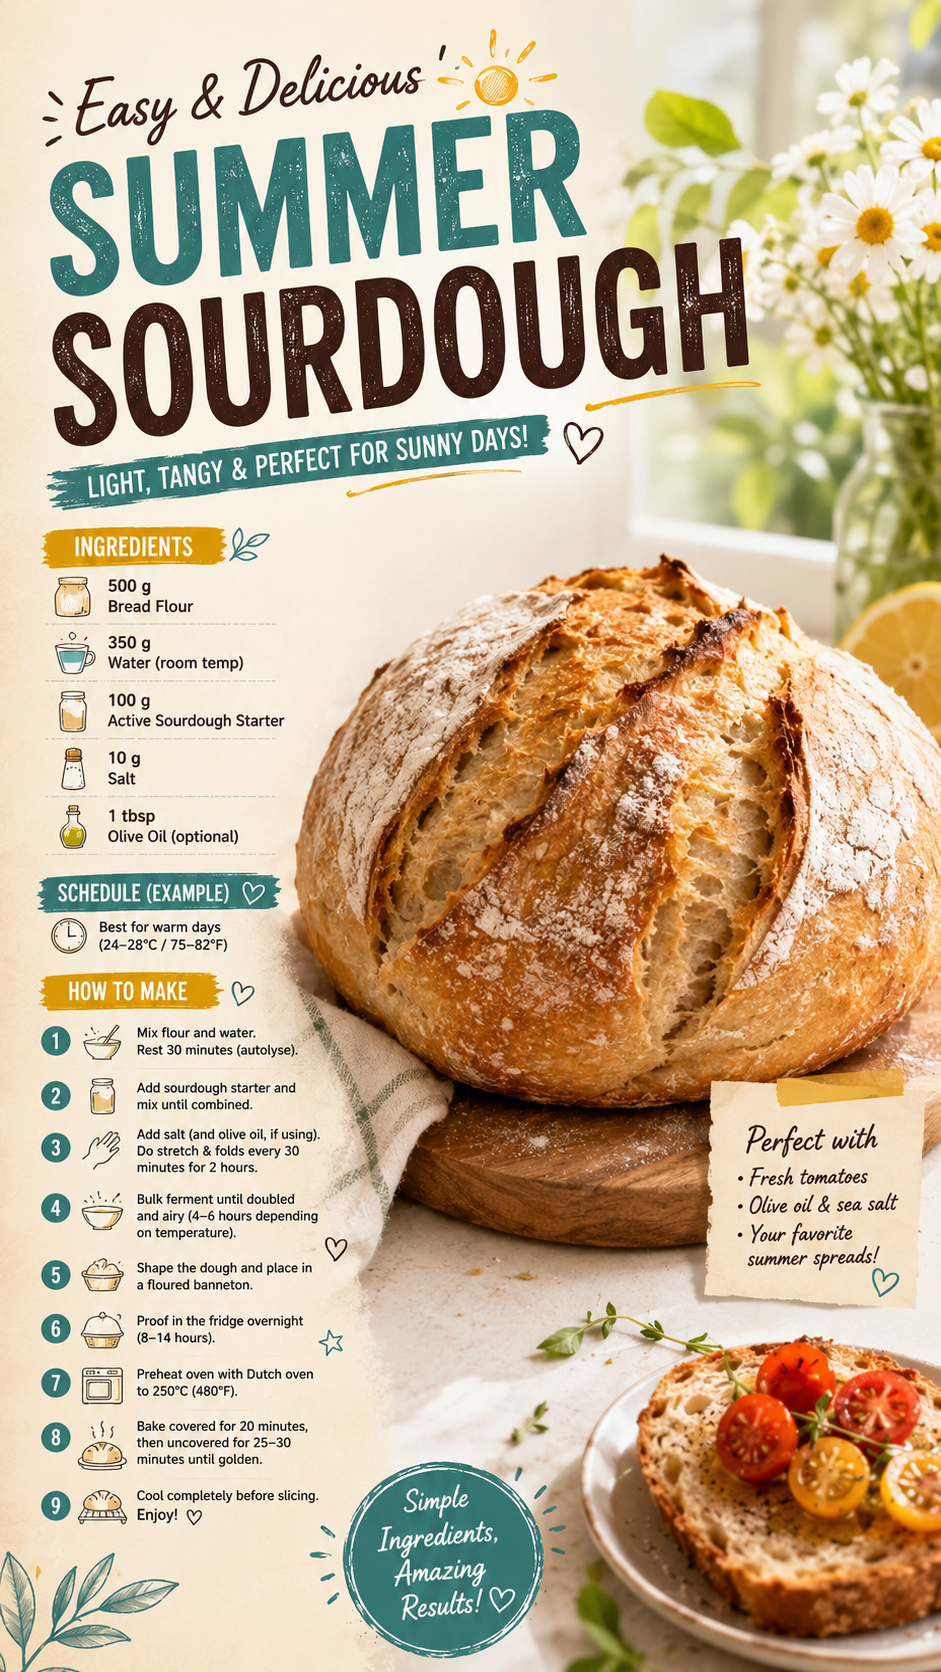
- 450g bread flour (plus extra for dusting)
- 325g filtered water, divided (room temperature)
- 90g active sourdough starter (fed and bubbly, at peak activity)
- 9g fine sea salt
- Rice flour for dusting the banneton
That’s it. Five ingredients. Sourdough is all about technique, not a long shopping list.
A note on measurements: Sourdough baking is one area where weighing ingredients in grams genuinely matters. Volume measurements (cups, tablespoons) aren’t accurate enough for bread. A kitchen scale is non-negotiable here.
Tools You’ll Need
- Kitchen scale
- Large mixing bowl
- Bench scraper
- Banneton proofing basket (9-inch round)
- Dutch oven with lid
- Lame or sharp bread scoring knife
- Parchment paper
- Oven mitts
- Wire cooling rack
- Instant read thermometer (optional but useful)
The Summer Sourdough Schedule
Timing is everything in summer baking, so map this out before you start.
| Step | Time (Summer) | Time (Winter) |
|---|---|---|
| Mix dough | 8:00 AM | 8:00 AM |
| Bulk fermentation | 8:30 AM – 12:30 PM (4 hrs) | 8:30 AM – 6:30 PM (10 hrs) |
| Shape | 12:30 PM | 6:30 PM |
| Cold proof (fridge) | 12:45 PM – next morning | Same |
| Bake | Next morning | Next morning |
The cold proof overnight is the move that levels the playing field between seasons.
How to Make Summer Sourdough
Day One: Mix and Bulk Ferment
- In your large mixing bowl, combine 325g of water with 90g of active starter. Mix until the starter is fully dissolved into the water.
- Add 450g of bread flour and mix with your hand until no dry flour remains. It’ll look shaggy and rough. That’s fine. Cover and rest for 30 minutes (autolyse).
- After 30 minutes, sprinkle 9g of salt over the dough, then add a splash of the remaining water (about 10g) to help it absorb. Squeeze the salt through the dough with your fingers until fully incorporated.
- Now begin your stretch and folds. Every 30 minutes for the first 2 hours, wet your hand, grab one side of the dough, stretch it up as high as it goes without tearing, then fold it over the center. Rotate the bowl and repeat four times per set. That’s one set.
- After your stretch and fold sets, leave the dough to finish bulk fermentation, covered, at room temperature. In summer, this will take 3 to 4 hours total from when you added the salt. Look for the dough to grow 50 to 75% in volume and feel airy and slightly domed on top.
- This is the most important step: don’t go by time alone. Go by feel. Poke the dough gently. If it springs back slowly, it’s ready. If it doesn’t spring back at all, it’s overproofed.
Shaping
- Lightly flour your work surface with bread flour. Gently tip the dough out without deflating it too much.
- Using your bench scraper and your free hand, shape the dough into a round boule by folding the edges in toward the center, then flipping it seam-side down and dragging it toward you with the scraper to build tension on the surface.
- Let it rest on the counter, uncovered, for 20 to 30 minutes (bench rest). In summer, lean toward 20.
- Shape a second time using the same technique, building as much surface tension as you can without tearing the dough.
Cold Proof
- Generously dust your banneton with rice flour (not regular flour, it absorbs into the dough and makes the basket stick).
- Place the shaped dough seam-side up into the banneton. Pinch the seam gently, dust the top with a little more rice flour, and cover with a shower cap or plastic bag.
- Place it in the fridge immediately. Cold proof for a minimum of 8 hours, up to 16 hours. This is your secret weapon. The cold slows fermentation, develops flavor, and makes the dough much easier to score cleanly.
Day Two: Bake
- At least 45 minutes before baking, place your Dutch oven with the lid on into the oven and preheat to 500°F. The Dutch oven needs to be ripping hot.
- Pull your dough straight from the fridge. Don’t let it warm up first, cold dough holds its shape and scores more cleanly.
- Cut a piece of parchment paper to fit your Dutch oven. Place it over the banneton, then flip the dough out onto it. The dough should land seam-side down.
- Score the top of the dough quickly with your lame or a sharp knife. A single confident slash at a 30-degree angle is all you need. Hesitating tears the dough instead of cutting it.
- Carefully lift the dough using the parchment paper and lower it into the screaming-hot Dutch oven. Put the lid on immediately.
- Bake covered at 500°F for 20 minutes, then remove the lid and reduce heat to 450°F for another 20 to 25 minutes, until the crust is a deep mahogany brown.
- Remove from the Dutch oven and place on a wire rack. Wait at least 1 hour before cutting. The interior is still setting during this time, and cutting too early gives you a gummy crumb.
Pro Tips
The things that separate a good sourdough from a great one:
- Your starter has to be at peak activity when you use it. Feed it the night before, and use it when it’s doubled and full of bubbles, not an hour after feeding when it’s still waking up.
- Use cold water in summer. If your kitchen is above 78°F, use water that’s 65 to 68°F to slow down fermentation slightly and give yourself more control.
- Underproof slightly rather than overproof. An underproofed loaf is dense but recovers in the oven. An overproofed loaf collapses and there is nothing you can do about it.
- Score with confidence. A slow, tentative score drags across the surface. A fast, decisive cut opens cleanly. One motion, done.
- The crust should sound hollow when you tap the bottom. That’s your sign it’s fully baked, more reliable than color alone.
Substitutions and Variations
- No bread flour? All-purpose flour works but produces a slightly less chewy crumb and less oven spring.
- Want whole wheat flavor? Replace 100g of the bread flour with whole wheat flour. Add 10g extra water to compensate for the thirstier flour.
- Want a seeded crust? Press sesame, poppy, or sunflower seeds into the bottom of the dusted banneton before placing the dough in.
- Want inclusions? Fold in olives, roasted garlic, sun-dried tomatoes, or shredded cheese during the last stretch and fold set.
- No banneton? Line a medium mixing bowl with a well-floured kitchen towel and use that instead.
- No Dutch oven? Bake on a preheated baking stone or heavy sheet pan, and place a pan of boiling water on the rack below to create steam.
Troubleshooting Summer Sourdough
| Problem | Likely Cause | Fix |
|---|---|---|
| Flat, dense loaf | Overproofed or weak starter | Use colder water, shorter bulk ferment |
| Gummy interior | Cut too soon | Wait at least 1 hour after baking |
| Thick, pale crust | Oven not hot enough | Preheat Dutch oven longer |
| Dough stuck to banneton | Not enough rice flour | Dust more generously next time |
| No ear on the score | Score too shallow or hesitant | Score deeper and faster at a low angle |
Nutritional Breakdown (Per Slice, 12 Slices)
| Nutrient | Amount |
|---|---|
| Calories | ~155 |
| Protein | 6g |
| Carbs | 30g |
| Fat | 0.5g |
| Fiber | 1g |
| Sodium | 290mg |
Sourdough fermentation actually breaks down some of the phytic acid in the flour, which makes the minerals in the bread more bioavailable than in commercial yeast breads. It also has a lower glycemic index than regular white bread, meaning it digests more slowly and causes less of a blood sugar spike.
Leftovers and Storage
Store at room temperature, cut side down on a cutting board, for up to 2 days. Don’t seal it in plastic or the crust goes soft and rubbery.
After 2 days, slice the rest of the loaf and freeze the slices in a zip-lock bag for up to 3 months. Toast straight from frozen, no thawing needed.
Never refrigerate a sourdough loaf. The fridge actually accelerates staling in bread.
FAQ
My starter floats in water. Is it ready to use?
Yes. The float test is a reliable sign that your starter is active and bubbly enough to leaven a loaf. If it sinks, feed it and wait.
How do I know if my starter is strong enough for summer baking?
Feed it, mark the jar with a rubber band at the starting level, and watch it double within 4 to 6 hours. If it takes longer, it needs a few more regular feedings before it’s ready.
Can I bake this same day without cold proofing?
You can, but the flavor won’t be as developed and the dough is harder to score cleanly when it hasn’t rested cold. Cold proofing is strongly encouraged.
My dough is too sticky to shape. What do I do?
Wet your hands instead of adding more flour. Excess flour in the shaping stage creates dry, floury streaks in the crumb. Wet hands give you grip without adding anything.
Why is my sourdough sour in summer?
Longer, warmer fermentation produces more acetic acid, which is sharper and more vinegary. If you want a milder flavor, use colder water and shorten the bulk fermentation slightly.
What’s the best bread flour for sourdough?
King Arthur Bread Flour is widely regarded as reliable and consistent. Any bread flour with 12 to 13% protein content works well.
Wrapping Up
Summer sourdough rewards people who pay attention.
Not because it’s harder, but because the heat makes everything move faster, and speed requires awareness.
Once you get one good bake under your belt, your instincts kick in. You start to recognize what properly proofed dough feels like. You know when to move and when to wait.
That’s when sourdough stops feeling like a project and starts feeling like something you just do.
Bake a loaf this weekend and drop a comment below. Tell me what your kitchen temperature was, how long your bulk took, and how the crumb looked when you finally cut it. I want to see those results.