I used to think charcuterie boards were one of those things you needed a fancy course for.
Turns out, you just need a big board and a plan.
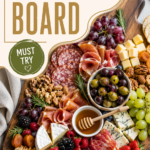
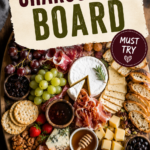
I’ve built dozens of these at this point, and I’ve noticed something every single time. The boards that disappear fastest aren’t the ones with the priciest cheese. They’re the ones with the best mix of textures and colors staring back at you.
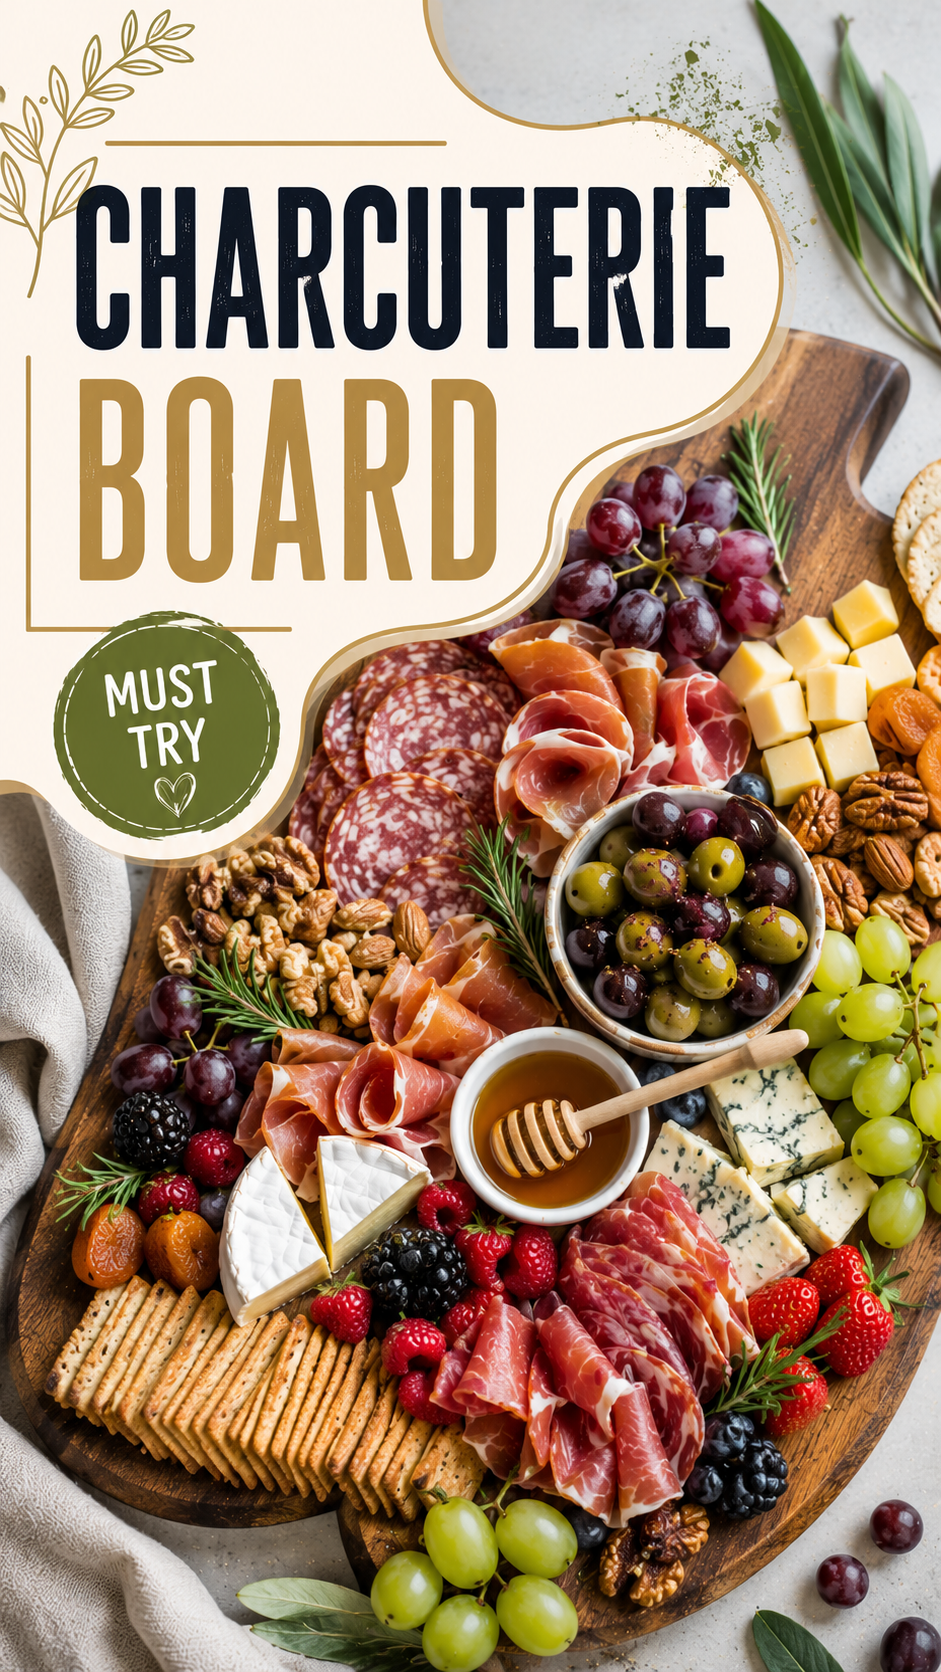
This version leans into fresh berries alongside the usual meats and cheeses, and it might be my favorite combination yet. Let’s build it.
What You’ll Need
- 8 ounces salami, sliced
- 8 ounces prosciutto
- 4 ounces sliced ham or capicola
- 1 wheel brie cheese
- 4 ounces blue cheese
- ½ cup cubed cheddar cheese
- 1 cup mixed olives
- ½ cup honey
- 1 cup red grapes
- 1 cup green grapes
- ½ cup strawberries, halved
- ½ cup blackberries
- ½ cup raspberries
- ½ cup blueberries
- ½ cup walnuts
- ½ cup pecans
- ½ cup dried apricots
- 1 sleeve crackers
- Fresh rosemary, for garnish
Grab what looks freshest at the store. This list is more of a guide than a strict rulebook.
Tools You’ll Need
- Large wooden board
- Small bowl (for honey)
- Small bowl (for olives)
- Cheese knife
- Honey dipper
- Sharp knife (for slicing cheese and fruit)
Pro Tips
Here’s what I’ve learned after building way too many of these boards:
- Wash and dry your berries early. Wet berries make everything around them soggy. Pat them completely dry before they touch the board.
- Group your fruit by color, not by type. Mixing strawberries next to raspberries next to blueberries creates a rainbow effect that photographs beautifully and looks intentional.
- Fold your meats instead of stacking them flat. A few folds and ribbons take the same slice of prosciutto from flat to genuinely impressive looking.
- Set your cheese out 20 minutes before serving. Room temperature cheese has way more flavor than cold cheese straight from the fridge.
- Save your prettiest berries for the empty gaps. Once everything else is placed, tuck the best looking berries into any leftover space. It’s the easiest way to make the whole board look polished.
Instructions
Step 1: Place your small bowls of honey and olives on the board first, spacing them apart from each other.
Step 2: Set the brie wheel down in an open spot, leaving room beside it for a cheese knife.
Step 3: Add the cubed cheddar and blue cheese in separate small clusters.
Step 4: Fold and fan out the salami, prosciutto, and ham across the open areas of the board.
Step 5: Add the grapes in two clusters, keeping the red and green separated for contrast.
Step 6: Scatter the strawberries, blackberries, raspberries, and blueberries in small clusters around the meat and cheese.
Step 7: Fill in the walnuts, pecans, and dried apricots wherever there’s open board space.
Step 8: Line the crackers along one edge, slightly overlapping each other.
Step 9: Tuck sprigs of fresh rosemary between the clusters for color.
Step 10: Take a final look and fill in any remaining gaps with extra berries or nuts.
That’s the whole process. No stove, no oven, just smart placement.
Substitutions and Variations
| Original | Swap | Notes |
|---|---|---|
| Prosciutto | Speck | Slightly smokier flavor, still thin enough to fold |
| Brie | Goat cheese log | Tangier flavor, easy to slice into rounds |
| Blue cheese | Gorgonzola | Milder and creamier |
| Honey | Fig jam | Adds a jammy sweetness instead of a runny one |
| Walnuts | Almonds | Slightly milder, still crunchy |
You can build a completely different version by leaning into a fall theme with dried cranberries and cinnamon crackers, or a summer theme with extra melon and citrus slices.
Make Ahead Tips
Slice your meats, cube your cheddar, and wash your berries up to a day ahead. Store everything separately in airtight containers in the fridge.
Assemble the board itself within an hour or two of serving. Fruit and meat left sitting out too long before guests arrive start to lose their fresh look.
Leftovers and Storage
- Fridge: Store leftover meat, cheese, and berries separately in airtight containers for up to 4 days.
- Freezer: Not recommended for any of the fresh ingredients here.
- Reusing leftovers: Turn extra meat and cheese into a quick sandwich, and toss leftover berries into yogurt or oatmeal the next morning.
A board like this rarely has much left by the end of the night, but whatever survives holds up fine in the fridge for a few days.
Additional Details
Nutritional Breakdown (per serving, roughly a small plate)
- Calories: 320
- Carbohydrates: 24g
- Protein: 14g
- Fat: 19g
- Sodium: 650mg
These numbers shift depending on your exact meat and cheese choices, and how heavy handed you get with the honey.
Diet Friendly Swaps
- Gluten free: Swap regular crackers for gluten free crackers or thin cucumber rounds.
- Lower sodium: Cut back on the cured meats and lean more into the fruit, nuts, and cheese.
- Dairy free: Skip the cheese entirely and double up on nuts, olives, and dried fruit to fill the space.
Pairing Suggestions
This board pairs beautifully with a chilled rosé or a light sparkling wine. If you’re skipping alcohol, sparkling water with fresh berries floated in it matches the whole vibe perfectly.
Time Efficiency Tip
Buy pre-sliced meats and pre-washed berries to cut your prep time down to about 15 minutes of pure assembly.
FAQ
Can I use frozen berries instead of fresh? Fresh works much better here. Frozen berries release extra liquid as they thaw, which makes the board look messy fast.
How long can the board sit out during a party? About 2 hours is the safe window before the meat and cheese should be refrigerated again.
What’s the best way to keep the board looking full as people eat? Keep a small backup stash of berries, nuts, and crackers nearby so you can refill any gaps that show up.
Can I make this board completely vegetarian? Yes. Just remove the meat and add extra cheese varieties, roasted vegetables, or hummus to fill that space.
Do I need a fancy wooden board to make this work? Not at all. A large flat platter or even a clean baking sheet lined with parchment works just as well.
Wrapping Up
A berry-loaded charcuterie board turns an ordinary snack table into something people actually stop and photograph.
It takes almost no cooking skill, comes together fast, and gives everyone in the room something different to reach for. Once you build one, you’ll start finding excuses to make another.
Give this layout a try this week and drop a comment below to let me know how it turned out. I’d love to hear which fruits and cheeses you went with.