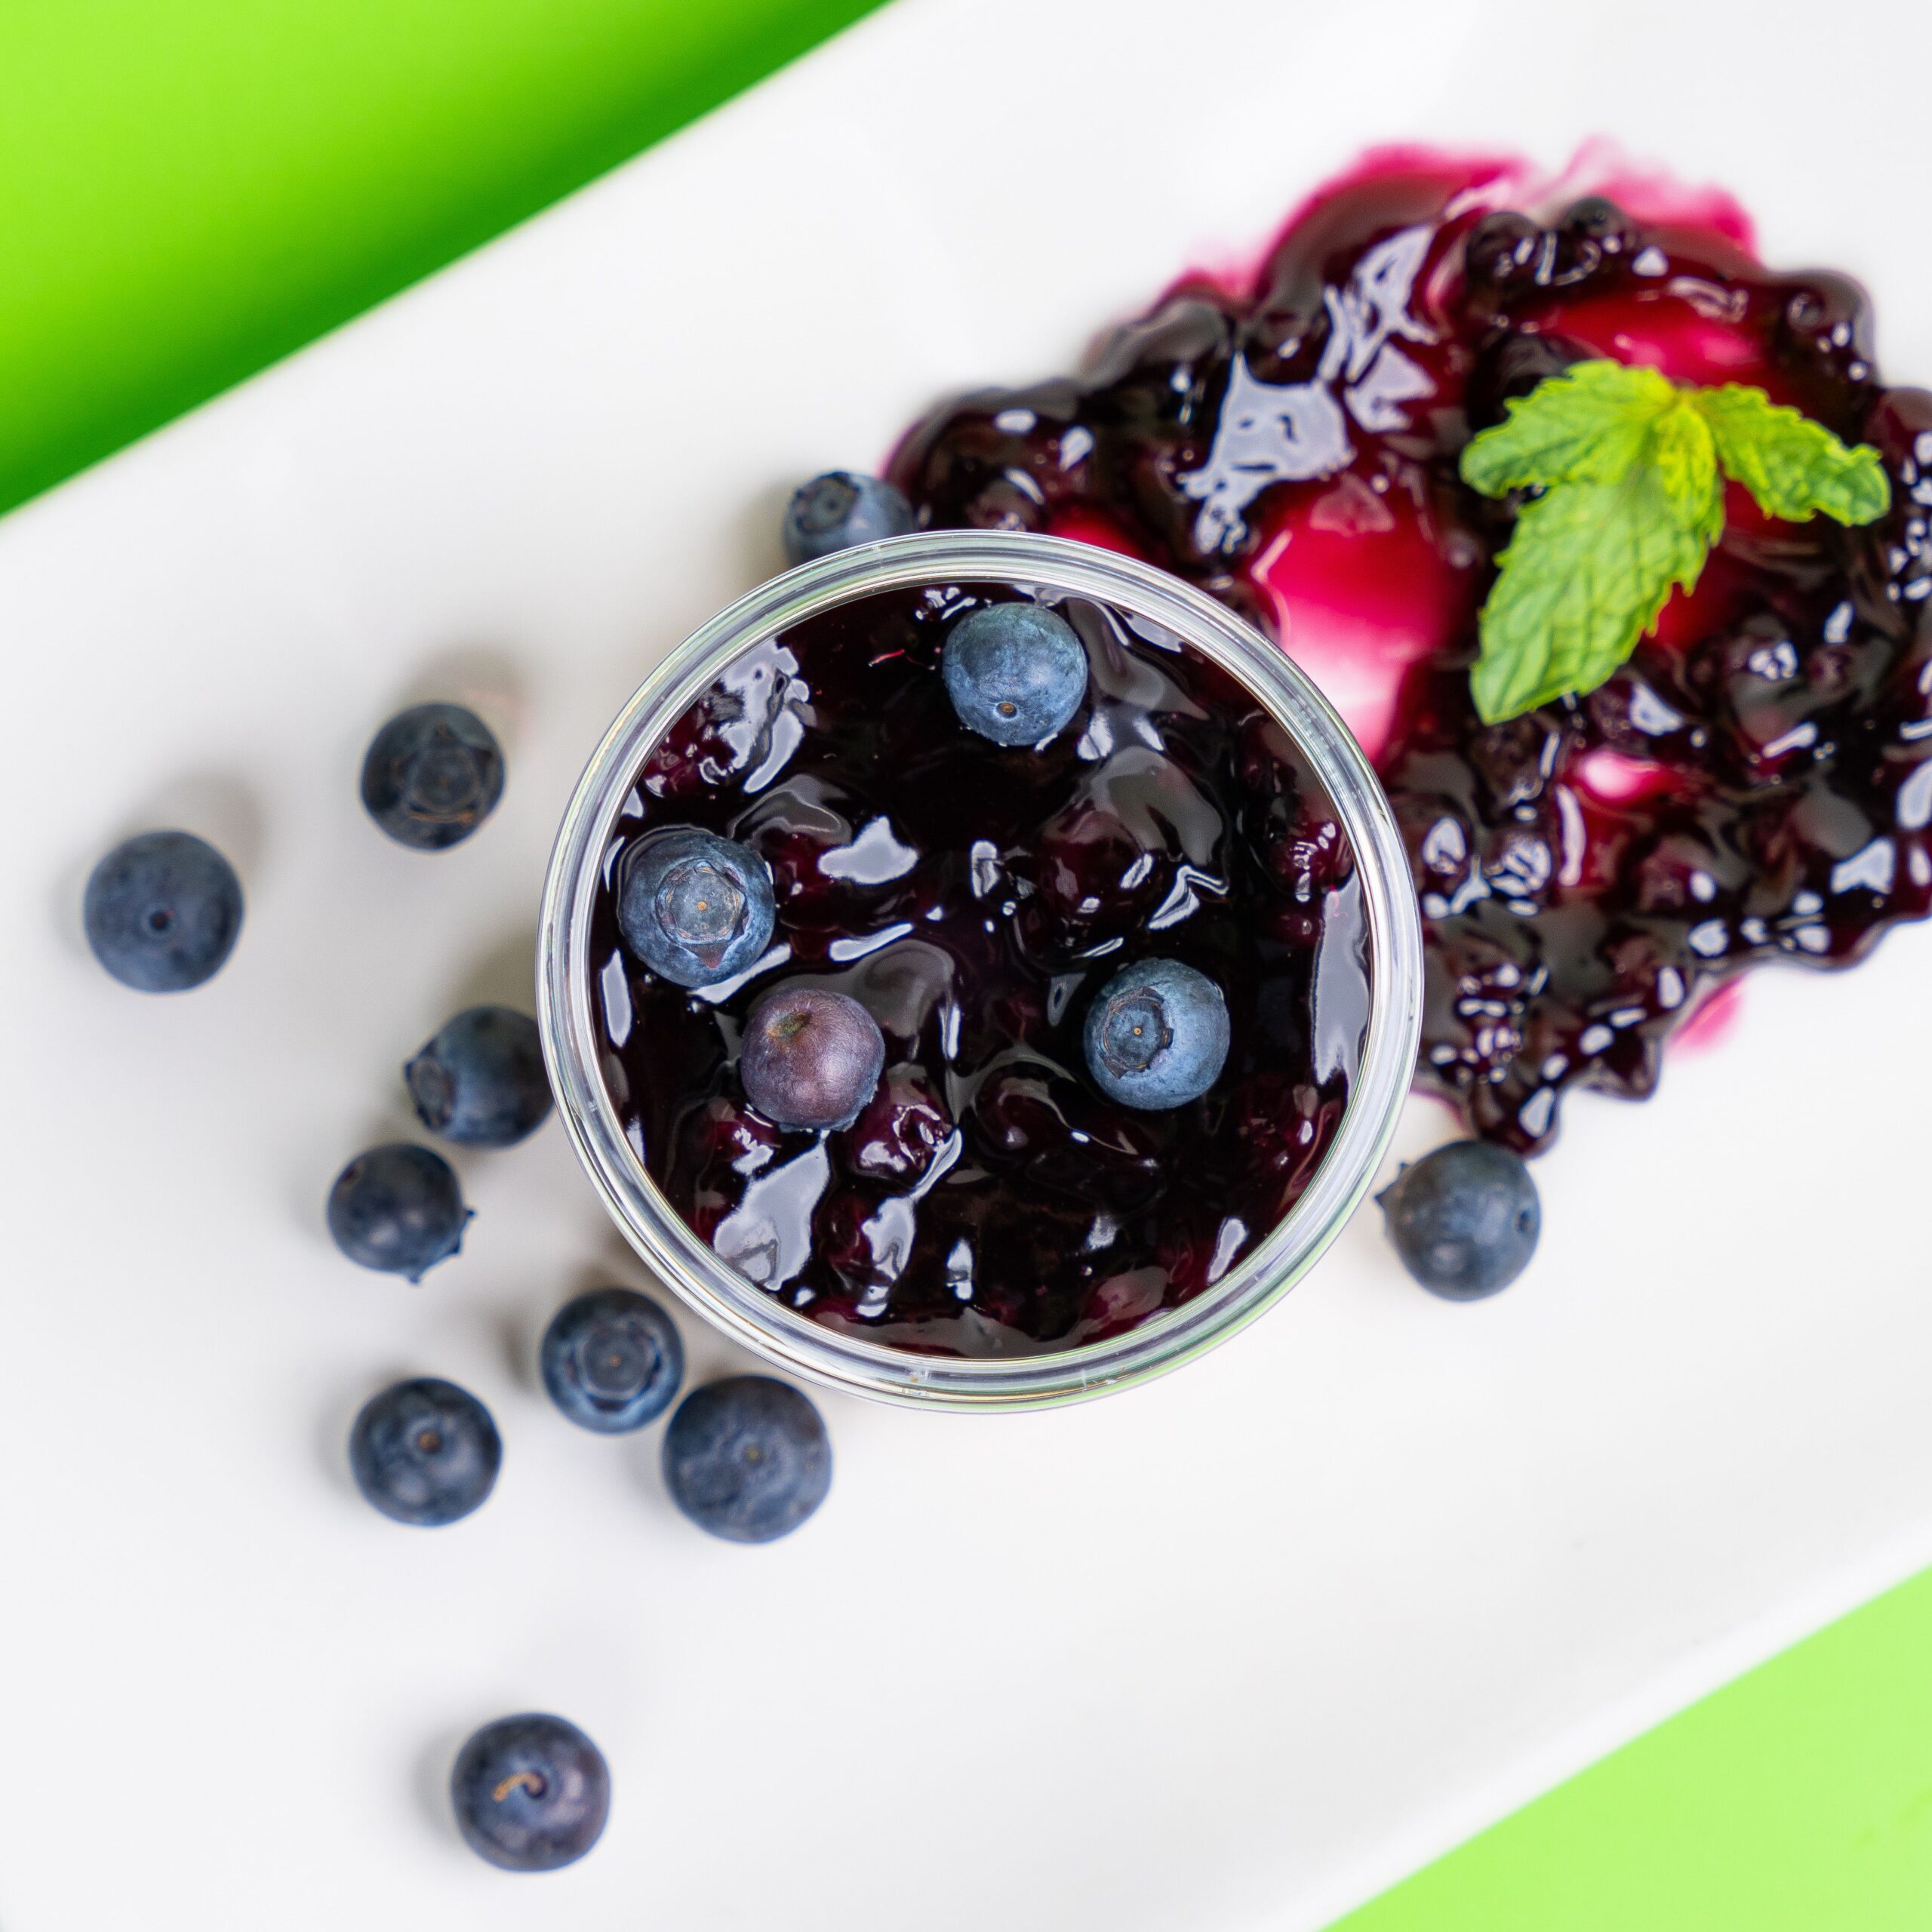
Can a no-bake dessert actually taste as rich as the real thing?
I was skeptical the first time I skipped the oven entirely for cheesecake. Then I made these little cups, and now I genuinely prefer them over a full baked cheesecake.
A buttery graham cracker crust, a thick creamy filling, and a glossy blueberry topping spooned right on top. Simple, no-bake, and still tastes like something from a bakery case. 🫐
These come together fast, and they look like way more effort than they actually take.
What You’ll Need
Here’s everything going into these cups:
For the crust:
- 1 1/2 cups graham cracker crumbs
- 5 tbsp unsalted butter, melted
- 2 tbsp granulated sugar
For the cheesecake filling:
- 16 oz cream cheese, softened
- 1/2 cup powdered sugar
- 1 cup heavy cream
- 1 tsp vanilla extract
For the blueberry topping:
- 2 cups fresh blueberries
- 1/4 cup granulated sugar
- 1 tbsp lemon juice
- 1 tsp cornstarch mixed with 1 tbsp water
For garnish:
- Fresh mint leaves
- Extra fresh blueberries
That’s the full list. Simple ingredients that come together into something genuinely impressive.
Tools You’ll Need
- Small serving cups or glasses
- A mixing bowl
- An electric mixer
- A small saucepan
- A spoon
How to Make It
Step 1: Make the crust.
Spoon a layer into the bottom of each serving cup and press down gently to pack it in.
Step 2: Make the cheesecake filling.
Beat the softened cream cheese and powdered sugar together until smooth.
Step 3: Whip the cream separately.
In a separate bowl, whip the heavy cream and vanilla until soft peaks form.
Step 4: Combine the filling.
Gently fold the whipped cream into the cream cheese mixture until fully combined and light.
Step 5: Make the blueberry topping.
In a small saucepan, combine the blueberries, sugar, and lemon juice over medium heat. Cook for 5-7 minutes, until the berries start to break down.
Stir in the cornstarch mixture and cook for another 1-2 minutes, until thickened. Remove from heat and let it cool completely.
Step 6: Layer the cups.
Spoon or pipe the cheesecake filling over the crust in each cup.
Step 7: Add the topping.
Spoon the cooled blueberry topping over the cheesecake layer in each cup.
Step 8: Chill.
Refrigerate for at least 2 hours, until the filling firms up.
Step 9: Garnish and serve.
Top with fresh mint leaves and a few extra blueberries right before serving.
Pro Tips
- Let the blueberry topping cool completely before adding it. Warm topping melts the cheesecake layer underneath and ruins the clean layers.
- Whip the cream to soft peaks only. Overwhipping turns the filling grainy instead of smooth and light.
- Use room temperature cream cheese. It blends smoothly without leaving lumps in the filling.
- Press the crust down firmly. A loose crust falls apart when you scoop into the finished cups.
- Chill for the full 2 hours, longer if possible. These set better and slice cleaner the longer they sit.
Substitutions and Variations
- Berry swap: Raspberries, blackberries, or strawberries all work well in place of blueberries.
- Crust swap: Crushed digestive biscuits or vanilla wafers work as a substitute for graham crackers.
- Lighter filling: Swap some of the cream cheese for Greek yogurt for a slightly tangier, lighter filling.
- Gluten-free version: Use gluten-free graham crackers for the crust, and the rest of the recipe stays the same.
- Individual mason jars: Small mason jars work great instead of regular serving cups if you want a rustic presentation.
Make Ahead Tips
These cups are actually perfect for making ahead, since they need chill time anyway.
Make them up to 2 days in advance and store covered in the fridge until you’re ready to serve.
The blueberry topping can also be made up to 4 days ahead on its own and stored separately if you want to assemble closer to serving time.
Additional Details
Nutritional Breakdown (Per Cup)
| Nutrient | Amount |
|---|---|
| Calories | ~340 |
| Protein | 5g |
| Carbs | 28g |
| Fat | 24g |
| Sugar | 20g |
Note: Values are estimates based on a 6-serving batch and will vary depending on exact ingredients used.
Meal Pairing Ideas
- Serve with a cup of coffee or tea for an afternoon treat.
- Pair with a light sparkling wine for a dinner party dessert.
- Add to a dessert table alongside other no-bake treats for a party spread.
Cooking Time Efficiency Tips
- Make the blueberry topping first so it has time to cool while you prep the crust and filling.
- Press the crust into all your cups at once instead of one at a time.
- Use a piping bag for the cheesecake filling to speed up assembly and keep things clean.
Leftovers and Storage
Store cups covered in the fridge for up to 4 days.
These don’t freeze well, since the texture of the filling changes once thawed.
Keep the mint garnish off until right before serving, since it wilts quickly once sitting on top of the chilled filling.
FAQ
Can I make this recipe without cooking the blueberry topping? Yes. Fresh blueberries can be spooned on top as-is if you prefer a simpler, uncooked version, though the cooked topping has a richer, more concentrated flavor.
Why is my filling too soft to hold its shape? This usually means the cream wasn’t whipped enough, or it sat out too long before chilling. Make sure to whip to soft peaks and chill for the full recommended time.
Can I use frozen blueberries instead of fresh? Yes, frozen blueberries work fine for the cooked topping. Just add a minute or two of extra cook time since they release more liquid.
How far ahead can I make these for a party? Up to 2 days ahead works well. Just keep them covered in the fridge until serving.
Can I make a bigger batch in one dish instead of individual cups? Yes. Layer everything into a larger dish and adjust your serving size when scooping.
Wrapping Up
These cheesecake cups prove that no-bake desserts can be every bit as rich and satisfying as the baked version.
Creamy, fruity, and genuinely easy to pull together, they’re the kind of treat you’ll want to make again the moment the bowl is empty.
Make a batch this week and let me know how they turned out in the comments below. And if you swapped in a different berry or crust, I’d love to hear what you tried.