Twenty minutes is all it takes for these to disappear off a party tray completely.
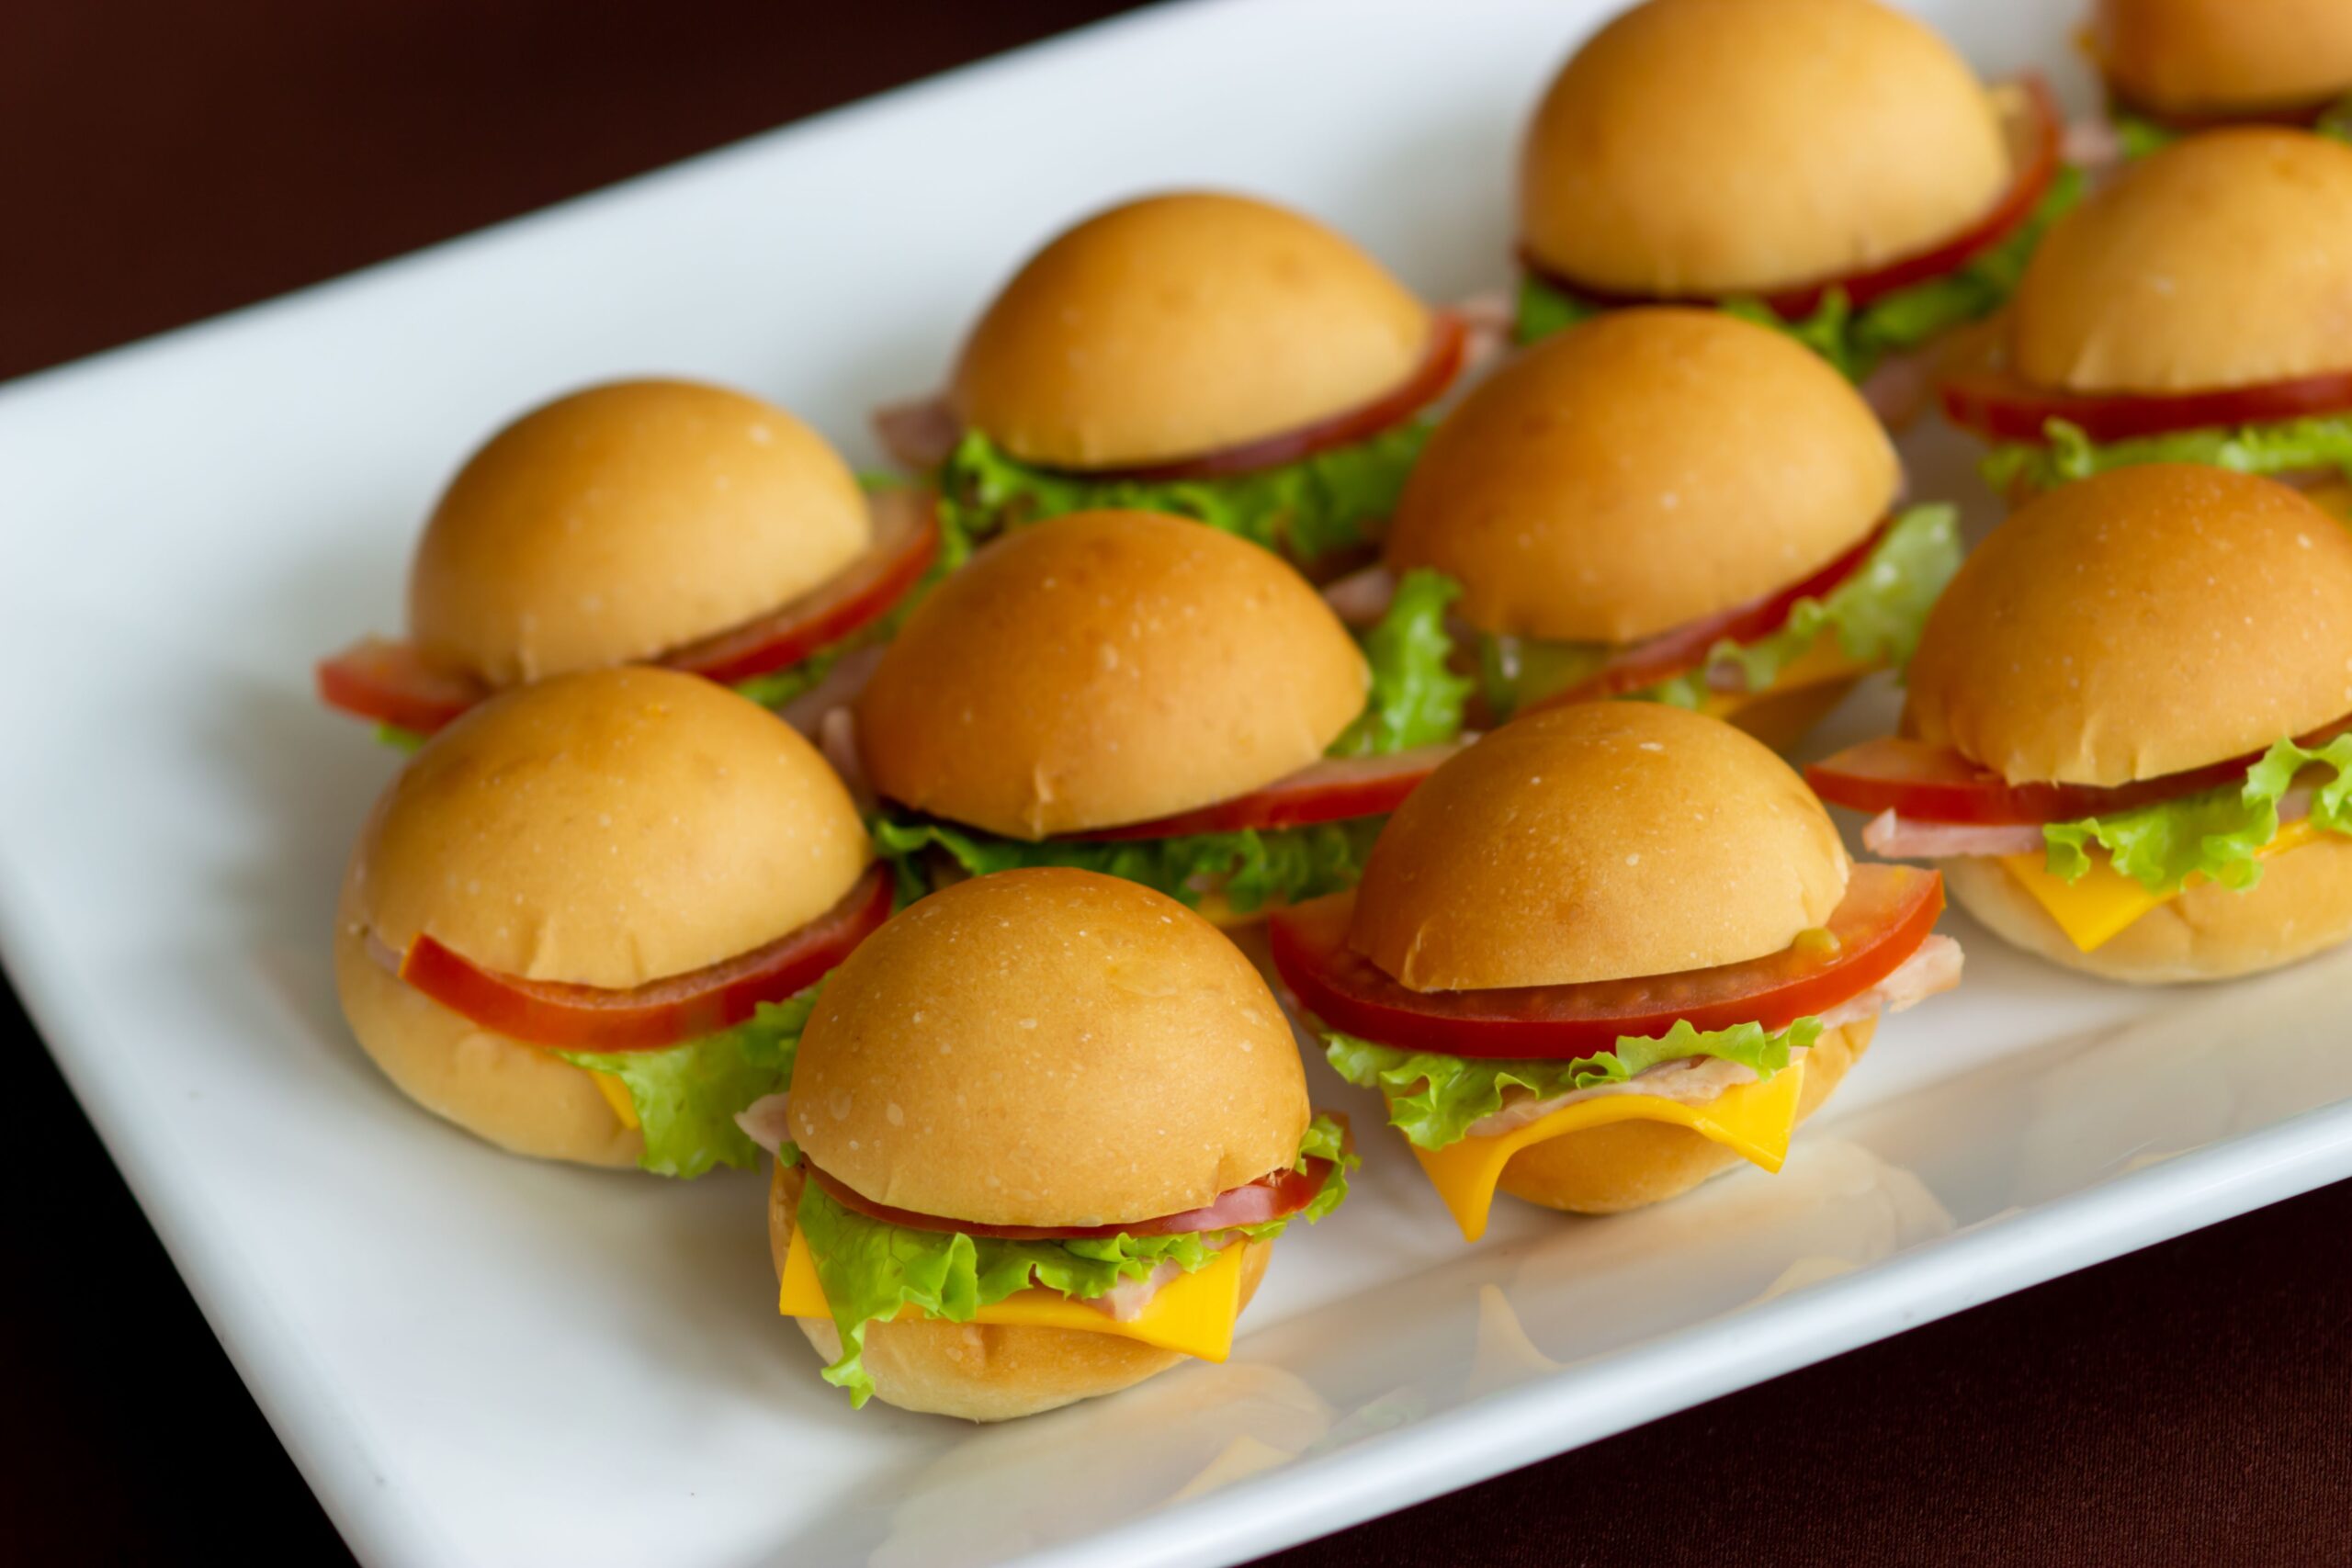
I make a batch of these for pretty much every gathering now, from game day to random Tuesday dinners when I want something easy that still feels like an event. Hawaiian rolls, thin sliced ham, melty cheese, and a butter poppy seed glaze baked right over the top.
Sweet, savory, cheesy, and genuinely gone within minutes of coming out of the oven. This is the recipe people ask me to bring every single time.
Let’s assemble them.
What You’ll Need
- 1 package Hawaiian rolls (12 count)
- 1 lb thin sliced deli ham
- 12 slices Swiss or cheddar cheese
- ½ cup butter, melted
- 1 tbsp Dijon mustard
- 1 tbsp brown sugar
- 1 tsp Worcestershire sauce
- 1 tsp poppy seeds
- ½ tsp garlic powder
- Fresh parsley, chopped, for garnish
A short list of ingredients that turns into the thing everyone reaches for first.
Tools You’ll Need
- 9×13 inch baking dish
- Serrated knife
- Small mixing bowl
- Whisk
- Basting brush
- Aluminum foil
Pro Tips
I’ve made these enough times for parties to know exactly what makes them turn out right.
1. Keep the rolls connected while slicing. Slice the entire sheet of rolls in half horizontally as one piece instead of separating each roll first. This keeps the assembly clean and even.
2. Layer the ham generously. A thin layer disappears once baked, so don’t be shy about stacking it a bit thicker than you think you need.
3. Whisk the butter glaze thoroughly before brushing. The brown sugar and mustard need to fully combine into the melted butter, or you’ll get uneven pockets of flavor across the top.
4. Cover with foil for the first part of baking. This helps the cheese melt evenly without the tops of the rolls browning too quickly.
5. Let them rest for a few minutes after baking. This helps the cheese set slightly so the sliders hold together better when you pull them apart.
How to Make Ham & Cheese Sliders
Step 1: Prep the Rolls
Preheat your oven to 350°F.
Without separating the individual rolls, slice the entire sheet in half horizontally, keeping the top and bottom halves intact.
Step 2: Assemble
Place the bottom half of the rolls in a 9×13 baking dish.
Layer the ham evenly over the rolls, followed by the sliced cheese.
Place the top half of the rolls back on.
Step 3: Make the Glaze
Whisk together the melted butter, Dijon mustard, brown sugar, Worcestershire sauce, poppy seeds, and garlic powder.
Step 4: Brush and Bake
Brush the glaze evenly over the top of the rolls.
Cover with foil and bake for 15 minutes.
Remove the foil and bake for another 5 minutes, until the tops are golden and the cheese is fully melted.
Step 5: Rest and Serve
Let rest for 3 to 5 minutes.
Slice into individual sliders, garnish with fresh parsley, and serve warm.
Substitutions and Variations
- Turkey version: Swap ham for sliced turkey for a lighter option.
- Spicy kick: Add a thin layer of sliced jalapeños under the cheese for extra heat.
- Different cheese: Provolone or pepper jack both work well in place of Swiss or cheddar.
- Extra saucy: Add a thin layer of honey mustard spread on the rolls before adding the ham.
- Gluten free: Use gluten free slider rolls in place of Hawaiian rolls.
Make Ahead Tips
Assemble the sliders up to a day ahead and store covered in the fridge, unbaked.
Bake fresh right before serving, adding a few extra minutes to the covered bake time since they’ll be starting cold.
Nutritional Breakdown (Per Slider, Makes 12 sliders)
| Nutrient | Amount |
|---|---|
| Calories | 260 |
| Fat | 14g |
| Carbs | 20g |
| Protein | 13g |
| Fiber | 1g |
Numbers will shift depending on the exact ham, cheese, and rolls used.
Diet Friendly Swaps
- Lower sodium: Use a lower sodium deli ham and reduce the amount of Worcestershire sauce slightly.
- Gluten free: Use gluten free slider rolls to make the entire recipe gluten free.
- Lighter version: Use reduced fat cheese and a smaller amount of butter in the glaze.
Meal Pairing Suggestions
Serve alongside a simple green salad or chips for a full lunch or light dinner.
These also work well as a game day appetizer next to wings, dips, and other finger foods.
Cooking Time Efficiency Tips
Whisk the glaze while the oven preheats, so it’s ready to brush on the moment the sliders are assembled.
Assemble the entire tray the night before and refrigerate, so all that’s left the day of is popping it in the oven.
Leftovers and Storage
Store leftover sliders in an airtight container in the fridge for up to 3 days.
Reheat in the oven at 350°F for about 10 minutes to help restore some crispness to the tops, or microwave for a quicker option.
FAQ
Can I make these ahead for a party? Yes, assemble the sliders a day in advance and store covered in the fridge, baking fresh right before your event.
Why did my rolls turn out soggy? This usually happens if too much glaze is used, or if they sit assembled for too long before baking with a wet glaze already applied.
Can I freeze these sliders? It’s best to freeze them unbaked. Wrap tightly and freeze for up to a month, then thaw in the fridge before baking as directed.
Can I use a different type of roll? Yes, though Hawaiian rolls give that classic sweet flavor that pairs so well with the savory ham and cheese.
How do I keep the sliders from falling apart when serving? Letting them rest for a few minutes after baking helps the cheese set slightly, making them easier to pull apart cleanly.
Wrapping Up
These ham and cheese sliders bring together sweet, savory, and cheesy in a way that disappears fast at any gathering.
Once you make a batch, they become the recipe people specifically request you bring to the next party.
Try this recipe, then come back and tell me how it turned out. Did you add jalapeños? Try a different cheese? Drop a comment below, I’d love to hear about it. 🥪