Twenty minutes of effort and no one has to fight over the last spoonful of a shared dessert.
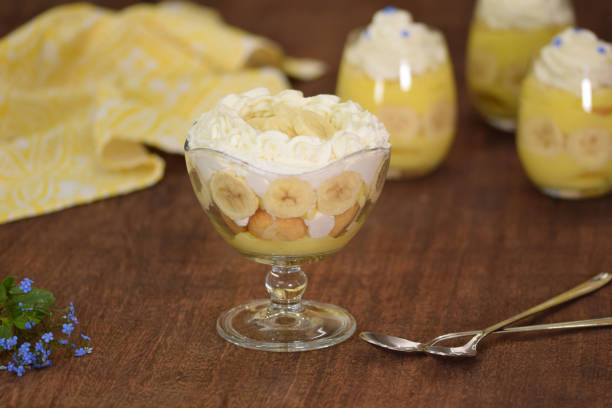
I started making these individual cups for potlucks after getting tired of watching a big bowl of banana pudding get demolished before I even got a taste. Now everyone grabs their own cup, and somehow that makes it feel even more special.
Layers of vanilla pudding, sliced bananas, crumbled vanilla wafers, and a swirl of whipped cream on top. Classic banana pudding flavor, just portioned out into something that looks adorable on a dessert table.
Let’s build them.
What You’ll Need
- 1 box instant vanilla pudding mix
- 2 cups cold milk
- 1 cup heavy whipping cream
- 2 tbsp powdered sugar
- 1 tsp vanilla extract
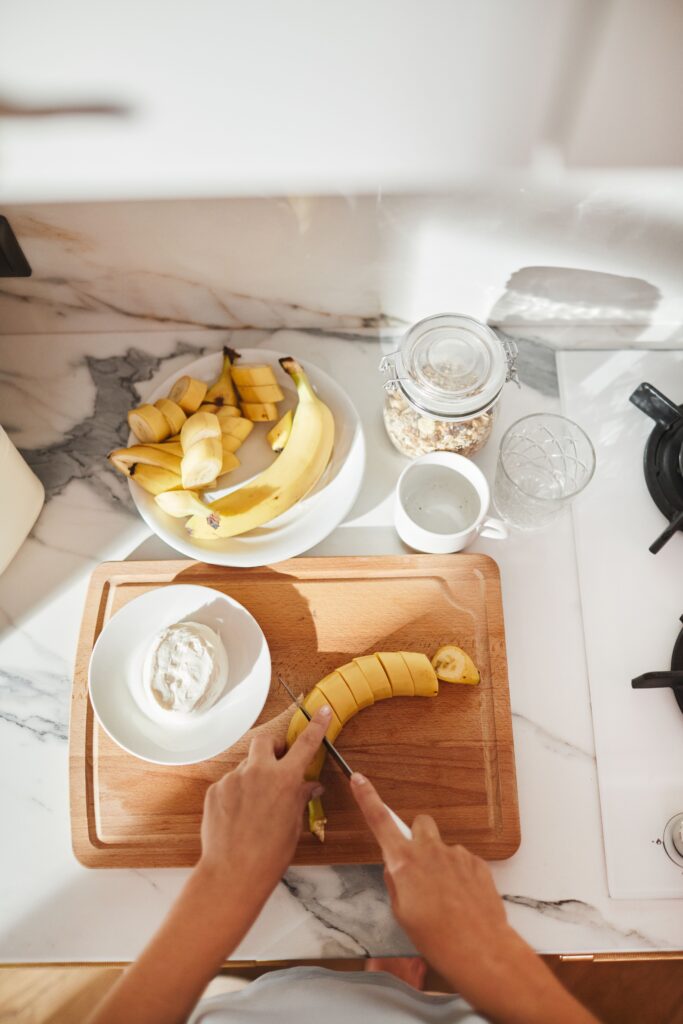
- 2 bananas, sliced
- 1 ½ cups vanilla wafer cookies, roughly crushed, plus extra whole cookies for topping
Simple pantry staples that layer into something that looks far more impressive than the effort involved.
Tools You’ll Need
- Mixing bowls
- Whisk
- Electric mixer or hand mixer
- Small clear cups or jars
- Small spoon, for layering
Pro Tips
I’ve made these enough times for parties to know exactly what makes them turn out right.
1. Whisk the pudding mix thoroughly with cold milk. Using milk that’s not cold enough can leave the pudding thinner than it should be, so make sure it’s straight from the fridge.
2. Let the pudding set for a few minutes before layering. This gives it time to thicken slightly so it holds its shape better once assembled in cups.
3. Slice bananas right before assembling. Bananas brown quickly once cut, so keep this step close to serving time for the best appearance.
4. Whip the cream to stiff peaks. Soft peaks won’t hold up well when piped or dolloped on top, and the cups will look less polished.
5. Add the wafer cookie on top right before serving. A cookie sitting in whipped cream for hours will soften and lose its crunch, so save that final touch for last.
How to Make Mini Banana Pudding Cups
Step 1: Make the Pudding
In a bowl, whisk together the instant pudding mix and cold milk until it starts to thicken, about 2 minutes.
Let sit in the fridge for 5 minutes to fully set.
Step 2: Whip the Cream
In a separate bowl, whip the heavy cream, powdered sugar, and vanilla extract until stiff peaks form.
Step 3: Layer the Cups
Add a layer of crushed vanilla wafers to the bottom of each cup.
Add a layer of pudding, followed by a layer of sliced bananas.
Repeat the layers until the cups are nearly full.
Step 4: Top with Whipped Cream
Add a generous dollop or swirl of whipped cream to the top of each cup.
Step 5: Garnish and Serve
Top with a sprinkle of crushed wafers and a whole vanilla wafer cookie right before serving.
Substitutions and Variations
- Homemade pudding: Make a scratch made vanilla pudding instead of instant mix for a richer flavor.
- Chocolate version: Swap vanilla pudding for chocolate pudding for a different flavor profile.
- Dairy free: Use a dairy free pudding mix, plant based milk, and coconut whipped cream.
- Caramel drizzle: Add a light drizzle of caramel sauce between layers for extra sweetness.
- Nut butter twist: Add a thin layer of peanut butter between the pudding and bananas for a fun variation.
Make Ahead Tips
Assemble these cups up to a few hours ahead, though bananas are best added within an hour or two of serving to avoid browning.
If making further ahead, layer the pudding and wafers only, then add bananas and whipped cream right before serving.
Nutritional Breakdown (Per Cup, Makes 8 cups)
| Nutrient | Amount |
|---|---|
| Calories | 240 |
| Fat | 12g |
| Carbs | 29g |
| Sugar | 19g |
| Protein | 3g |
Numbers will shift depending on the exact pudding mix and wafer cookies used.
Diet Friendly Swaps
- Lower sugar: Use a sugar free instant pudding mix and reduce the powdered sugar in the whipped cream.
- Gluten free: Use gluten free vanilla wafer cookies in place of the regular version.
- Higher protein: Add a scoop of vanilla protein powder into the pudding mixture.
Meal Pairing Suggestions
These work well as part of a dessert spread alongside other mini treats like cheesecake bites or brownie bites.
Serve alongside coffee or iced tea for a simple, casual dessert pairing.
Cooking Time Efficiency Tips
Make the pudding and whip the cream at the same time using two bowls, so both components are ready to assemble together.
Crush the vanilla wafers in a food processor for a quick, even crumb instead of crushing them by hand.
Leftovers and Storage
Store leftover cups covered in the fridge for up to 2 days. The wafers soften over time, which some people actually prefer.
These do not freeze well since the pudding and whipped cream texture change once thawed.
FAQ
Can I make these cups ahead for a party? Yes, assemble the pudding and wafer layers ahead, then add bananas and whipped cream shortly before serving for the best appearance.
Why did my bananas turn brown? This happens from air exposure. Slicing them close to serving time helps minimize browning.
Can I use homemade whipped cream instead of store bought whipped topping? Homemade whipped cream is recommended here since it tastes fresher and holds its shape better.
How long do these cups keep in the fridge? Up to 2 days, though the wafers will soften more the longer they sit.
Can I make a large trifle instead of individual cups? Yes, simply layer the same ingredients in one large trifle bowl instead of individual cups.
Wrapping Up
These mini banana pudding cups bring all the nostalgic flavor of classic banana pudding into a form that’s perfect for sharing at any gathering.
Once you make a batch, they become the dessert everyone reaches for first at the party.
Try this recipe, then come back and tell me how it turned out. Did you add caramel? Try the chocolate version? Drop a comment below, I’d love to hear about it. 🍌