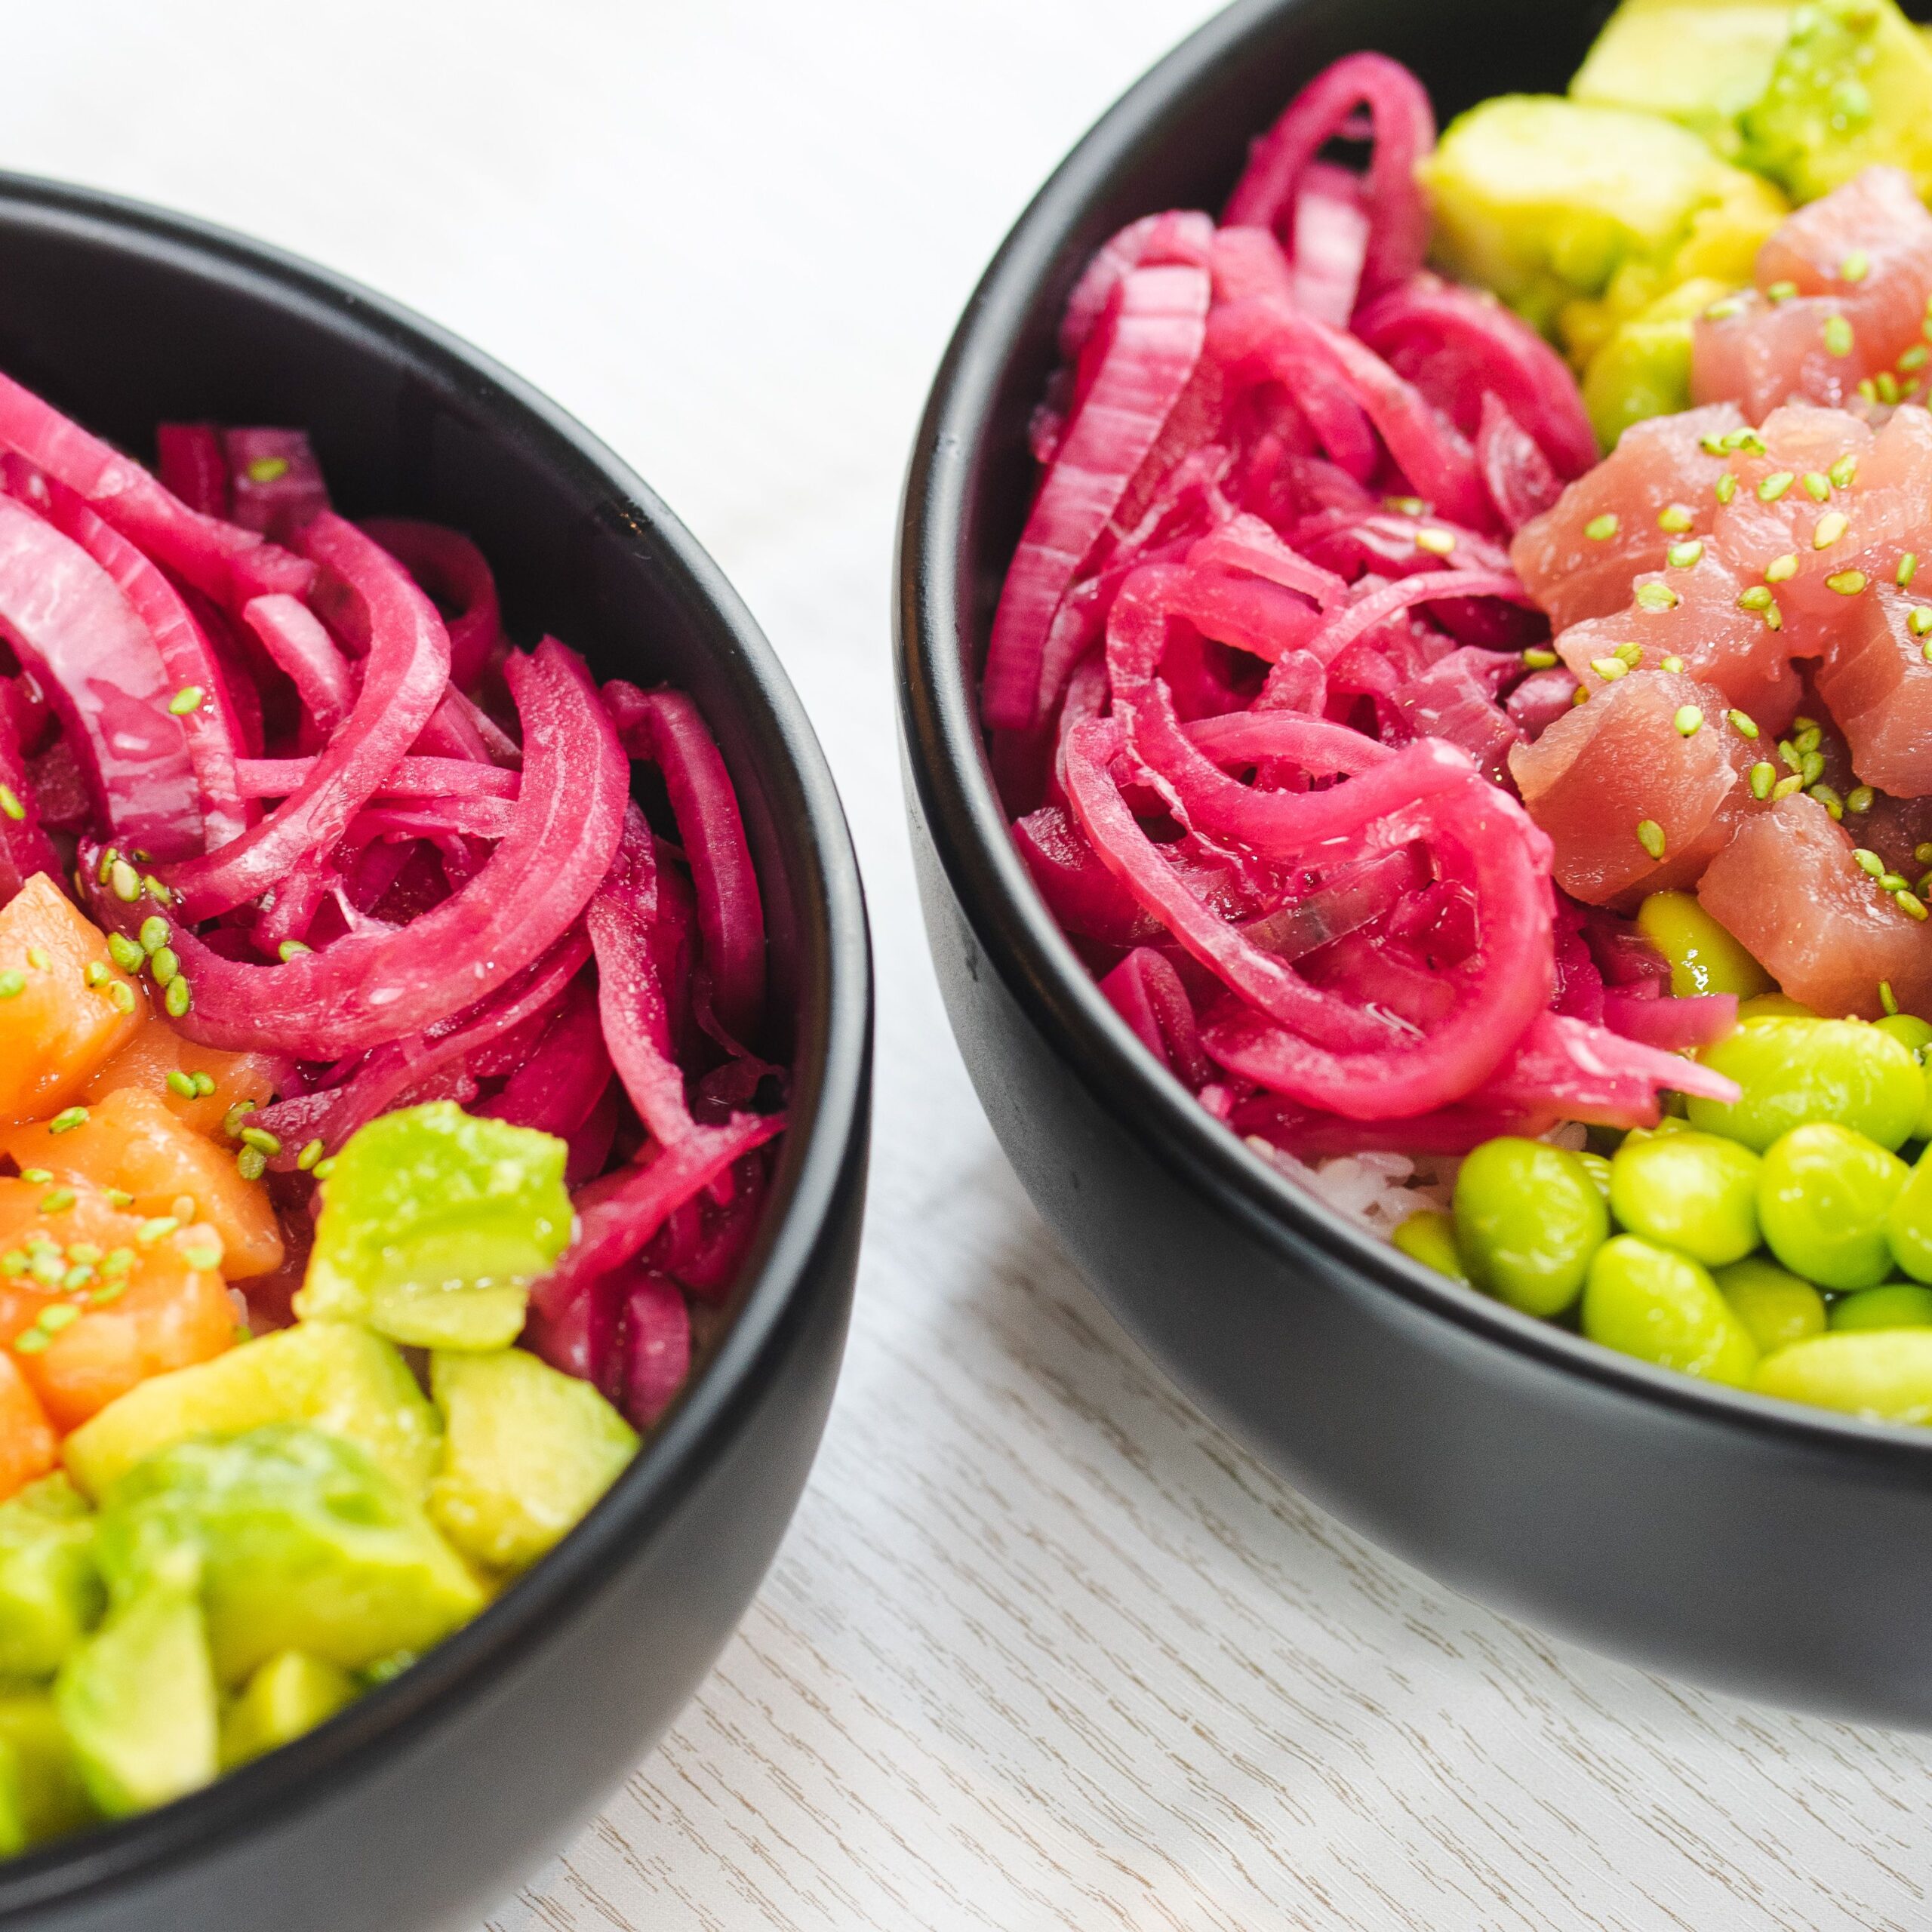
One jar of this in your fridge changes how every taco, sandwich, and salad tastes.
I didn’t understand the hype around pickled red onions until I made a batch myself. Now I keep a jar going at all times, and I genuinely notice when I run out.
This recipe takes about 10 minutes of actual work, needs no canning equipment, and turns raw red onion into something tangy, slightly sweet, and impossible to stop eating straight from the jar.
Let’s get pickling.
What You’ll Need
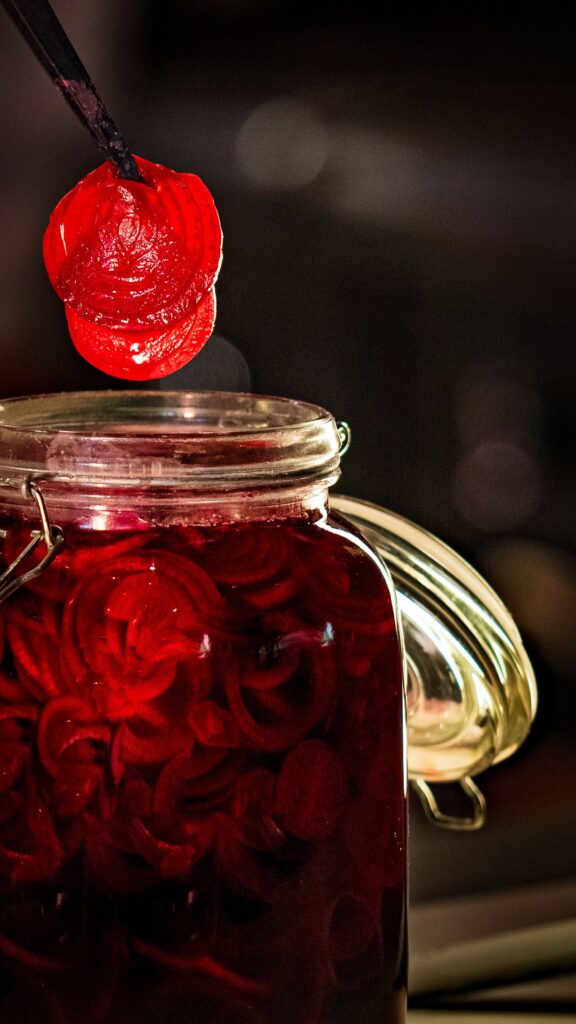
- 1 large red onion, thinly sliced
- 1 cup apple cider vinegar (or white vinegar)
- 1 cup water
- 2 tbsp granulated sugar
- 1 tbsp salt
- 1 tsp whole black peppercorns
- 1 clove garlic, smashed
- 1 bay leaf (optional)
Just a handful of pantry staples for a recipe that tastes like it took way more effort.
Tools You’ll Need
- Sharp knife
- Cutting board
- Mason jar or airtight container
- Small saucepan
- Measuring cups and spoons
Pro Tips
I’ve made this recipe more times than I can count, and here’s what actually makes a difference.
1. Slice the onion as thin as possible. Thin slices pickle faster and give you that soft, slightly crunchy texture instead of tough, thick rings.
2. Use hot brine, not cold. Pouring hot brine over the onions kickstarts the pickling process immediately and softens the onion within the first hour.
3. Don’t skip the sugar. It balances out the sharp vinegar and brings out a subtle sweetness that makes these so addictive.
4. Let them sit for at least an hour before eating. They’re technically edible sooner, but the flavor really develops after that first hour in the fridge.
5. Reuse the brine for a second batch. Once you’ve eaten through a jar, slice up a fresh onion and pour the leftover brine right over it for round two.
How to Make Pickled Red Onions
Step 1: Slice the Onion
Thinly slice the red onion and pack it into a mason jar or airtight container.
Step 2: Make the Brine
In a small saucepan, combine the vinegar, water, sugar, salt, peppercorns, garlic, and bay leaf if using.
Bring to a gentle simmer, stirring until the sugar and salt fully dissolve.
Step 3: Pour Over the Onions
Carefully pour the hot brine over the sliced onions in the jar, making sure they’re fully submerged.
Step 4: Cool and Chill
Let the jar cool at room temperature for about 20 minutes.
Cover and refrigerate for at least 1 hour before serving.
Substitutions and Variations
- Different vinegar: White vinegar or red wine vinegar both work in place of apple cider vinegar.
- Spicy version: Add a few slices of jalapeño directly into the jar.
- Herb infused: Toss in a sprig of fresh thyme or oregano for extra flavor depth.
- Less sweet: Reduce the sugar to 1 tablespoon if you prefer a sharper, more acidic bite.
- Citrus twist: Add a few strips of orange or lime zest for a brighter flavor profile.
Make Ahead Tips
This recipe is basically built for making ahead. It needs at least an hour to develop flavor, and it only gets better with more time in the fridge.
Make a batch at the start of the week and use it across multiple meals without any extra prep needed later on.
Nutritional Breakdown (Per Serving, About 2 Tablespoons)
| Nutrient | Amount |
|---|---|
| Calories | 15 |
| Fat | 0g |
| Carbs | 3g |
| Sugar | 2g |
| Protein | 0g |
Numbers will shift slightly depending on how much brine is consumed along with the onions.
Diet Friendly Swaps
- Low sugar: Reduce sugar to 1 teaspoon or swap in a sugar substitute that measures the same.
- Whole30 friendly: Use a compliant sweetener like honey in place of granulated sugar.
- Vegan: This recipe is naturally vegan as written.
Meal Pairing Suggestions
These onions are made for tacos, but they also work beautifully on grain bowls, avocado toast, or piled on top of a burger.
Try them alongside grilled chicken or roasted vegetables for a quick acidic contrast to richer dishes.
Cooking Time Efficiency Tips
Slice the onion while the vinegar mixture comes to a simmer, so both steps finish around the same time.
Make a double batch at once since the extra jar keeps just as well and saves you from repeating the process again soon.
Leftovers and Storage
Store pickled red onions in an airtight container or jar in the fridge for up to 2 weeks.
They do not need to be reheated or thawed, just spoon them straight from the jar whenever you need a topping.
FAQ
Do I need to can these onions for long term storage? No, this is a quick refrigerator pickle, not a shelf stable canned product. Keep it in the fridge at all times.
Why did my onions turn bright pink? That’s completely normal. The vinegar reacts with the onion’s natural pigments and turns them that signature bright pink color.
Can I use a different type of onion? Red onion is traditional here because of both flavor and color, but white or yellow onion can work in a pinch.
How long do these actually last in the fridge? Up to 2 weeks when stored properly in an airtight container submerged in the brine.
Can I reuse the brine after the onions are gone? Yes, slice a fresh onion and pour the same brine over it for a quick second batch.
Wrapping Up
Once you start making pickled red onions at home, you’ll find a reason to put them on almost everything.
They’re fast, they barely need any ingredients, and they turn even the simplest meal into something a little more exciting.
Try this recipe, then come back and tell me how it turned out. Did you add jalapeños? Try a different vinegar? Drop a comment below, I’d love to hear about it. 🧅