My kid used to come home with a lunchbox full of cold, sad noodles. Not anymore. This thermos mac and cheese comes out just as creamy at noon as it was when it went in the thermos at 7am. It’s become the most requested school lunch in our house, and it’s stupidly easy to make. Here’s the trick that makes it actually work.
Why This One Doesn’t Turn Into Mush
Most thermos meals fail because they’re too thin or not hot enough going in.
This mac and cheese is made extra creamy on purpose, and it gets a proper heat-up in boiling water first, so it stays warm and doesn’t dry out by lunchtime. 🧀
Once you get the ratio right, it’s basically foolproof.
What You’ll Need
Ingredients:
- 2 cups elbow macaroni, uncooked
- 2 tbsp butter
- 2 tbsp flour
- 1 1/2 cups whole milk
- 1 1/2 cups shredded sharp cheddar
- 1/2 cup shredded mozzarella
- 1/2 tsp salt
- 1/4 tsp garlic powder
- Pinch of black pepper
Tools:
- Large pot for boiling pasta
- Medium saucepan
- Whisk
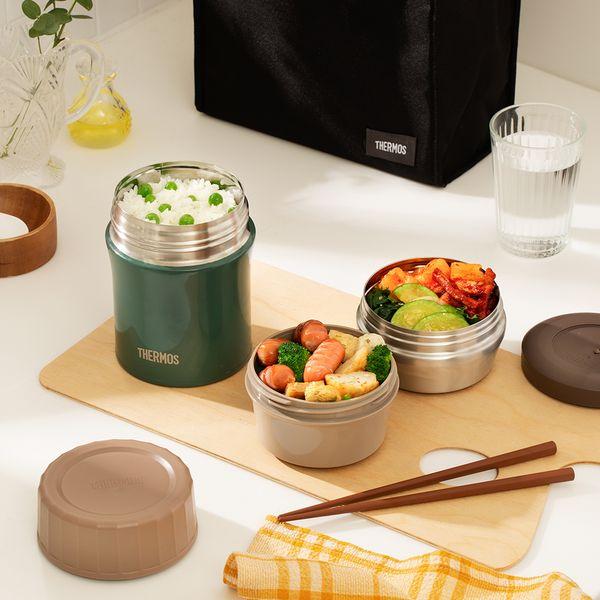
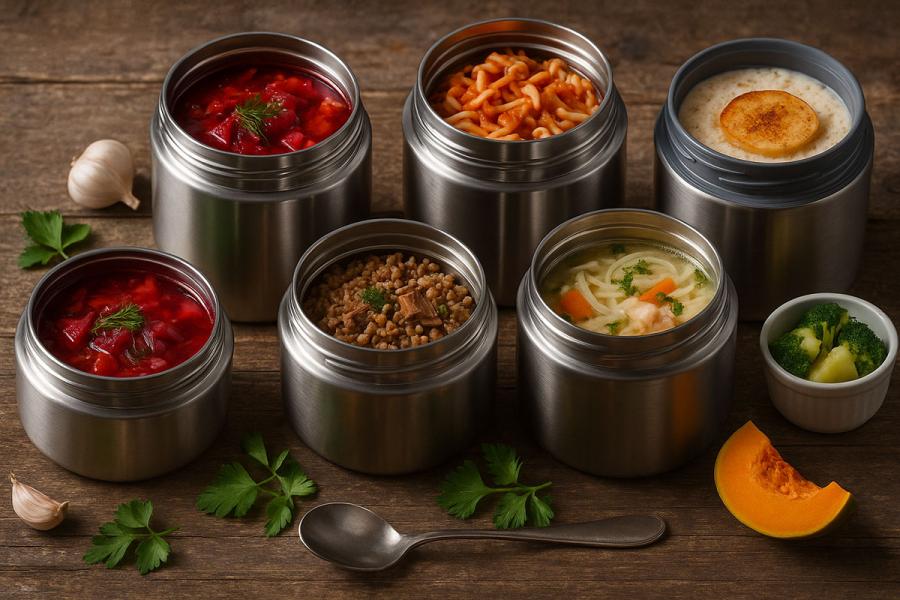
- Food-safe insulated thermos (12 oz or larger)
Pro Tips
- Preheat your thermos. Fill it with boiling water and let it sit for 5 minutes before adding the mac and cheese. This one step makes the biggest difference in keeping it hot until lunch.
- Make the sauce slightly thinner than usual. It thickens more as it sits, so a bit of extra milk goes a long way.
- Shred your own cheese. Pre-shredded cheese has anti-caking agents that can make the sauce grainy.
- Fill the thermos completely full. Less air space means it stays hotter longer.
- Pack it right before leaving. Don’t make it the night before and refrigerate, it won’t reheat the same way in a thermos.
Instructions
- Boil the pasta. Cook macaroni according to package directions until just al dente. Drain and set aside.
- Make the roux. In a saucepan, melt butter over medium heat. Whisk in flour and cook for about 1 minute, stirring constantly.
- Add the milk. Slowly whisk in milk, continuing to whisk until smooth and slightly thickened, about 3-4 minutes.
- Melt in the cheese. Reduce heat to low and stir in cheddar and mozzarella until fully melted and smooth.
- Season. Add salt, garlic powder, and pepper. Stir to combine.
- Combine with pasta. Add the cooked macaroni into the cheese sauce and stir until fully coated.
- Preheat the thermos. Fill with boiling water, let sit 5 minutes, then dump out the water.
- Fill the thermos. Immediately spoon in the hot mac and cheese while it’s steaming, filling all the way to the top.
- Seal and pack. Close the lid tight and pack it right into the lunch bag.
Substitutions and Variations
- Add protein: Stir in diced ham or shredded rotisserie chicken for a heartier lunch.
- Veggie boost: Mix in steamed peas or finely chopped broccoli.
- Different cheese: Try gouda or Monterey jack for a different flavor.
- Gluten-free: Use gluten-free pasta and a 1:1 gluten-free flour blend for the roux.
Make Ahead Tips
- You can make the cheese sauce up to 2 days ahead and store it in the fridge. Reheat gently on the stove with a splash of milk before combining with fresh-cooked pasta.
- The pasta itself is best cooked fresh the morning of, since it holds up better in the thermos.
Leftovers and Storage
- If any mac and cheese comes back home in the thermos, don’t re-pack it for another lunch. Toss it or eat it as a snack once cooled.
- Extra sauce (if you made a double batch) keeps in the fridge for up to 3 days in a sealed container.
FAQ
Will this stay warm for a full school day? It stays warm and safe to eat for about 4-5 hours, which covers most school lunch schedules.
Can I use a regular thermos instead of a food jar? You’ll want an insulated food thermos specifically, not a drink thermos, since it’s designed to hold heat with solid food.
Why did my mac and cheese turn gritty? This usually happens with pre-shredded cheese or if the sauce got too hot too fast. Shred your own cheese and keep the heat on low when melting it in.
Can I make this for adults too? Absolutely, it’s just as good for a warm work lunch as it is for kids.
Wrapping Up
This one small change, preheating the thermos, turned lunch packing from a guessing game into something that actually works every single time.
Give it a try this week and let me know in the comments how your thermos held up by lunchtime!