You’re going to make this once and then wonder what you were doing with your mornings before.
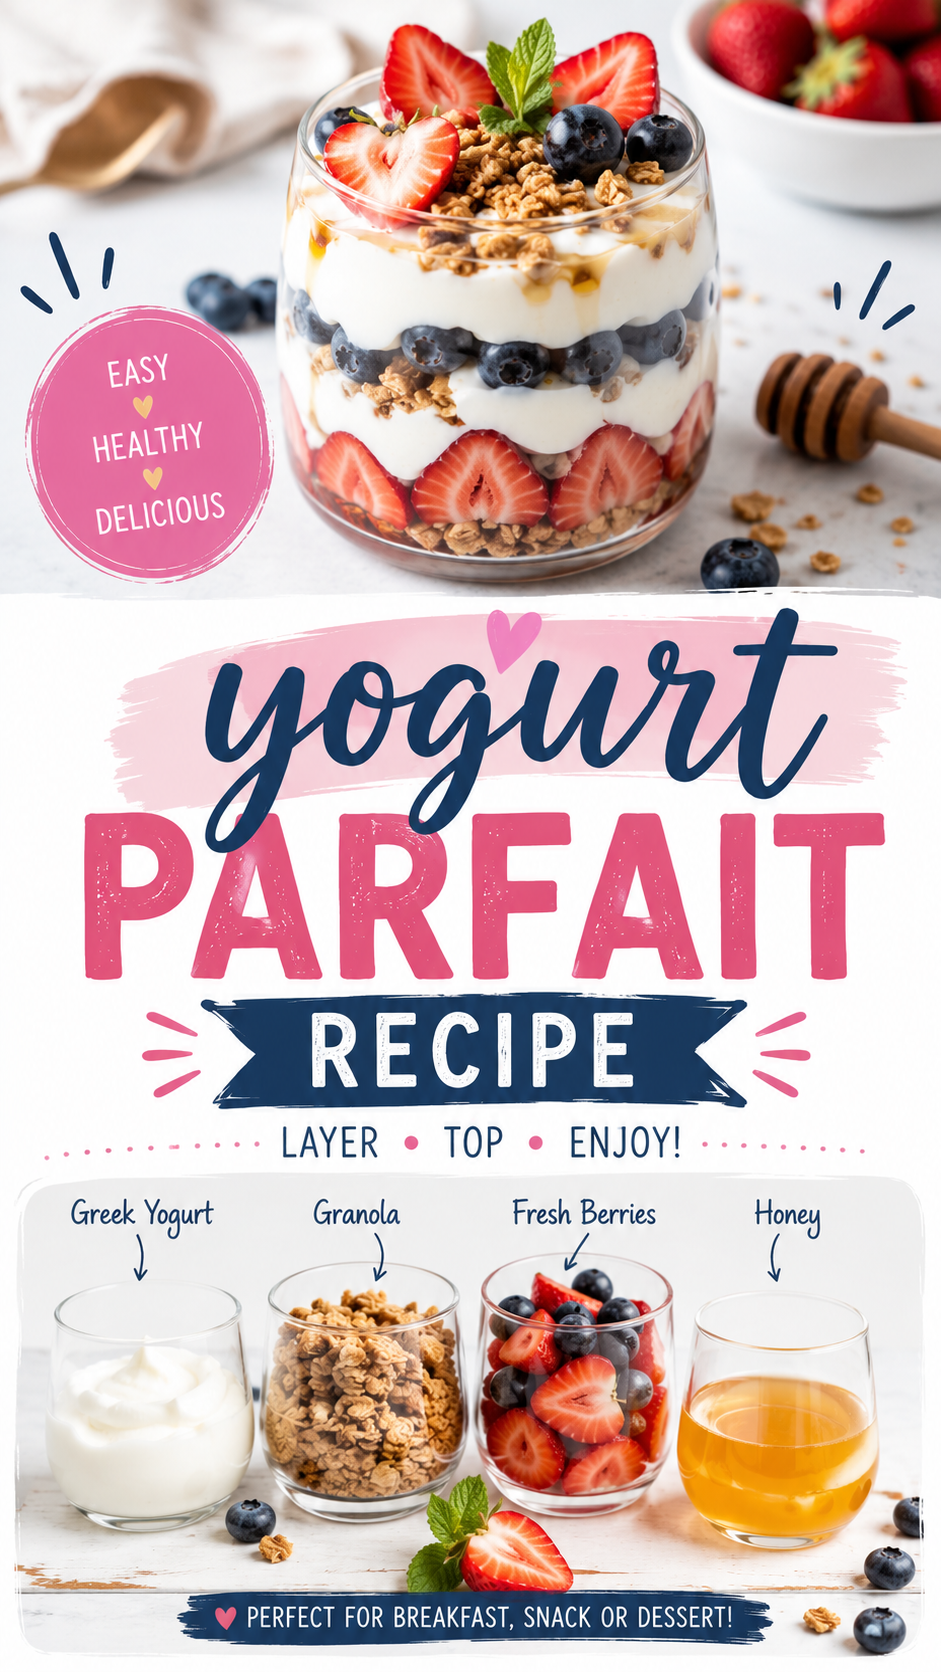
A yogurt parfait sounds simple, and it is. But simple done right hits different. Creamy Greek yogurt, crunchy granola, fresh berries, and a drizzle of honey stacked in a glass? It’s the kind of breakfast that makes you feel like you have your life together — even on a Tuesday.
And here’s the thing nobody tells you: the layering order actually matters. Get it wrong and you’ve got soggy granola and a sad, watery situation at the bottom. Get it right and every single bite has the perfect crunch-to-cream ratio.
We’re going to nail it today.
What You’ll Need
For the Parfait (serves 2):
Yogurt Layer:
- 2 cups full-fat Greek yogurt (plain, unsweetened)
- 1 tsp vanilla extract
- 1 tbsp honey (mixed into yogurt)
Granola Layer:
- 1 cup granola (store-bought or homemade)
Berry Layer:
- 1 cup fresh strawberries, hulled and sliced
- ½ cup fresh blueberries
Topping:
- 2 tbsp honey, for drizzling
- Fresh mint leaves (optional, for garnish)
Tools You’ll Need
- 2 tall glasses or glass jars (roughly 12–16 oz each)
- A mixing bowl
- A spoon or spatula
- A small knife and cutting board
- A measuring cup
That’s it. No special equipment, no fancy gadgets.
Pro Tips
These are the things that separate a “meh” parfait from one you’d actually post a photo of.
- Use full-fat Greek yogurt. Low-fat versions are thinner and release more liquid as they sit. Full-fat is creamier, richer, and holds its shape better between layers.
- Add granola right before serving. If you’re prepping this ahead, keep the granola separate. The second it touches yogurt for more than 10 minutes, it starts absorbing moisture and goes soft. Crunchy granola is non-negotiable.
- Pat your berries dry. After washing, give them a gentle pat with a paper towel. Excess water is what causes that watery pink puddle at the bottom of your glass.
- Warm your honey slightly. Ten seconds in the microwave makes it runny enough to drizzle beautifully rather than plopping in one sticky blob.
- Layer in odd numbers. Three layers looks better than two. Start with yogurt at the base so the granola has something to grip, and always finish with fruit on top for the photo moment 📸.
How to Make It
Step 1: Prep Your Yogurt
In a small bowl, mix the Greek yogurt with 1 tsp vanilla extract and 1 tbsp honey. Stir until fully combined.
This step takes 30 seconds and makes a huge difference. Plain unsweetened yogurt straight from the tub can be too sharp and tangy. Just a touch of honey and vanilla rounds it out perfectly.
Step 2: Prep Your Berries
Hull and slice your strawberries. Give all the berries a quick rinse and pat them dry.
Step 3: Layer Your Parfait
Here’s the order that works every time:
- Spoon a layer of yogurt into the bottom of the glass (about ⅓ of your total yogurt)
- Add a layer of granola (about ¼ cup)
- Add a layer of mixed berries
- Repeat — yogurt, granola, berries
- Finish with a final spoonful of yogurt on top
Step 4: Top and Serve
Add your remaining berries on top. Drizzle honey over everything. Tuck in a sprig of fresh mint if you’re feeling fancy.
Serve immediately for maximum crunch.
Substitutions and Variations
Not a fan of something on the list? Here’s how to make it yours.
| Ingredient | Swap Ideas |
|---|---|
| Greek yogurt | Coconut yogurt (dairy-free), skyr, or regular plain yogurt |
| Granola | Muesli, crushed nuts, or toasted oats |
| Strawberries | Raspberries, mango, peaches, or kiwi |
| Blueberries | Blackberries, cherries, or pomegranate seeds |
| Honey | Maple syrup, agave, or date syrup |
Flavor variations to try:
- Tropical: Coconut yogurt + mango + pineapple + toasted coconut flakes
- Chocolate lover: Yogurt + cocoa granola + sliced banana + dark chocolate chips
- Autumn spice: Yogurt mixed with cinnamon + granola + diced apple + caramel drizzle
Make Ahead Tips
Good news: most of this can be prepped the night before.
- Yogurt mixture: Stir together your yogurt, honey, and vanilla. Cover and refrigerate overnight. It actually gets better — the flavors meld together nicely.
- Berries: Wash, dry, and slice. Store in an airtight container in the fridge.
- Granola: Keep this at room temperature, away from moisture. Add it right before serving.
Morning assembly takes under two minutes when everything’s prepped.
Nutritional Breakdown
Here’s a rough per-serving breakdown (based on full-fat Greek yogurt and store-bought granola):
| Nutrient | Approx. Per Serving |
|---|---|
| Calories | 380–430 kcal |
| Protein | 18–22g |
| Carbohydrates | 45–50g |
| Fat | 10–14g |
| Fiber | 4–5g |
| Sugar | 25–30g (mostly natural) |
The protein content here is genuinely impressive. Greek yogurt alone packs around 17g of protein per cup, which is more than two eggs. That’s the kind of breakfast that keeps you full until noon.
Diet-friendly notes:
- Dairy-free: Use coconut or almond-based yogurt
- Vegan: Swap honey for maple syrup and use plant-based yogurt
- Gluten-free: Choose a certified GF granola
- Lower sugar: Use unsweetened yogurt and skip the honey drizzle
Meal Pairing Suggestions
This parfait works as a standalone breakfast, but if you’re building out a full brunch spread, here’s what pairs well:
- A strong cold brew or iced matcha latte
- Avocado toast on sourdough
- A veggie omelette
- Fresh-squeezed orange juice
It also works as a light dessert after dinner — swap the honey for a drizzle of dark chocolate sauce and serve it in a wine glass for that “I clearly have things figured out” aesthetic.
Leftovers and Storage
Already assembled: Honestly, eat it the same day. Once the granola hits the yogurt, the clock is ticking. If you have leftovers, scoop the granola off the top before storing in the fridge. It’ll stay good for up to 24 hours, but the texture won’t be the same.
Components stored separately:
- Yogurt mixture: Up to 4 days in the fridge
- Cut berries: 2–3 days in an airtight container
- Granola: Weeks at room temperature in a sealed bag or jar
The smarter move is to prep components and assemble fresh each morning. It takes two minutes and the difference in texture is worth it.
FAQ
Can I use frozen berries? You can, but thaw them completely first and drain off any liquid. Frozen berries release a lot of water as they defrost, which can turn your yogurt watery. Fresh is better here if you can get it.
What’s the best granola to use? Anything with a good crunch works. Avoid granolas that are too sweet or sugary — they can overpower the yogurt. A simple oat-and-nut granola is the move.
Can I make this for a crowd? Yes. Set up a parfait bar. Put out bowls of yogurt, granola, and fruit and let people build their own. It’s a crowd-pleaser and requires zero extra work from you.
My yogurt is too tangy. What do I do? Mix in a touch more honey or a tiny splash of vanilla. Full-fat yogurt is naturally tangier than sweetened versions — that’s normal. The honey in the recipe is there to balance it.
Is this actually filling? With full-fat Greek yogurt and a good granola? Yes. The protein and fat combination keeps you full longer than most cereal or toast breakfasts. If you need more, add a handful of nuts to the granola layer.
Can kids eat this? Absolutely. It’s one of those rare things that’s genuinely nutritious and also looks fun to eat. Kids love the layering part too — let them build their own.
Wrapping Up
This is one of those recipes where the hardest part is deciding which berries to use.
Five minutes. One bowl. A stack of layers that looks like something off a café menu. And the satisfaction of knowing you started the day with 20 grams of protein and zero excuses.
Make it this week. Try a variation. Swap the berries for whatever’s in season right now.
And then come back and drop a comment below — I genuinely want to know which version you tried and how it turned out. Any tweaks you made? Questions about swaps? Leave it all down there. 👇