I made this syrup on a whim one Saturday morning when we were out of maple syrup.
I had blueberries, sugar, and a lemon. Fifteen minutes later we had something so good that we haven’t bought syrup since.
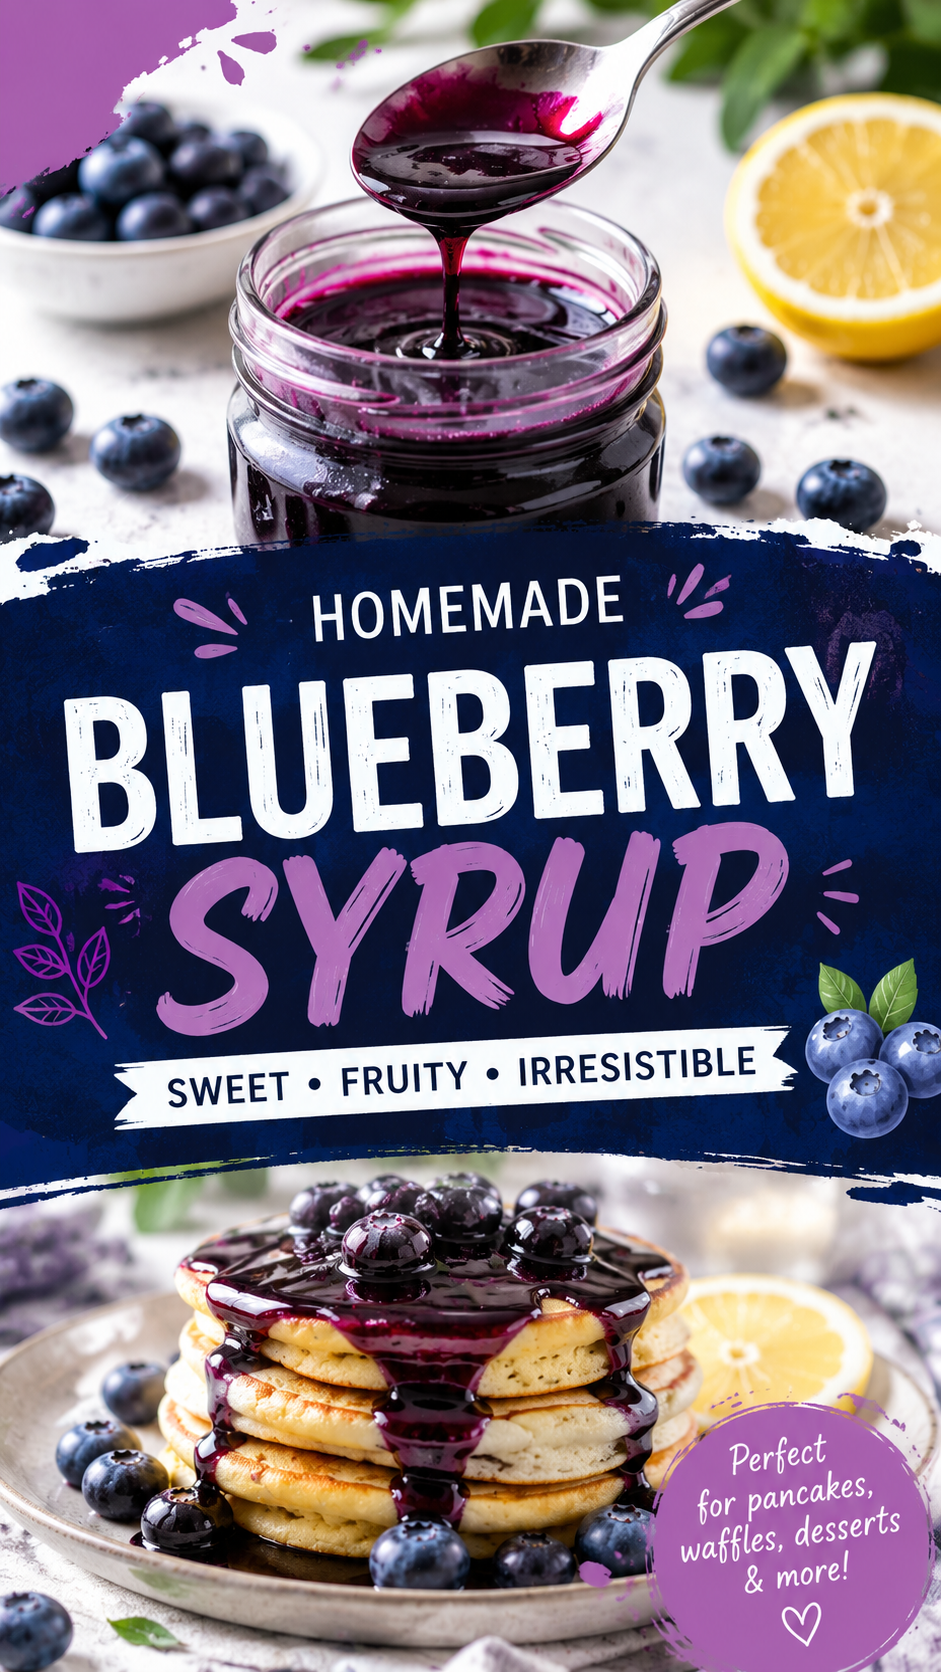
That’s not an exaggeration. This is one of those recipes that sounds almost too simple to be worth making — and then you pour it over a stack of pancakes and completely change your stance on what breakfast can be.
The color alone is enough to stop someone mid-bite. A deep, glossy, jewel-toned purple that pools into every gap and drips down the sides. It looks like it came from a fancy brunch spot. It came from your stovetop in a saucepan.
Keep reading because I’m also covering every possible way to use this beyond pancakes — and a few of them are genuinely unexpected. 👀
What You’ll Need
For the Blueberry Syrup
- 2 cups (300g) fresh or frozen blueberries
- ½ cup (100g) granulated sugar
- ¼ cup (60ml) water
- 1 tbsp fresh lemon juice (from about ½ lemon)
- ½ tsp lemon zest
- ½ tsp vanilla extract
- Pinch of salt
Optional (for a thicker syrup)
- 1 tsp cornstarch + 1 tbsp cold water (cornstarch slurry)
Tools You’ll Need
- Small to medium saucepan
- Wooden spoon or silicone spatula
- Microplane or fine zester (for the lemon)
- Fine mesh strainer (optional — for a smooth, seedless syrup)
- Glass jar or airtight container (for storing)
- Measuring cups and spoons
- Ladle or spoon for serving
Pro Tips
This recipe is genuinely forgiving, but these small details make it noticeably better.
- Don’t rush the simmer. The blueberries need time to fully burst and release their juice into the sugar syrup. Medium heat for 8-10 minutes, stirring occasionally, is the sweet spot. High heat cooks off the liquid too fast and the syrup can turn gummy or crystallize.
- The lemon isn’t optional. The juice and zest both do real work here. The acidity balances the sweetness of the sugar and the natural sweetness of the blueberries, and the zest adds a brightness that makes the whole syrup taste more alive. Skip it and the syrup tastes flat and one-dimensional.
- Decide on your texture before you start. Chunky syrup (with whole softened blueberries remaining) or smooth syrup (strained through a fine mesh strainer) — both are great, they just serve different purposes. Chunky is better for pancakes and waffles where you want the fruit. Smooth is better for cocktails, lemonade, coffee drinks, and drizzling over cheesecake.
- For a thicker syrup: Stir in the cornstarch slurry in the last 2 minutes of cooking. It thickens quickly — give it 1-2 minutes of stirring over heat after adding it and you’ll see it change. If you go this route, the syrup will continue to thicken as it cools.
- The syrup will look thin in the pan. Don’t panic and keep cooking it down. It thickens significantly as it cools. Pull it off the heat when it coats the back of a spoon lightly — not heavily. By the time it’s room temperature, it’ll be perfect.
Substitutions and Variations
The fruit:
- Swap blueberries for raspberries, blackberries, strawberries, or a mixed berry combination. Same method, same ratios, completely different result each time.
- Peach syrup: replace blueberries with 2 cups of peeled, diced fresh peaches and swap lemon for a tiny pinch of cinnamon. Over vanilla pancakes, it’s unreal.
The sweetener:
- Replace granulated sugar with honey for a more floral, complex sweetness. Use slightly less honey (about ⅓ cup) since it’s sweeter than sugar.
- Maple syrup works as the sweetener too, though the flavor becomes deeper and more caramel-like.
- For a lower-sugar version, use coconut sugar (same quantity) for a subtle caramel undertone.
Add-ins to try:
- A small sprig of fresh thyme or rosemary simmered in the syrup and removed before serving adds an herbal note that pairs especially well with cheese boards and cocktails.
- A pinch of cinnamon or cardamom takes the syrup in a warmer, spiced direction.
- A tablespoon of balsamic vinegar added at the end creates a more complex, savory-sweet syrup that’s excellent over grilled chicken or pork.
To make it vegan: This recipe is already fully vegan as written.
Make Ahead Tips
This is one of the most make-ahead friendly recipes on this whole blog.
Make a double or triple batch, pour it into clean glass jars, and keep it in the fridge. It lasts up to 2 weeks and if anything, the flavor deepens after a day or two as everything melds together.
For longer storage: Pour cooled syrup into ice cube trays and freeze. Once solid, transfer the cubes to a zip-lock bag and freeze for up to 3 months. Drop a cube into oatmeal, smoothies, or cocktails straight from frozen, or thaw a portion overnight for pancake morning.
The syrup will gel slightly in the fridge because of the natural pectin in blueberries. A quick 30-second warm in the microwave or a minute in a small saucepan over low heat brings it back to pourable consistency instantly.
Nutritional Information (Per 2 tbsp Serving, Approx.)
| Nutrient | Amount (approx.) |
|---|---|
| Calories | 55 kcal |
| Carbohydrates | 14g |
| Sugar | 12g |
| Fat | 0g |
| Fiber | 0.5g |
| Vitamin C | 4mg |
Based on approximately 16 servings per batch (2 tbsp each). Values vary based on exact quantities used.
Every Way to Use This Syrup
This is the section most syrup recipes skip, and it’s where this one actually gets interesting.
Breakfast:
- Over buttermilk pancakes or waffles — the obvious one, and yes, it’s as good as it sounds
- Swirled into plain Greek yogurt with granola
- Drizzled over French toast with a dusting of powdered sugar
- Stirred into oatmeal in the last minute of cooking
- Over cottage cheese with a sprinkle of nuts (sounds odd, genuinely delicious)
Drinks:
- Blueberry lemonade: stir 2-3 tbsp into fresh-squeezed lemonade over ice
- Blueberry lavender iced latte: add a tablespoon to cold brew with oat milk
- Cocktails: a tablespoon in a gin and tonic, prosecco, or vodka soda
- Blueberry smoothie base: blend a few tablespoons with banana, yogurt, and milk
Desserts:
- Spooned over vanilla ice cream or cheesecake
- Drizzled over a pavlova or meringue with whipped cream
- Used as a filling layer in a layer cake alongside cream cheese frosting
- Poured over pound cake with a scoop of whipped cream
- Mixed into a warm blueberry sauce for crepes
Savory (this is the unexpected part):
- Glazed over roasted salmon in the last 5 minutes of oven time — the sweet-tart glaze caramelizes slightly and the result is genuinely impressive
- As a dipping sauce alongside a cheese board, especially with brie or goat cheese
- Drizzled over a prosciutto and arugula flatbread
How to Make It
Total Time: About 20 minutes Makes: Approximately 1.5 cups (enough for 6-8 servings)
Step 1: Combine the base ingredients
Add the blueberries, sugar, water, and pinch of salt to a small to medium saucepan.
Stir to combine and place over medium heat.
Step 2: Cook until the blueberries burst
Bring the mixture to a gentle simmer, stirring occasionally.
As the temperature rises, the blueberries will start to soften and burst, releasing their deep purple juice into the syrup. This happens around the 4-5 minute mark.
Help them along by gently pressing a few against the side of the pan with the back of your spoon.
Continue simmering for 8-10 minutes total, stirring every couple of minutes, until the syrup has deepened in color and thickened slightly.
Step 3: Add lemon and vanilla
Remove the pan from heat.
Stir in the fresh lemon juice, lemon zest, and vanilla extract.
Taste it. Adjust with a small squeeze more lemon if it tastes too sweet, or a tiny bit more sugar if it needs it.
Step 4 (optional): Thicken with cornstarch
If you want a thicker syrup, return the pan to medium-low heat.
Mix the cornstarch and cold water into a smooth slurry with a fork. Pour it into the simmering syrup while stirring.
Cook for 1-2 minutes, stirring constantly, until the syrup thickens noticeably. Remove from heat.
Step 5 (optional): Strain for smooth syrup
For a silky, seedless syrup, pour the mixture through a fine mesh strainer set over a bowl or jar, pressing the solids with the back of a spoon to extract as much liquid as possible.
Discard the solids (or eat them — they’re good spooned over ice cream).
For chunky syrup, skip this step entirely.
Step 6: Cool and store
Allow the syrup to cool for 10-15 minutes before transferring to a glass jar or airtight container.
It will continue to thicken as it cools. If it thickens too much in the fridge, warm briefly before serving.
Serve warm over pancakes, waffles, or anything else on the list above.
Leftovers and Storage
Refrigerator: Store in a clean, airtight glass jar for up to 2 weeks. The syrup may gel slightly in the cold — this is normal. Warm for 30 seconds in the microwave or in a small pan over low heat before using.
Freezer: Freeze in an airtight container or ice cube trays for up to 3 months. Ice cube portions are especially practical for adding a tablespoon or two to drinks or oatmeal without thawing a full jar.
Signs it’s gone off: Mold, an off smell, or fermented taste. With the sugar content acting as a natural preservative, this syrup keeps well — but always use a clean spoon to scoop it out rather than pouring directly from the jar, which introduces bacteria.
Reviving syrup that’s gotten too thick: Add a tablespoon of water and warm gently, stirring until it loosens back to your preferred consistency.
FAQ
Can I use frozen blueberries?
Yes, and they work just as well as fresh. No need to thaw them first — add them straight from frozen and add an extra minute or two to the simmering time since they start cold. Frozen blueberries are often picked at peak ripeness, which means the flavor can actually be more consistent than fresh out-of-season berries.
Do I need to add the cornstarch?
Not at all. The syrup thickens naturally as it cools from the natural pectin in the blueberries. The cornstarch is only worth adding if you want a noticeably thicker, more coating consistency — especially good for ice cream or cheesecake. For pancakes and waffles, natural thickness is usually perfect.
Can I reduce the sugar?
Yes. You can drop to ⅓ cup (65g) for a less sweet, more fruit-forward syrup. Going lower than that may affect how well it stores, since sugar acts as a preservative. Taste as you go and adjust.
My syrup turned out too thick. Did I cook it too long?
Possibly, or it thickened more in the fridge than expected. Either way, add a splash of water and warm it gently over low heat, stirring until it loosens to your preferred consistency.
Can I use this as a jam substitute?
With the cornstarch version, yes — it spreads well and behaves similarly to a loose jam on toast, English muffins, or scones. Without the cornstarch it’s thinner and more pourable, which is better as a syrup than a spread.
How do I know when it’s done?
Dip a spoon in, hold it horizontally, and run your finger across the back. If the line holds and the syrup doesn’t flood back across, it’s ready. It’ll look thinner than you expect in the pan — that’s normal. Trust the spoon test.
Wrapping Up
Fifteen minutes. Six ingredients. A syrup that makes every single breakfast feel like a treat.
The fact that this works on pancakes, in cocktails, over cheesecake, and glazed onto salmon is the thing I love most about it. It’s not a one-use recipe that takes up space in your fridge — it genuinely earns its place.
Make a jar this weekend and see how many ways you end up using it by Monday.
Then come back here and tell me what you poured it on first. Drop a comment below with your experience, any tweaks you made, and what you’d put it on next. I’m particularly curious who tries the salmon glaze. 💜