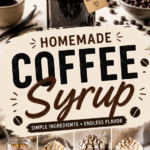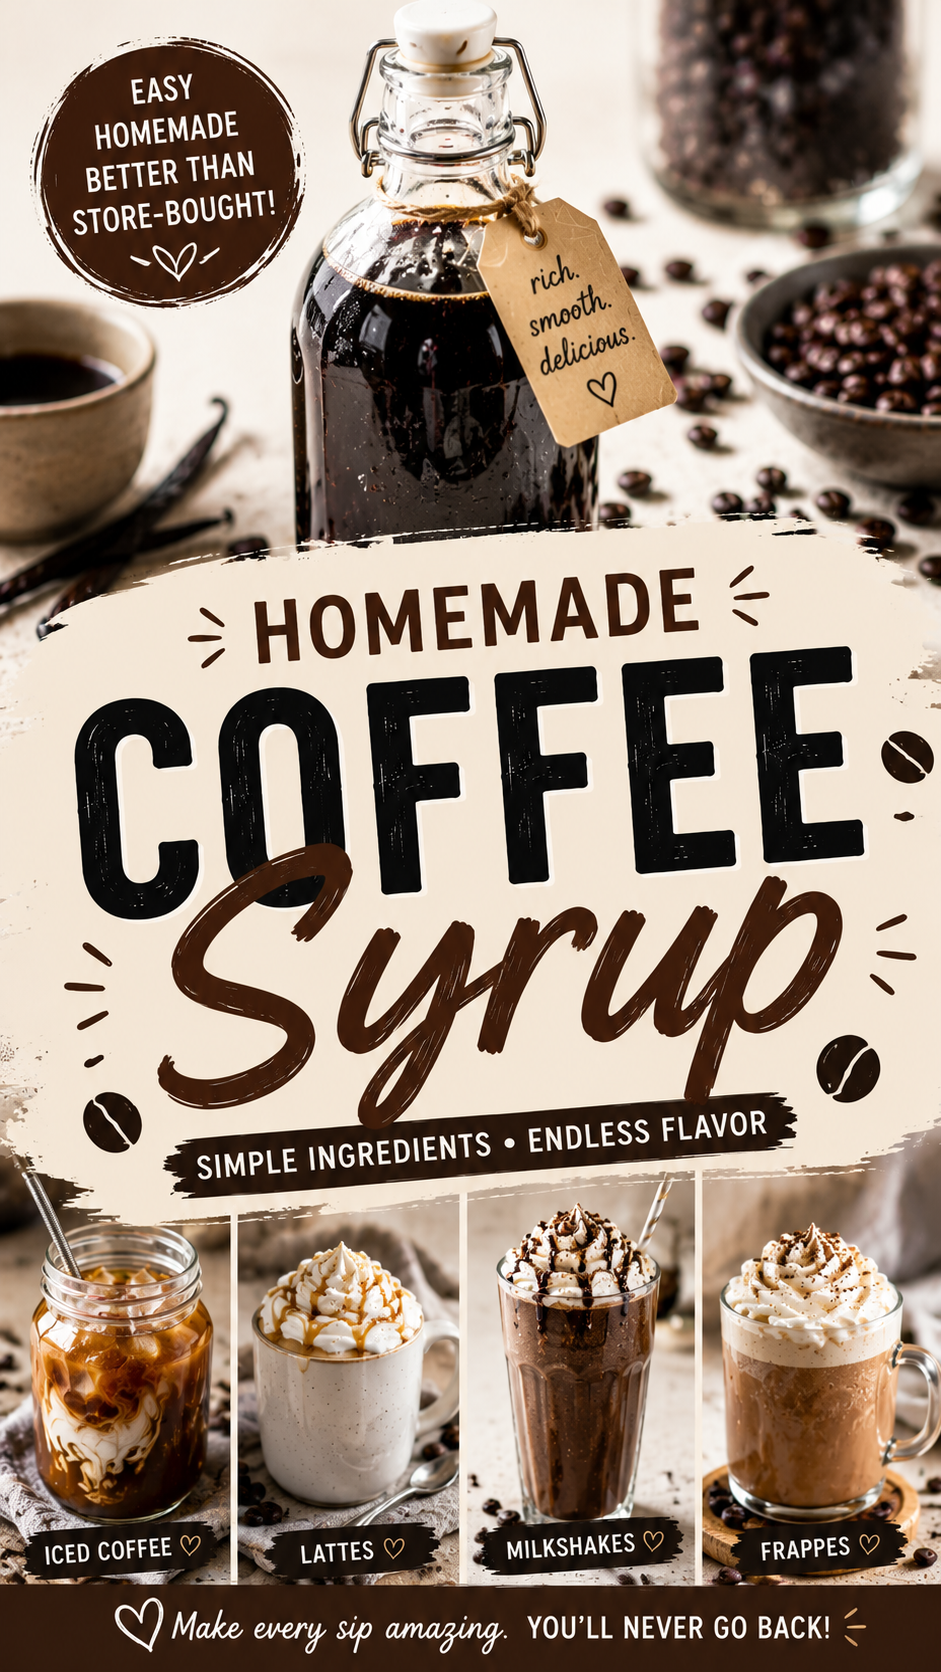
That coffee syrup you’ve been buying at the store? It’s mostly water, corn syrup, and “natural flavors” — which is a very generous way of saying not much actual coffee.
This version is made with real brewed coffee, sugar, and vanilla. That’s it.
It takes 20 minutes, makes enough to last you two weeks, and honestly tastes richer and smoother than anything that comes in a plastic bottle with a pump top.
Once you try it in your morning iced coffee, there’s no going back.
What You’ll Need
Ingredients
- 1 cup strong brewed coffee (or 2 shots of espresso + water to make 1 cup)
- 1 cup granulated white sugar
- 1 teaspoon pure vanilla extract
- Pinch of fine sea salt
Makes: About 1.5 cups of syrup Prep Time: 5 minutes | Cook Time: 15 minutes | Total: 20 minutes
Tools Required
- Small saucepan
- Wooden spoon or silicone spatula
- Measuring cups and spoons
- Fine mesh strainer
- Glass jar or airtight bottle for storage (a 16 oz mason jar works perfectly)
How to Make It (Step-by-Step)
Step 1: Brew your coffee strong.
Use a dark roast if you have it — the bolder the coffee, the more depth of flavor in your syrup. If you have an espresso machine, two shots diluted with water to make one cup works great too.
Step 2: Add coffee and sugar to the saucepan.
Pour the brewed coffee and sugar into your saucepan over medium heat.
Step 3: Stir until the sugar dissolves.
Stir continuously for about 3-4 minutes. The liquid will go from murky and grainy to smooth and glossy. That’s your cue to move to the next step.
Step 4: Simmer low and slow.
Reduce to medium-low heat and let it gently simmer for 10-12 minutes, stirring occasionally. You want it to thicken slightly and reduce by about a third. Small bubbles only — no hard boiling.
Step 5: Add the vanilla and salt.
Pull the pan off the heat. Stir in the vanilla extract and pinch of salt. The vanilla adds a warm, rounded sweetness and the salt keeps it from tasting flat.
Step 6: Cool completely, then bottle.
Let it sit for 20-30 minutes before transferring to your glass jar. It’ll thicken a bit more as it cools. Seal and refrigerate.
Pro Tips
The things that actually make a difference:
- Use the darkest roast you have. Light roasts will still work, but a medium-dark or dark roast gives you that deep, moody coffee flavor that makes this syrup special. Anything labeled “espresso roast” is perfect.
- Don’t rush the simmer. That 10-12 minute simmer is what concentrates the coffee flavor and gives the syrup body. Pull it too early and it’ll be thin and watery.
- Add vanilla off the heat. High temperatures cook off the delicate flavor in vanilla extract. Always stir it in after you’ve removed the pan from the burner.
- Salt is not optional. I know a pinch of salt in a sweet syrup sounds weird, but it rounds everything out and makes the coffee flavor pop. Don’t skip it.
- Let the flavor develop overnight. It tastes good fresh, but genuinely better after it sits in the fridge for 12-24 hours. If you can make it the night before, do it.
Substitutions and Variations
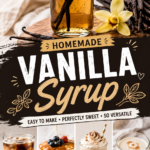
No vanilla extract? Leave it out or swap in 1/2 teaspoon of vanilla bean paste for a more intense vanilla hit.
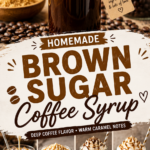
Brown sugar version: Replace white sugar with dark brown sugar for a syrup that tastes almost like coffee-flavored caramel. Incredible in lattes.
Mocha syrup: Add 2 tablespoons of unsweetened cocoa powder to the saucepan with the coffee and sugar. Stir it in well and simmer as normal. The result is a rich, chocolatey coffee syrup that’s perfect for mochas and milkshakes.
Spiced coffee syrup: Add a cinnamon stick and 2 whole cloves to the pot while simmering. Remove them when you strain. Great for fall drinks and cold brew.
Decaf version: Works exactly the same with decaf coffee — same flavor, no caffeine. Perfect if you want to use the syrup in evening desserts.
Lower sugar: Reduce sugar to 3/4 cup if you prefer less sweetness. The syrup will be slightly thinner but still totally usable.
Make Ahead Tips
This is one of the best recipes to batch on a Sunday.
Make a double batch (2 cups coffee + 2 cups sugar) and you’re set for two weeks of morning coffees, iced lattes, and whatever else you drizzle it on.
The syrup stores in the fridge for up to 3-4 weeks in a sealed glass jar.
It also freezes well in an ice cube tray — pop the cubes into a freezer bag and store for up to 3 months. Drop one straight into hot or iced coffee as a sweetener.
Nutritional Breakdown
(Per 1 tablespoon serving)
| Nutrient | Amount |
|---|---|
| Calories | 46 kcal |
| Total Carbohydrates | 12g |
| Sugars | 12g |
| Fat | 0g |
| Protein | 0g |
| Sodium | 6mg |
| Caffeine | ~5-10mg |
Dietary notes:
- Gluten-free ✓
- Vegan ✓
- Dairy-free ✓
- Low-caffeine option: Use decaf coffee
- Low-sugar option: Substitute with monk fruit sweetener in a 1:1 ratio — the syrup will be slightly thinner
Meal and Drink Pairing Suggestions
Here’s where this syrup is genuinely excellent:
- Iced coffee or cold brew — 1-2 tablespoons per glass, stir well
- Hot lattes — add before the milk so it dissolves evenly
- Overnight oats — a tablespoon instead of maple syrup gives a mocha vibe
- Vanilla ice cream — drizzle it over the top like a coffee sauce
- Tiramisu or coffee-flavored desserts — use it to brush over ladyfinger layers
- Protein shakes — adds coffee flavor without the need to brew separately
- Frappes and blended drinks — blend with ice, milk, and coffee ice cubes
- Cocktails — pairs well with vodka, kahlúa, and espresso martinis
Leftovers and Storage
Fridge: 3-4 weeks in a sealed glass jar. Stir or shake before using since it can settle.
Freezer: Up to 3 months in ice cube trays. Each cube is roughly 2 tablespoons.
Signs it’s turned: If it smells sour, looks cloudy with anything other than normal coffee sediment, or has any visible mold near the lid — make a fresh batch.
Storage tip: Always use glass over plastic. Glass keeps the coffee aroma clean and doesn’t take on the dark color the way plastic does over time.
FAQ
Can I use instant coffee instead of brewed?
Yes — dissolve 2 teaspoons of instant coffee granules in 1 cup of hot water before adding to the saucepan. It won’t have quite the same depth as freshly brewed, but it still works well.
Why is my syrup too thin?
It probably needed more time on the simmer. Return it to the saucepan and let it simmer on medium-low for another 5 minutes, then cool again. It also thickens a bit more as it refrigerates.
Why did my syrup crystallize?
This can happen if the heat was too high or if sugar crystals from the sides of the pan got stirred back in. Fix it by gently reheating with a small splash of water over low heat, stirring until smooth.
Can I use espresso instead of brewed coffee?
Absolutely. Two shots of espresso plus enough water to reach 1 cup is a great option — it gives you a more intense, concentrated flavor.
Is this the same as coffee simple syrup?
Very close. Traditional coffee simple syrup is just 1:1 sugar to coffee with no added flavors. This version adds vanilla and salt, which makes a noticeable difference in the final flavor.
How much should I use per drink?
Start with 1 tablespoon per 8 oz drink and adjust to taste. Some people like it sweeter (2 tablespoons) and some prefer just a hint (1 teaspoon). There’s no wrong answer.
Can I make this without caffeine for kids?
Yes — use decaf coffee and the syrup is totally caffeine-free. The flavor is identical.
Wrapping Up
Homemade coffee syrup is one of those recipes that seems small until you actually have a jar of it in your fridge.
Suddenly your morning iced coffee is something you’re genuinely excited to make. Your lattes taste like they came from a café. Your desserts have a new trick up their sleeve.
It costs almost nothing to make, takes less time than a coffee run, and you know exactly what’s in it.
Try it this week and come back and tell me what you used it in — especially if you did something unexpected with it. Drop your questions below too. I’m here for all of it. ☕