Have you ever made a meal so good you ate it straight out of the skillet standing at the stove?
That’s how this one usually goes in my house.
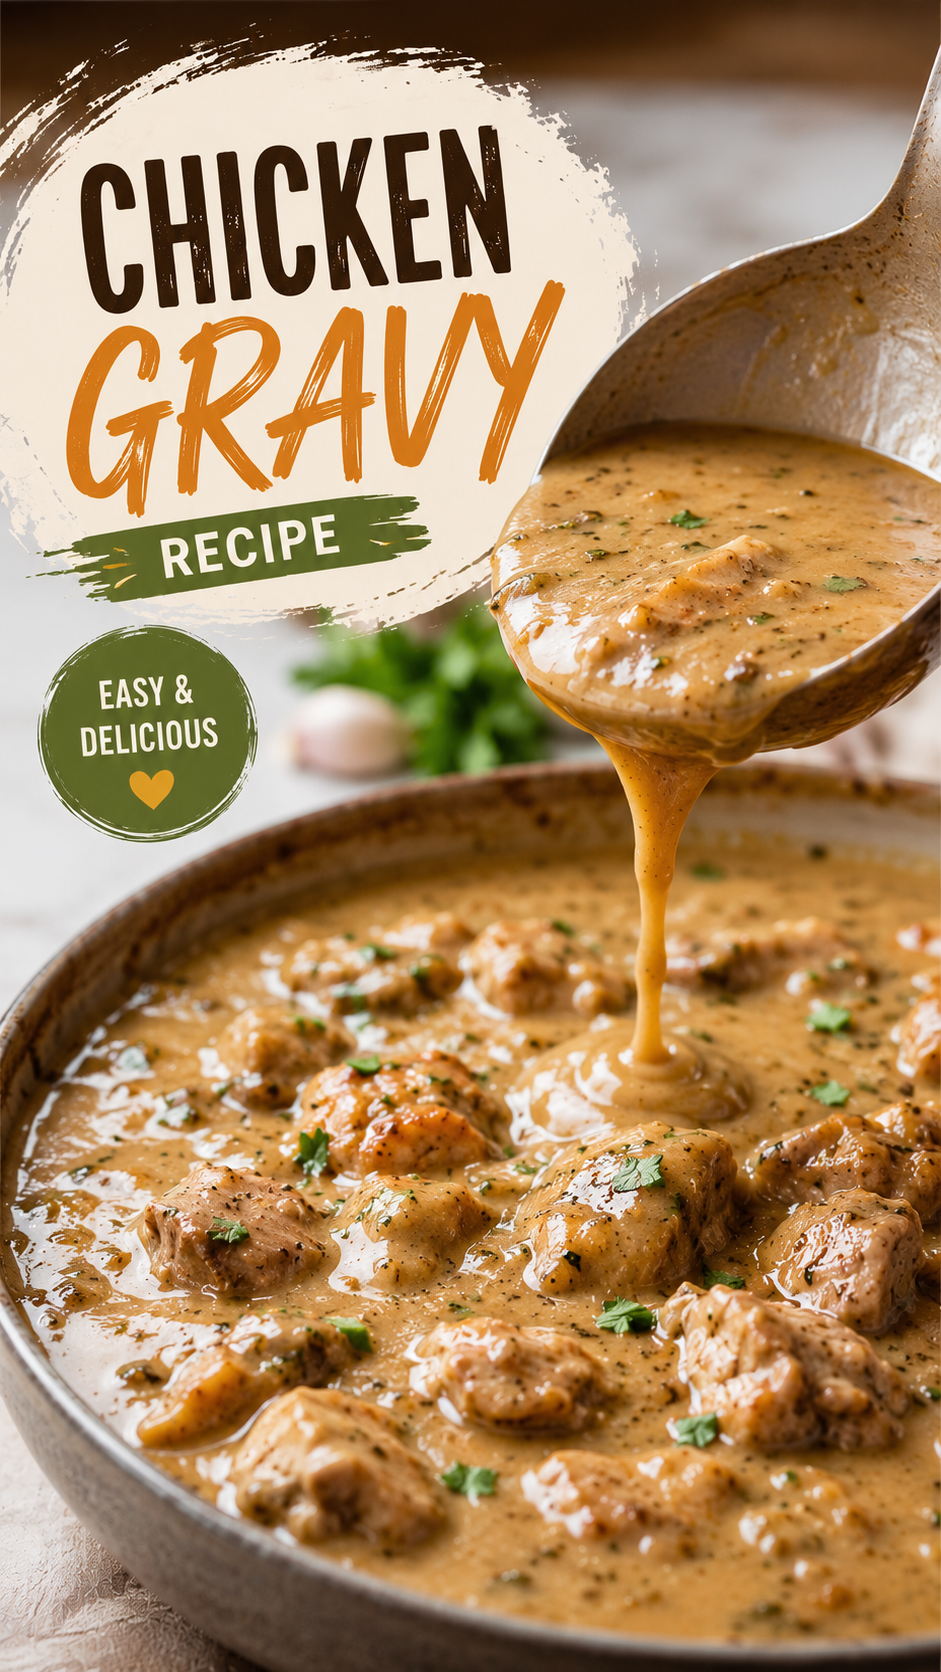
Tender pieces of chicken, simmered in a rich, peppery gravy that’s thick enough to coat a spoon and clings to every bite. It’s the kind of meal that makes you want to skip the plate entirely and just eat it out of the pot.
This isn’t fancy. It’s not trying to be. It’s the kind of recipe your grandmother probably made without measuring anything, and somehow it still came out perfect every time.
One skillet, a handful of pantry staples, and about 35 minutes is really all this takes.
Why This Recipe Actually Works
A lot of homemade gravy ends up either too thin or clumpy, which is usually a flour problem, not a flavor problem.
This recipe avoids that by browning the chicken first, then building the gravy right in the same skillet using those browned bits stuck to the bottom.
No gravy packets, no canned soup bases. Just butter, flour, broth, and a splash of milk, whisked together low and slow until it’s silky enough to coat the chicken without separating.
That browning step at the beginning matters more than it seems. It’s where most of the flavor in this dish actually comes from.
What You’ll Need
For the chicken:
- 1.5 lbs boneless, skinless chicken thighs, cut into bite-sized pieces
- 1 tablespoon olive oil
- 1 teaspoon garlic powder
- 1 teaspoon onion powder
- Salt and black pepper, to taste
For the gravy:
- 3 tablespoons butter
- 3 tablespoons flour
- 2 cups chicken broth
- 1/2 cup milk
- 1/2 teaspoon black pepper
- Fresh parsley, chopped, for garnish
Tools You’ll Need
- A large skillet
- A whisk
- Tongs
- A sharp knife and cutting board
- Measuring spoons
How to Make Chicken and Gravy
Step 1: Season the chicken. Toss the chicken pieces with garlic powder, onion powder, salt, and pepper until evenly coated.
Step 2: Brown the chicken. Heat the olive oil in a large skillet over medium-high heat.
Add the chicken and cook for 5-6 minutes, stirring occasionally, until browned on all sides and mostly cooked through.
Remove the chicken and set it aside on a plate.
Step 3: Make the roux. In the same skillet, lower the heat to medium and melt the butter, scraping up any browned bits stuck to the bottom.
Whisk in the flour and cook for about 1-2 minutes, stirring constantly, until it forms a smooth, light golden paste.
Step 4: Add the broth. Slowly whisk in the chicken broth, a little at a time, to keep the mixture smooth and lump-free.
Step 5: Thicken the gravy. Let the gravy simmer for 4-5 minutes, whisking occasionally, until it thickens enough to coat the back of a spoon.
Step 6: Add the milk. Whisk in the milk and black pepper, and let it simmer for another minute or two.
Step 7: Bring the chicken back. Return the chicken (and any juices left on the plate) back into the skillet.
Let everything simmer together for 5 minutes, until the chicken is fully cooked through (165°F internally) and coated in gravy.
Step 8: Garnish and serve. Top with fresh parsley.
Serve over mashed potatoes, rice, or biscuits, or simply on its own with a piece of crusty bread.
Pro Tips From Making This More Times Than I Can Count
1. Don’t skip browning the chicken first. This step builds the base flavor for the entire gravy. Skipping it gives you a noticeably flatter-tasting dish.
2. Whisk the broth in slowly. Adding it all at once is the easiest way to end up with lumpy gravy. A little at a time, whisking constantly, gets you that smooth texture.
3. Scrape the bottom of the skillet before adding the butter. Those browned bits are full of flavor. Make sure to loosen them up as the butter melts so they incorporate into the gravy.
4. Cut the chicken into even pieces. This keeps everything cooking at the same rate, so you’re not left with some pieces overdone and others underdone.
5. Let the gravy simmer a few extra minutes if it’s too thin. Patience matters more than extra flour here. A few more minutes on low heat will thicken it up naturally without changing the flavor.
Substitutions and Variations
- No chicken thighs? Chicken breast works fine, just watch the cook time since it dries out faster than thighs.
- Want it dairy-free? Use a dairy-free butter alternative and swap the milk for unsweetened almond or oat milk.
- Looking for a gluten-free version? Swap the flour for a 1:1 gluten-free flour blend or cornstarch (use half the amount if using cornstarch).
- Want more flavor? Add a splash of Worcestershire sauce or a pinch of smoked paprika to the gravy.
- Prefer it with vegetables? Stir in sliced mushrooms or peas during the last few minutes of simmering.
Make Ahead Tips
This dish reheats so well that it’s almost better made a little ahead.
Make the full recipe, let it cool, and store it in the fridge for up to 2 days. Reheat gently on the stove over low heat, adding a splash of broth or milk if the gravy has thickened up more than you’d like.
This isn’t a recipe that benefits from freezing, since the gravy can separate slightly once thawed.
A Quick Note on Serving It Up
This chicken and gravy is rich and filling enough to be a meal entirely on its own, but it’s also one of the most versatile comfort foods to pair with something else.
Mashed potatoes are the classic pairing, since they soak up the gravy beautifully. Rice and warm biscuits both work just as well if that’s what you’ve got on hand.
If you want to round it out with vegetables, steamed green beans or roasted carrots are a simple, no-fuss addition.
Leftovers and Storage
Store leftovers in an airtight container in the fridge for up to 3 days.
To reheat, warm on the stove over low heat, stirring occasionally and adding a splash of broth or milk to loosen the gravy. Microwaving works too, just do it in short bursts so the gravy doesn’t separate.
This dish isn’t ideal for freezing, since the gravy’s texture changes once thawed.
FAQ
Why is my gravy lumpy? This usually means the broth was added too quickly, or the flour wasn’t fully cooked into the butter first. Whisk constantly and add the liquid slowly for a smooth result.
Can I use chicken breast instead of thighs? Yes. Just reduce the cook time slightly and pull it off the heat right at 165°F, since breast meat dries out faster than thighs.
Can I make this gluten-free? Yes, swap the flour for a gluten-free flour blend or cornstarch, using half the amount if you go with cornstarch.
Why is my gravy too thin? Let it simmer a bit longer over low heat. It will continue to thicken the longer it cooks, without needing extra flour.
What’s the best way to serve this? Mashed potatoes are the classic choice, though rice, biscuits, or even egg noodles all work well too.
Wrapping Up
This chicken and gravy is the kind of meal that doesn’t need to be fancy to feel like exactly what you needed that night.
Tender chicken, a rich peppery gravy, and whatever you’ve got on hand to serve it over is really all it takes to make something this comforting.
Give it a try this week, and let me know in the comments how yours turned out. I’d love to hear what you served it over.