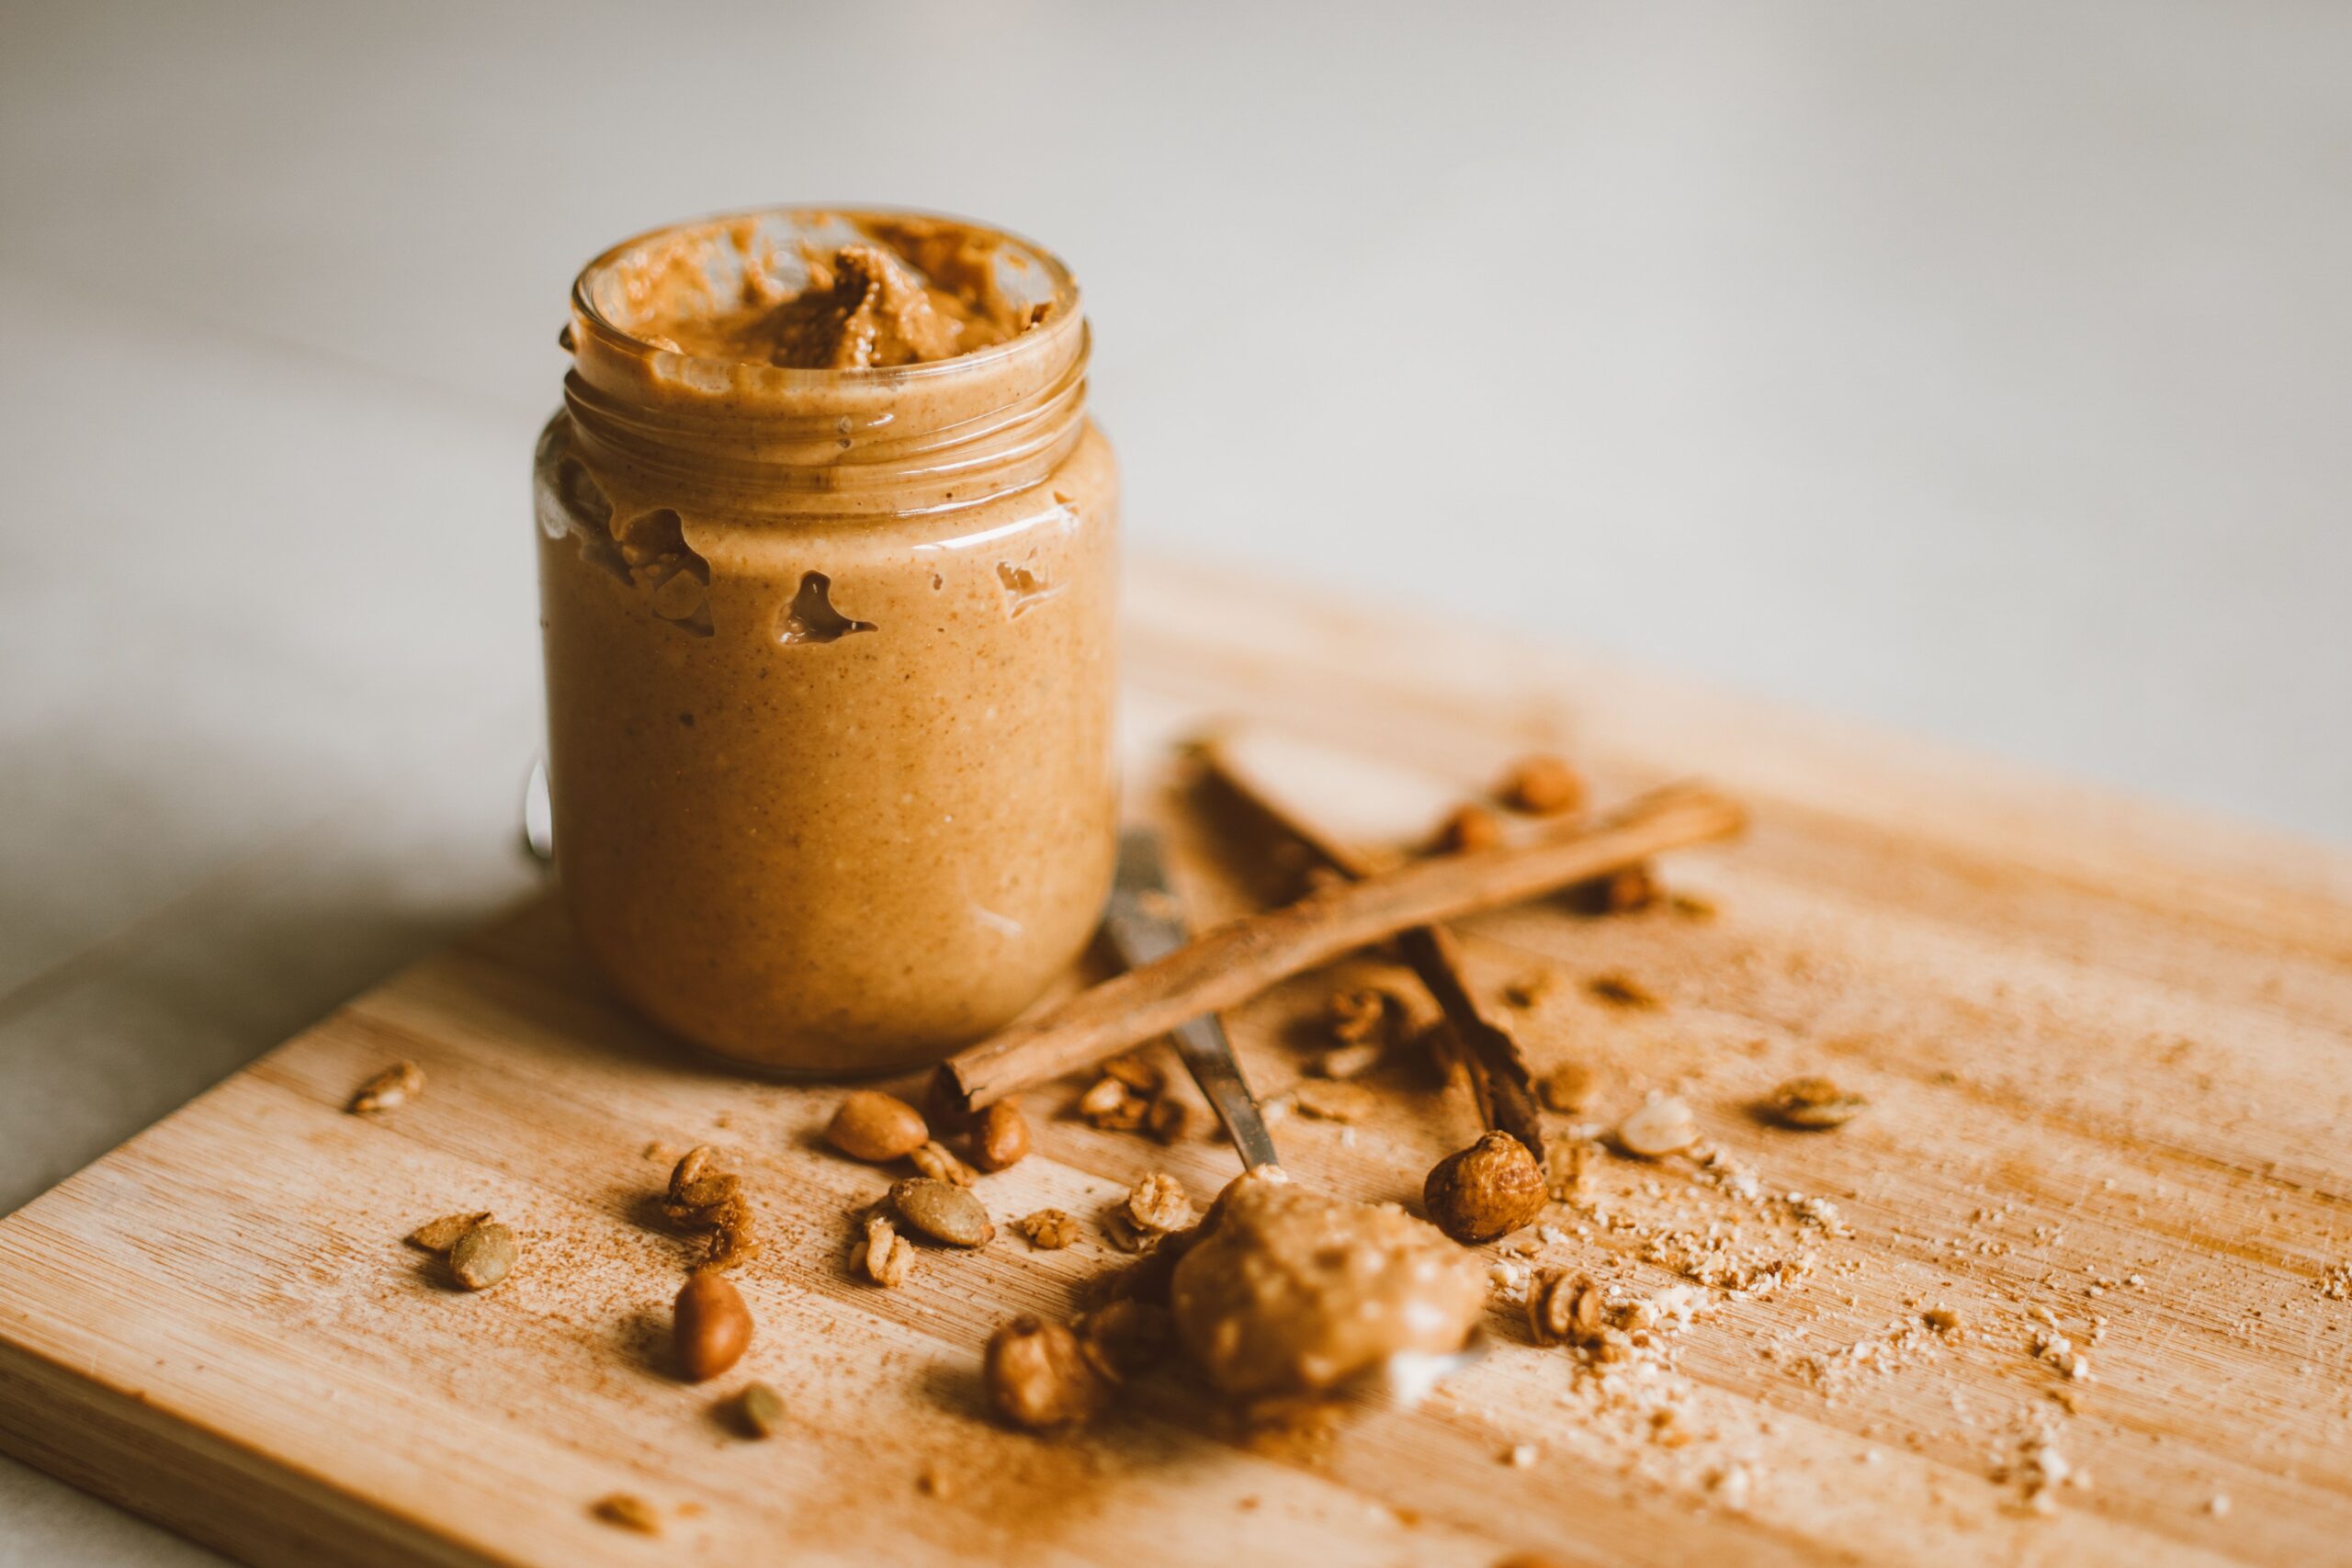
Can homemade peanut butter cups actually taste better than the store-bought ones?
I wasn’t convinced they could until I made a batch myself with just three ingredients and no oven required. One bite in, and I haven’t bought the wrapped ones since.
Rich melted chocolate, a thick creamy peanut butter center, and a sprinkle of flaky sea salt on top. Simple, a little indulgent, and dangerously easy to make. 🍫
If you’ve got ten minutes and a mini muffin tin, you’re basically already there.
What You’ll Need
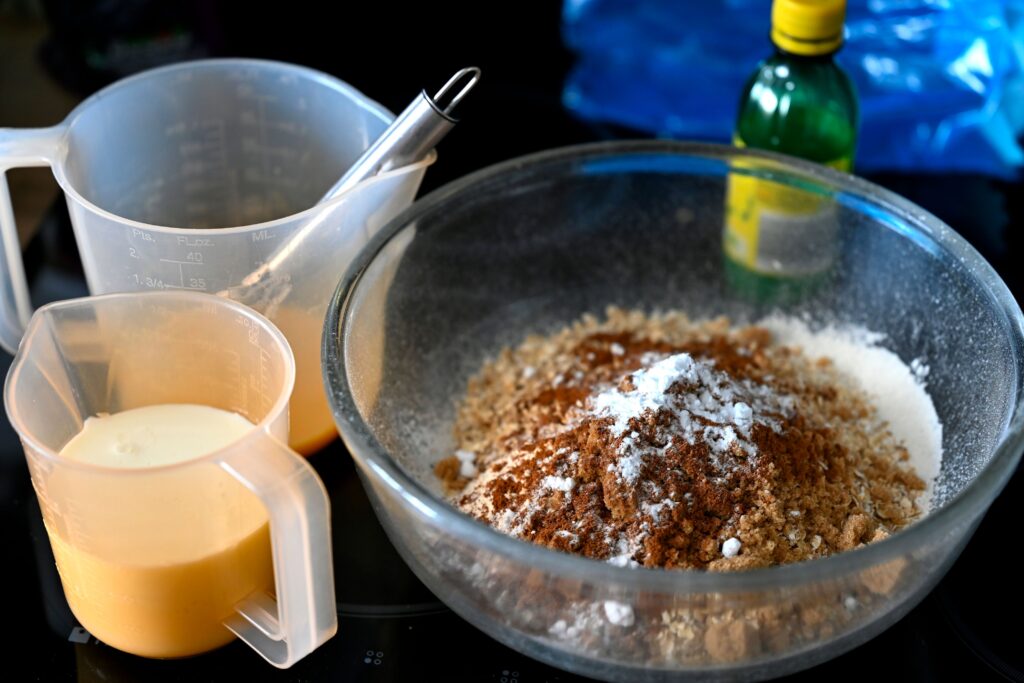
Here’s everything going into these cups:
For the cups:
- 2 cups chocolate chips (semisweet or dark)
- 1 cup creamy peanut butter
- 2 tbsp powdered sugar
- Flaky sea salt, for topping (optional)
That’s the full list. Three main ingredients doing all the work.
Tools You’ll Need
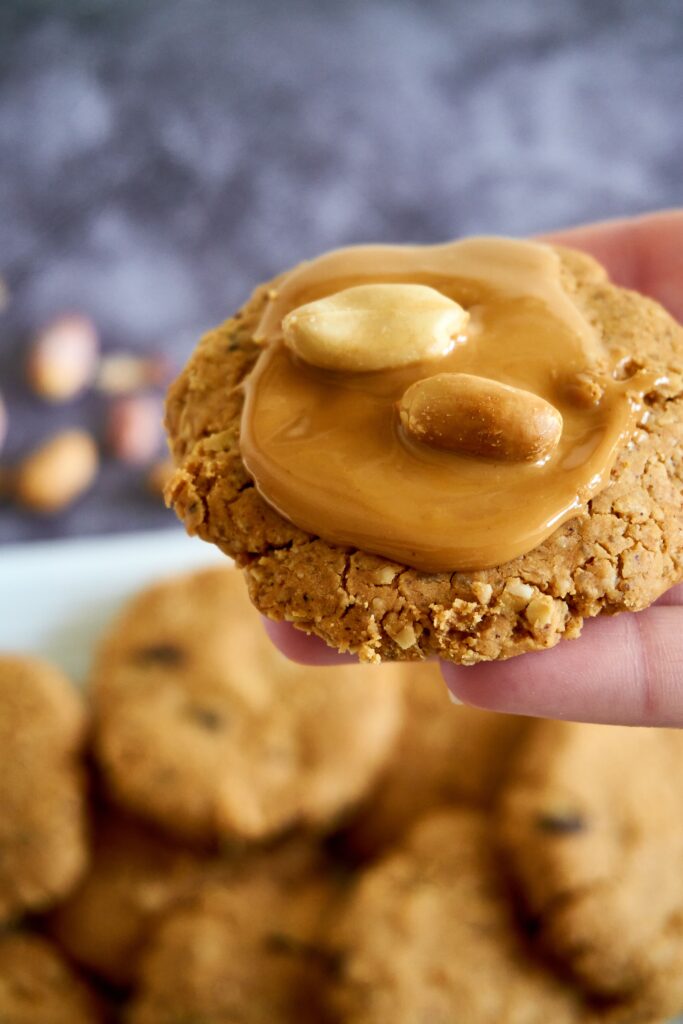
- A mini muffin tin
- Mini muffin liners
- A microwave-safe bowl
- A small spoon
- A spatula
How to Make It
Step 1: Line your muffin tin.
Place mini muffin liners into each cup of your mini muffin tin.
Step 2: Melt the chocolate.
Microwave the chocolate chips in 30 second bursts, stirring between each one, until fully melted and smooth.
Step 3: Add the first layer.
Spoon a small amount of melted chocolate into the bottom of each liner, just enough to coat the bottom. Use the back of the spoon to spread it evenly.
Step 4: Chill briefly.
Place the tin in the freezer for 5-10 minutes, until the chocolate layer firms up.
Step 5: Mix the peanut butter filling.
While the chocolate chills, stir the peanut butter and powdered sugar together until smooth and slightly thickened.
Step 6: Add the peanut butter layer.
Spoon a small amount of the peanut butter mixture on top of the chilled chocolate layer in each cup. Press it down gently so it spreads evenly, leaving room for another chocolate layer on top.
Step 7: Add the final chocolate layer.
Spoon the remaining melted chocolate over the peanut butter layer, covering it completely.
Step 8: Add the topping and chill.
Sprinkle a pinch of flaky sea salt over each cup while the chocolate is still soft. Chill in the fridge for at least 30 minutes, until fully set.
Step 9: Serve.
Peel off the liners and enjoy straight from the fridge.
Pro Tips
- Don’t skip chilling between layers. This is what keeps the peanut butter centered instead of mixing into the chocolate.
- Use creamy peanut butter, not natural. Natural peanut butter tends to be too oily and won’t hold its shape as well in the center layer.
- Melt your chocolate slowly. Short bursts in the microwave prevent it from seizing up or burning.
- Work in batches if your kitchen is warm. Chocolate sets much slower on a hot day, so extra chill time between steps helps a lot.
- Add the sea salt right away. It won’t stick once the top layer of chocolate firms up.
Substitutions and Variations
- Nut-free version: Sunflower seed butter works as a swap for peanut butter if you have a nut allergy.
- Dark chocolate lovers: Use all dark chocolate chips instead of semisweet for a richer, less sweet cup.
- White chocolate version: Swap in white chocolate chips for a completely different flavor twist.
- Extra crunch: Stir a tablespoon of crushed pretzels or graham crackers into the peanut butter layer for texture.
- Sugar-free option: Use sugar-free chocolate chips and a sugar-free peanut butter alternative.
Make Ahead Tips
These cups actually store well, which makes them a great make-ahead treat for parties or gifting.
Make a batch up to a week in advance and keep them in the fridge until you’re ready to serve.
They also freeze well, so doubling the batch and freezing half is an easy way to always have some on hand.
Additional Details
Nutritional Breakdown (Per Cup)
| Nutrient | Amount |
|---|---|
| Calories | ~110 |
| Protein | 2g |
| Carbs | 9g |
| Fat | 8g |
| Sugar | 7g |
Note: Values are estimates based on a 24-cup batch and will vary depending on exact ingredients used.
Meal Pairing Ideas
- Serve alongside a cold glass of milk for a classic pairing.
- Add to a dessert platter next to other bite-sized sweets.
- Pair with coffee for an afternoon treat.
Cooking Time Efficiency Tips
- Melt all your chocolate in one batch and portion it out for both layers.
- Mix the peanut butter filling while the chocolate layer chills to save time.
- Line your muffin tin ahead of time so you’re ready to pour as soon as the chocolate melts.
Leftovers and Storage
Store cups in an airtight container in the fridge for up to 2 weeks.
They also freeze well for up to 3 months. Thaw in the fridge for about 15 minutes before eating.
Keep them out of warm spots, since the chocolate softens quickly at room temperature.
FAQ
Can I use natural peanut butter instead of regular? It’s not recommended here since natural peanut butter is oilier and won’t hold its shape as well in the center layer.
Why did my layers mix together instead of staying separate? This usually happens if the chocolate layer wasn’t fully chilled before adding the peanut butter on top.
Can I make these without a mini muffin tin? Yes, a regular muffin tin works for larger cups, just adjust the amount of filling per cup and expect a longer chill time.
How long do these need to set before eating? At least 30 minutes in the fridge, though they firm up even more after an hour or two.
Can I make a dairy-free version? Yes. Use dairy-free chocolate chips, and the rest of the recipe stays exactly the same.
Wrapping Up
These peanut butter cups prove that homemade candy doesn’t have to be complicated to taste incredible.
Three ingredients, no oven, and a payoff that beats anything wrapped in foil from the store.
Make a batch this week and let me know how they turned out in the comments below. And if you tried a fun mix-in or flavor twist, I’d love to hear what you made.