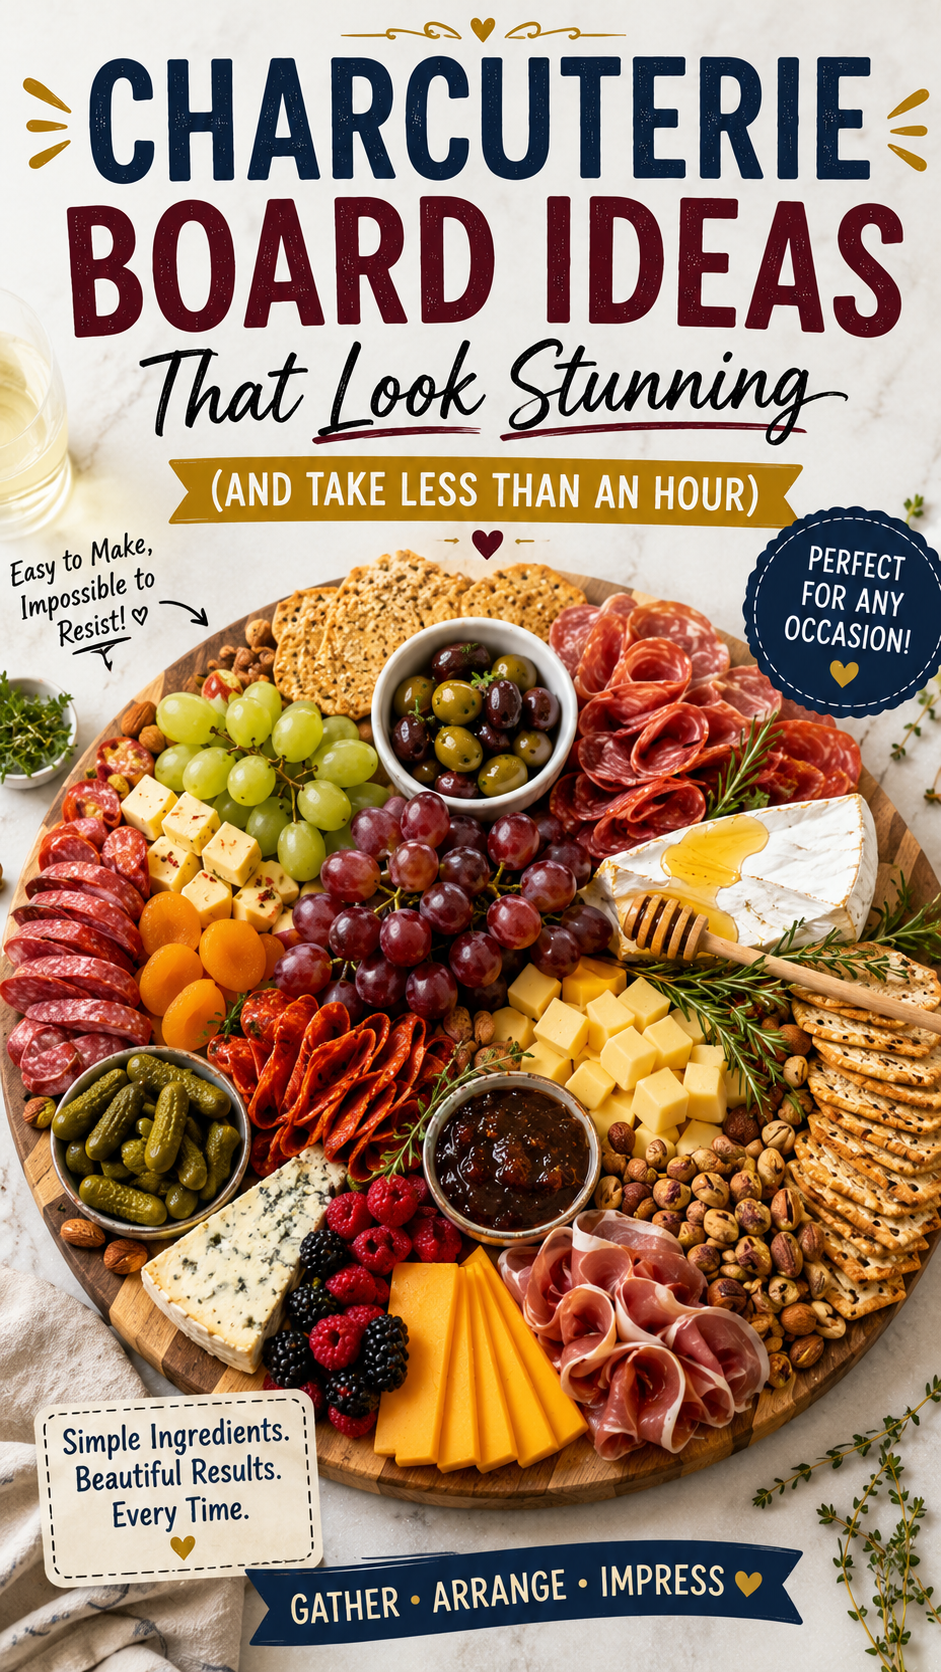
People see a beautiful charcuterie board and assume whoever made it either has a culinary degree or spent their entire Saturday on it.
Neither is true.
A gorgeous board comes down to a few simple rules, the right ingredients, and knowing how to arrange things so it looks intentional. That’s it.
Once you know the formula, you can throw one together in 30-45 minutes and have people genuinely convinced you’ve been doing this for years. 🧀
This post covers everything — the classic board, themed variations, budget options, seasonal ideas, and the exact tips that separate a “nice spread” from a board that stops people mid-conversation.
Why Charcuterie Boards Work So Well
A charcuterie board is one of the most crowd-friendly things you can put on a table.
There’s something for everyone. People with dietary restrictions can navigate around what they can’t eat without anyone making a big deal of it. Kids go straight for the crackers and fruit. Adults go for the cheese and meat. Nobody leaves hungry.
And the presentation does most of the heavy lifting for you. A well-arranged board looks impressive before anyone even tastes it.
The word charcuterie (pronounced shar-koo-tuh-ree) technically refers specifically to cured and preserved meats — the French tradition of preparing and selling pork products. But in modern usage, it’s become the catch-all term for any assembled board of meats, cheeses, crackers, fruits, and accompaniments. Both uses are widely accepted.
The Charcuterie Board Formula
Every great board follows the same basic structure. Master this and you can build any variation.
The Five Elements
1. Meats (2-3 varieties) The anchor of the board. Variety in texture and flavor is the goal — one mild, one bold, one somewhere in the middle.
2. Cheeses (3-4 varieties) Mix textures: one soft, one semi-firm, one hard. Mix flavors: one mild, one sharp or aged, one interesting (blue, smoked, or herbed).
3. Crackers and Bread (2-3 types) Different shapes and textures give people options and make the board look more dynamic. Plain crackers, seeded crackers, and sliced baguette is a reliable combination.
4. Fruits and Vegetables (fresh and dried) Fresh fruit adds color and sweetness. Dried fruit adds chewiness and concentrated flavor. A few vegetable elements add freshness.
5. Accompaniments (2-3 items) Honey, jams, mustards, olives, nuts, and pickles. These fill gaps visually and add flavor contrast that makes everything taste better together.
What You’ll Need
Meats
- Prosciutto (mild, silky, crowd-pleasing)
- Salami (bold, slightly spicy, holds its shape well)
- Soppressata or pepperoni (adds a different texture and heat level)
- Coppa or bresaola (for a more elevated option)
- Smoked turkey or chicken salami (for lighter boards)
Cheeses
- Brie or Camembert (soft, creamy, crowd favorite — leave the rind on)
- Sharp or extra-sharp cheddar (familiar flavor, cuts beautifully)
- Manchego (mild, nutty, semi-firm — universally loved)
- Gouda or smoked Gouda (adds depth and visual contrast)
- Blue cheese or Gorgonzola (bold, for adventurous guests)
- Goat cheese (fresh and tangy — roll in herbs or cracked pepper)
Crackers and Bread
- Plain water crackers
- Seeded or multigrain crackers
- Sliced baguette (day-old baguette is perfect — slightly firmer)
- Crostini
- Breadsticks
Fresh Fruits
- Red and green grapes (the most visually impactful fruit for a board)
- Sliced green apples or pears (prevent browning with a squeeze of lemon)
- Fresh figs (stunning when halved — peak season is late summer to fall)
- Strawberries (great for color)
- Blackberries or raspberries (fill gaps beautifully)
Dried Fruits
- Dried apricots
- Dried cranberries
- Medjool dates
- Dried figs
Accompaniments
- Honey (a small jar or honeycomb on the board)
- Fig jam or apricot jam
- Whole grain or Dijon mustard
- Castelvetrano olives (mild, bright green, universally liked)
- Marcona almonds or candied pecans
- Cornichons or dill pickle slices
- Dark chocolate pieces (adds something unexpected and wonderful)
Tools You’ll Need
- Large wooden board, slate board, or marble slab
- Small ramekins or bowls (for olives, honey, jams, and mustard — at least 3-4)
- Cheese knives (one per cheese variety)
- Small serving spoons or honey dippers
- Parchment paper (optional, for lining the board)
- Toothpicks or small tongs (for meats and olives)
Pro Tips
These are the details that make a board look professionally done instead of just thrown together.
- Place the bowls and cheese first. Start by anchoring the board with your small ramekins of olives, honey, and jam, then place the cheese blocks or rounds around them. Everything else fills in around these anchor points. Starting with the small items first and trying to fit them in later is the mistake most people make.
- Fold and fan your meats. Flat slices of meat look like a deli counter. Folded into quarters, rolled into roses, or draped in ruffles, the same slices look intentional and beautiful. For prosciutto — drape loosely in natural folds. For salami — fold each slice in half twice to create a small fan shape.
- Use odd numbers. Groups of three or five look more natural than even groupings. Three strawberries, five crackers fanned out, seven pieces of salami arranged in a curve. It sounds like a small thing and makes a noticeable difference.
- Fill every gap with something small. Nuts, dried cranberries, chocolate pieces, and fresh herbs are your gap-fillers. No bare board visible when you’re done. A few sprigs of fresh rosemary tucked in between elements adds color and makes the whole thing smell incredible.
- Bring cheese to room temperature before serving. Cold cheese has muted flavor. Pull cheese out of the fridge 30-45 minutes before your guests arrive. The texture softens and the flavor opens up significantly. This single step makes every cheese taste better.
Board Ideas and Themes
Classic Charcuterie Board
The foundation. Prosciutto, salami, soppressata. Brie, sharp cheddar, Manchego. Red and green grapes, sliced apples, dried apricots. Water crackers, seeded crackers, sliced baguette. Honey, fig jam, Castelvetrano olives, Marcona almonds.
This is the board that works for every occasion — dinner parties, game days, holiday gatherings, casual Friday nights.
Date Night Board (Serves 2)
Smaller, more intimate, more elevated.
One wheel of Brie or a wedge of aged Gouda. A handful of prosciutto and a few slices of bresaola. Fresh figs, blackberries, and a small bunch of grapes. A few slices of sourdough baguette. A small jar of honey and a few dark chocolate squares. Two glasses of wine. 🍷
Use a small wooden board and keep it minimal — the intimacy of the portion is the point.
Game Day Board (Serves 10-15)
Go bigger, go bolder.
Pepperoni, salami, smoked sausage slices. Sharp cheddar, pepper jack, smoked Gouda. Celery sticks, baby carrots, cherry tomatoes alongside the usual crackers. Add a small bowl of buffalo chicken dip or queso in the center. Pretzels mixed in with the crackers.
Make this in a large foil roasting pan or directly on a butcher paper-lined table for maximum crowd access. 🏈
Holiday Charcuterie Board
Red, white, and green — or red and gold for Christmas.
Cranberry-studded goat cheese (roll a fresh log in dried cranberries). Prosciutto and salami arranged in a wreath shape around the edge of the board. Red grapes, strawberries, pomegranate seeds for the red. White cheddar, fresh mozzarella, water crackers for the white. Fresh rosemary sprigs and pistachios for the green.
It looks like you planned it for weeks. You didn’t. 🎄
Fruit and Cheese Board (Vegetarian)
Skip the meats entirely and lean fully into the cheese and fruit.
Four cheeses: Brie, sharp cheddar, honeyed goat cheese, and a blue. Three to four fruits: grapes, sliced pears, figs, and strawberries. Roasted nuts, honeycomb, fig jam, and a few squares of dark chocolate. Arrange everything in colorful clusters and it’s genuinely one of the prettiest boards you can make.
Budget Charcuterie Board (Under $30)
A beautiful board doesn’t require expensive imported meats and artisan cheeses.
- Meats: Pepperoni and hard salami from any grocery store deli section (~$6-8)
- Cheeses: Sharp cheddar block, pepper jack, and a small brie round from the regular cheese section (~$8-10)
- Crackers: Store-brand water crackers and Ritz (~$4)
- Fruit: Red grapes and whatever berry is on sale (~$5)
- Accompaniments: A small jar of strawberry or apricot jam, a squeeze bottle of honey, and a handful of mixed nuts from the bulk section (~$4-6)
Arrange it exactly the same way as a $100 board. It will look just as impressive.
Seasonal Variations
Spring: Strawberries, edible flowers, honeycomb, goat cheese, prosciutto, asparagus tips with a lemon dipping sauce tucked in a small bowl.
Summer: Watermelon cubes, peach slices, fresh basil leaves, burrata, prosciutto, grapes, and a chilled rosé on the side. 🍑
Fall: Sliced apples and pears, dried figs, candied pecans, sharp cheddar, smoked Gouda, peppered salami, cinnamon-dusted nuts, and a small bowl of apple butter.
Winter/Holiday: Pomegranate seeds, mandarin orange segments, rosemary sprigs, cranberry jam, aged cheddar, Brie, prosciutto, and dark chocolate squares.
How to Build the Board Step by Step
Step 1: Choose Your Board and Line It
Pick a board large enough that it won’t look crowded once everything is on it. When in doubt, go bigger.
Line with parchment paper if you want an easy cleanup.
Step 2: Place the Bowls
Set your small ramekins — olives, honey, jam, mustard — in different areas of the board. Not clustered together. Spread them out so they anchor different sections.
Step 3: Add the Cheese
Place cheese blocks, wedges, or rounds near (but not directly on top of) the bowls. Pre-slice part of each cheese so guests know it’s ready to eat and don’t feel awkward being first to cut into it.
Step 4: Arrange the Meats
Fan and fold the meats into their shapes and place them between the cheese. Drape prosciutto in loose, natural folds. Fan salami in overlapping half-circles. Fill a section of the board fully before moving on.
Step 5: Add the Crackers
Fan crackers out in a few different areas of the board. Don’t put all crackers in one section — spread them so people on any side of the board can reach them without stretching.
Step 6: Add Fruits and Dried Fruits
Tuck clusters of grapes into open spaces. Lay sliced apples or pears in a fanned arrangement. Scatter dried apricots and cranberries into any remaining gaps.
Step 7: Fill the Gaps
Nuts, dark chocolate squares, fresh herbs. Fill every visible gap. Add a few sprigs of fresh rosemary or thyme for color and fragrance.
Step 8: Final Check
Step back and look at the board. Are colors distributed evenly? Is there any large bare spot? Is there a cheese knife next to each cheese? A small spoon in each bowl?
Serve within 30 minutes of completing so nothing dries out.
Serving Size Guide
| Occasion | Per Person |
|---|---|
| Appetizer before a meal | 2-3 oz meat, 2-3 oz cheese |
| Main event / cocktail party | 4-5 oz meat, 4-5 oz cheese |
| Game day snacking | 3-4 oz meat, 3-4 oz cheese |
Add approximately 4-6 crackers per person and adjust fruit and accompaniments proportionally.
Nutritional Info (Per Person, Appetizer Portion)
| Nutrient | Amount |
|---|---|
| Calories | ~350-450 kcal |
| Protein | 18-22g |
| Fat | 24-28g |
| Carbohydrates | 18-24g |
| Sodium | ~700-900mg |
Highly variable based on specific ingredients chosen.
Make-Ahead Tips
Up to 2 days ahead: Slice the meats, cube or slice the harder cheeses, pit olives, and portion nuts. Store everything separately in airtight containers in the fridge.
Day before: Prep all fruit except apples and pears (they brown). Assemble everything except the fruit and soft cheeses.
Day of: Bring the board to room temperature 30-45 minutes before guests arrive. Add the brie, goat cheese, fresh fruit, and fresh herbs last.
For transport: Assemble on the board, cover tightly with plastic wrap, and refrigerate flat. Transport flat. Add the final herbs and honey drizzle on arrival.
Storage
Charcuterie boards are at their best fresh. A few storage notes:
Leftovers: Store individual components separately in the fridge. Meats and hard cheeses keep for 3-5 days. Soft cheeses keep for 2-3 days. Fresh fruit is best eaten within 24 hours.
Don’t store a fully assembled leftover board. The components all have different shelf lives and the crackers will go stale and soft. Break it down, separate everything, and store properly.
FAQ
How far in advance can I put together a charcuterie board? For best results, assemble 30-60 minutes before serving to allow the cheese to come to room temperature. You can do most of the prep (slicing, portioning) up to 2 days ahead and assemble quickly on the day.
How do I keep apples and pears from browning? Toss sliced apples and pears in a little lemon juice before placing on the board. They’ll stay fresh-looking for a couple of hours.
What’s the best board material? Wood is the classic choice and looks beautiful. Slate gives you a more dramatic look and you can write cheese names on it with chalk. Marble is elegant and stays cool. Any flat surface works — you can even use a large cutting board, a baking sheet, or a piece of butcher paper laid on the counter for a very casual, abundant spread.
Do I need expensive imported meats and cheeses? Not at all. A beautiful board can be built entirely from grocery store brands. The arrangement matters more than the price tag.
How do I label the cheeses so guests know what they’re eating? Small cheese marker flags, pieces of parchment with the name written in marker, or mini chalkboard signs all work. Guests genuinely appreciate knowing what they’re eating, especially with more unusual cheeses.
What wines pair well with a charcuterie board? A classic combination: Chardonnay or Sauvignon Blanc with soft cheeses and prosciutto. Pinot Noir or a light Merlot with aged cheeses and salami. A dry rosé pairs beautifully with almost everything on a classic board. 🍷
Can I make a charcuterie board kid-friendly? Absolutely. Swap the more pungent cheeses for mild cheddar and pepper jack. Add cubed turkey, pepperoni, grapes, strawberries, apple slices, and crackers. Include a small bowl of peanut butter or Nutella for dipping. Kids will love it.
What if someone is gluten-free? Include gluten-free crackers as one of your cracker options and place them in their own section of the board so they’re easy to identify. Most of the other board components — meats, cheeses, fruits, nuts, olives, and honey — are naturally gluten-free.
Wrapping Up
A charcuterie board is one of the most satisfying things to put on a table — and one of the most flexible.
Once you know the formula, you never really need a recipe. You just need good ingredients, a little intention in the arrangement, and the willingness to fill every gap until the board looks genuinely abundant.
Try one this week — even a small one, even just for yourself on a Friday night — and then come back and drop a comment below. What’s your go-to cheese? Any combinations that totally surprised you? I’d love to see what you put together. 👇