You’ve tried a few. Some were flat. Some were cakey. Some were fine but forgettable. This one is different.
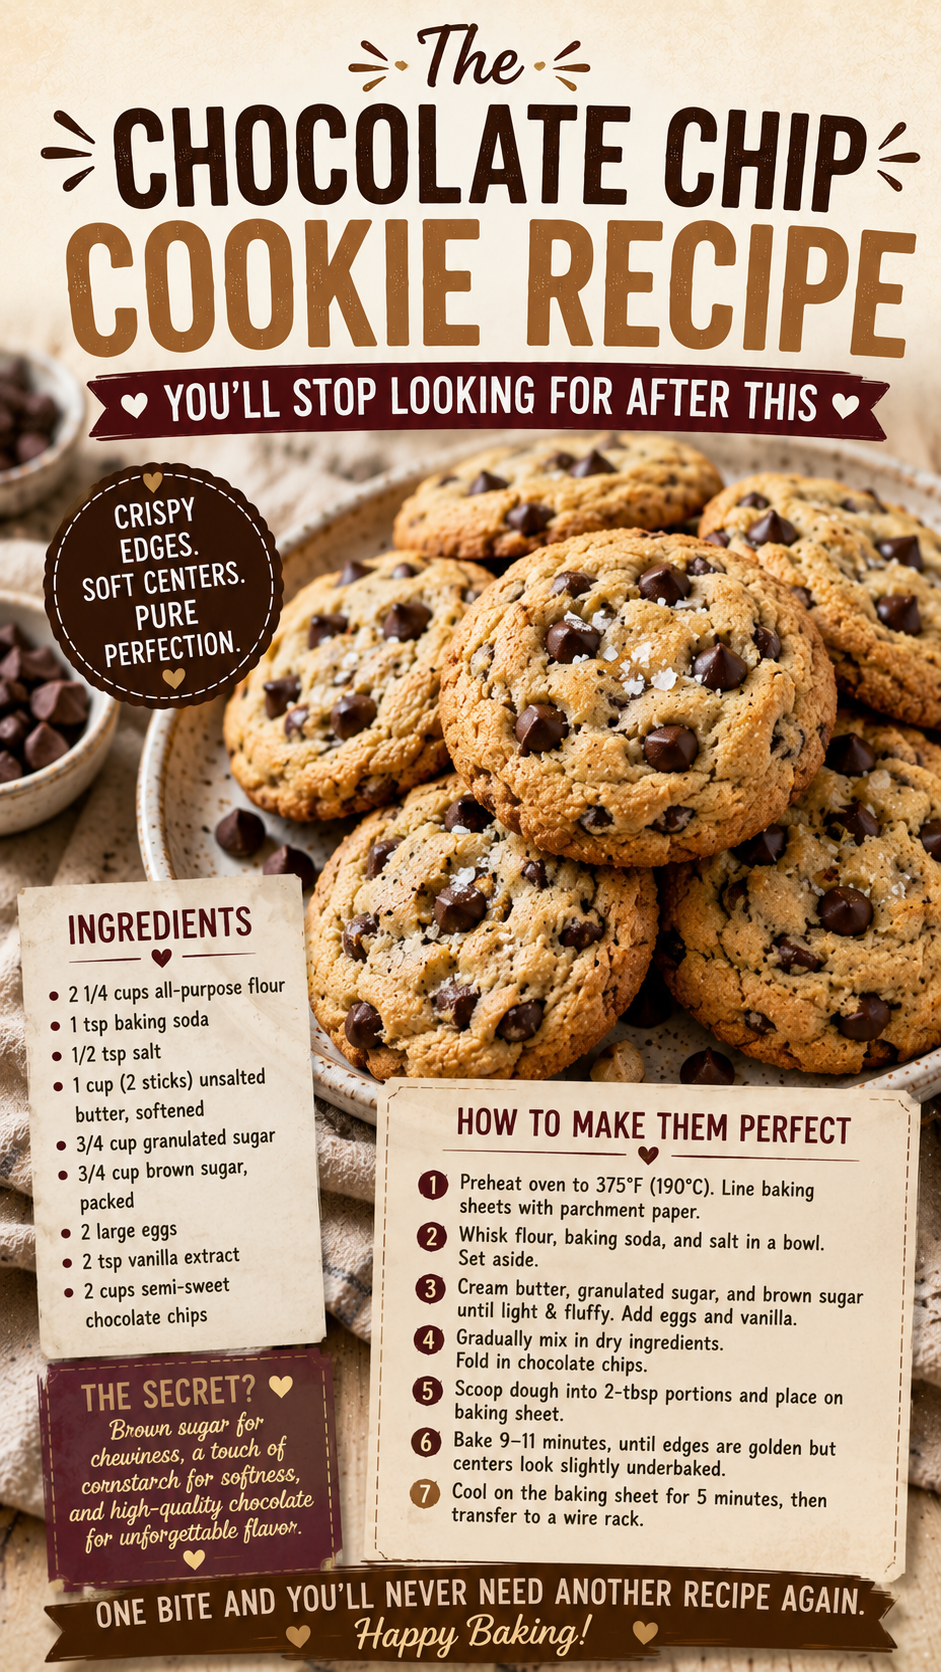
These cookies have crispy, golden edges that snap just slightly when you break them — and a center that stays soft, almost fudgy, even two days after baking. The kind of cookie where you eat one, put the container away, and then go back for another one ten minutes later.
The secret isn’t a fancy ingredient. It’s a technique that most home bakers skip because it feels unnecessary. Browning the butter.
It takes an extra five minutes and it completely transforms the flavor — from good to genuinely hard to stop eating. You’ll understand the moment you smell it.
Read through the Pro Tips before you start. There are a few things in there that will change how every batch of cookies you make turns out from here on.
What You’ll Need
For the Cookies
- 230g (1 cup / 2 sticks) unsalted butter
- 200g (1 cup) light brown sugar, packed
- 100g (1/2 cup) granulated white sugar
- 2 large eggs, room temperature
- 1 egg yolk, room temperature (in addition to the 2 whole eggs)
- 2 teaspoons of pure vanilla extract
- 280g (2 1/4 cups) all-purpose flour
- 1 teaspoon of baking soda
- 1 teaspoon of fine sea salt
- 1/2 teaspoon of cornstarch
- 300g (about 1 3/4 cups) semi-sweet chocolate chips
- Flaky sea salt, for topping (optional but highly recommended)
Tools You’ll Need
- A medium saucepan (for browning the butter)
- A large mixing bowl
- A hand mixer or stand mixer with paddle attachment
- A silicone spatula or wooden spoon
- A kitchen scale (recommended for accuracy)
- Measuring cups and spoons
- Baking sheets (at least 2)
- Parchment paper or silicone baking mats
- A cookie scoop or two tablespoons
- A wire cooling rack
Pro Tips
These are the things that take chocolate chip cookies from ordinary to the batch people ask you to make every time.
- Brown the butter — every time. Browning butter removes the water content and toasts the milk solids, creating a deep, nutty, almost caramel-like flavor. Regular melted butter doesn’t come close. Once you brown butter for cookies, you won’t go back.
- The extra egg yolk is not optional. Two whole eggs plus one yolk adds extra fat without extra water, which is exactly what gives these cookies their rich, fudgy center. It’s a small thing that makes a noticeable difference.
- Chill the dough. At minimum 30 minutes in the fridge, ideally overnight. Cold dough spreads slower in the oven, which means thicker cookies with better texture. Baking warm dough straight from the bowl gives you flat, thin cookies.
- Pull them out while they look underdone. The cookies will look slightly underbaked when you take them out — soft in the center, set around the edges. They firm up as they cool on the pan. This is the move. Waiting until they look fully done = overbaked cookies by the time they cool.
- Flaky salt on top changes everything. A pinch of flaky sea salt pressed onto each dough ball before baking intensifies the chocolate flavor and adds a contrast that makes the whole cookie taste more complex. It sounds like a small thing. It isn’t.
How to Make Chocolate Chip Cookies
Step 1: Brown the Butter
Add the butter to a medium saucepan over medium heat. Stir constantly as it melts.
It will foam, then the foam will subside. Keep stirring. You’ll start to see golden bits forming on the bottom of the pan and it will smell nutty and incredible. That’s the moment — pull it off the heat immediately.
Pour the browned butter (including all the golden bits at the bottom) into your large mixing bowl and let it cool for 10 to 15 minutes. You want it warm but not hot enough to cook the eggs.
Step 2: Mix the Sugars and Butter
Add both sugars to the cooled brown butter. Whisk or beat together for about 2 minutes until combined and slightly fluffy. The mixture will look grainy at first — that’s normal.
Step 3: Add Eggs and Vanilla
Add the 2 whole eggs, the extra egg yolk, and vanilla extract. Beat until the mixture is smooth, pale, and ribbony — about 2 full minutes. Don’t rush this step. The volume you build here affects the final cookie texture.
Step 4: Add Dry Ingredients
In a separate bowl, whisk together the flour, baking soda, salt, and cornstarch.
Add the dry ingredients to the wet ingredients and fold with a spatula until just combined. A few small streaks of flour are fine. Don’t overmix — that develops gluten and makes the cookies tough.
Step 5: Fold in Chocolate Chips
Add the chocolate chips and fold them in gently until evenly distributed through the dough.
Step 6: Chill the Dough
Cover the bowl with plastic wrap and refrigerate for at least 30 minutes. For the absolute best results, refrigerate overnight.
This is the step most people want to skip. Don’t.
Step 7: Scoop and Bake
Preheat your oven to 375°F (190°C). Line your baking sheets with parchment paper.
Scoop the dough into balls about 2 tablespoons in size and place them on the lined baking sheets, spacing them about 2 inches apart. Press a few extra chocolate chips onto the tops if you want them to look picture-perfect.
Sprinkle a small pinch of flaky sea salt on each ball.
Bake for 10 to 12 minutes, until the edges are golden brown and set but the centers still look slightly underdone and glossy.
Step 8: Cool on the Pan
Remove from the oven and let the cookies cool on the baking sheet for 5 full minutes before transferring to a wire rack.
They will firm up as they cool. The centers will go from glossy to perfectly soft and fudgy.
Substitutions and Variations
| Ingredient | Swap It For |
|---|---|
| Semi-sweet chocolate chips | Dark chocolate chips, milk chocolate chips, chopped chocolate bars |
| Unsalted butter | Salted butter — just reduce the added salt by 1/4 teaspoon |
| Light brown sugar | Dark brown sugar for a deeper molasses flavor |
| All-purpose flour | A 1:1 gluten-free baking flour blend |
| Granulated white sugar | Coconut sugar for a slightly caramel undertone |
| Cornstarch | Arrowroot powder (same amount) |
Mix-in ideas beyond chocolate chips:
- Chopped walnuts or pecans (about 3/4 cup)
- White chocolate chips + dried cranberries
- Peanut butter chips
- A swirl of Nutella pressed into the top of each ball before baking
- Sea salt caramel chips for something genuinely indulgent
Want bakery-style thick cookies? After scooping, bang each dough ball gently into a taller, rounder shape with your palms instead of flattening. Cold dough + tall dough ball = thicker, chewier cookie.
Make-Ahead Tips
This is one of the most freezer-friendly recipes you’ll ever make.
- Refrigerate the dough: Covered, up to 72 hours. The longer it chills, the more the flavor develops. A 48-hour chill is noticeably better than a 30-minute one.
- Freeze the dough balls: Scoop the dough into balls and freeze them on a baking sheet until solid (about 1 hour). Transfer to a zip-lock bag and freeze for up to 3 months. Bake from frozen — just add 2 to 3 minutes to the bake time.
- Freeze baked cookies: Let them cool completely, store in an airtight container with parchment between layers, and freeze for up to 2 months. Warm in a 300°F (150°C) oven for 5 minutes and they taste freshly baked.
Nutritional Information (Per Cookie, Approx.)
Based on 24 cookies
| Nutrient | Amount |
|---|---|
| Calories | ~195 kcal |
| Total Fat | 10g |
| Saturated Fat | 6g |
| Carbohydrates | 26g |
| Sugar | 17g |
| Protein | 2g |
| Sodium | ~115mg |
Worth knowing: brown sugar contains more moisture than white sugar, which is a large part of why these cookies stay soft for days. The molasses in brown sugar is hygroscopic — it actively attracts and holds moisture, keeping the crumb soft even after the cookies have fully cooled.
Storing Leftovers
These cookies keep remarkably well if stored correctly.
- Room temperature: Store in an airtight container for up to 5 days. Place a slice of bread in the container — it keeps the cookies soft by maintaining moisture in the container.
- Refrigerator: Not recommended. The cold dries them out faster.
- Freezer: Up to 2 months, as noted above.
One more tip: if your cookies have gone slightly firm after a day or two, microwave one for 10 to 12 seconds. The chocolate melts slightly and the cookie tastes freshly baked all over again.
FAQ
Why did my cookies spread too much and come out flat?
A few likely culprits: the butter was too warm when you added the sugar, the dough wasn’t chilled long enough, or your baking sheet was still warm from the previous batch. Always use a cool baking sheet and properly chilled dough.
Can I skip browning the butter?
You can. The cookies will still be good. But browned butter takes the flavor from good to genuinely great — it adds a depth you can’t replicate any other way. It’s worth the extra five minutes.
My cookies came out cakey instead of chewy. Why?
Too much flour (always measure by weight if you can), overmixing the dough after adding the flour, or too many eggs. The extra yolk without too many whites is what keeps these chewy, not cakey.
Can I use salted butter?
Yes. Just reduce the added fine sea salt to 3/4 teaspoon instead of 1 teaspoon.
How do I get those thick, bakery-style cookies?
Three things: chill the dough for at least 2 hours, shape the dough balls tall rather than flat, and bake at a slightly lower temperature (350°F / 175°C) for a minute or two longer. Slower bake = more rise before the butter melts and the cookie spreads.
Can I double the recipe?
Yes, easily. Double all ingredients. The dough stores well in the fridge for up to 3 days, or you can freeze the extra dough balls and bake them whenever you want fresh cookies.
Wrapping Up
A good chocolate chip cookie recipe is something you keep for life.
This one has the edges you want, the center you want, and a depth of flavor from the browned butter that makes people stop mid-bite and ask what you did differently. Once you make them this way, the boxed mix versions just won’t do it anymore.
Bake a batch this weekend. Then come back and leave a comment — tell me how long the chill time was, what mix-ins you used, and honestly, how many you ate before they fully cooled. 😄 No judgment here.